Pumpkin Craft
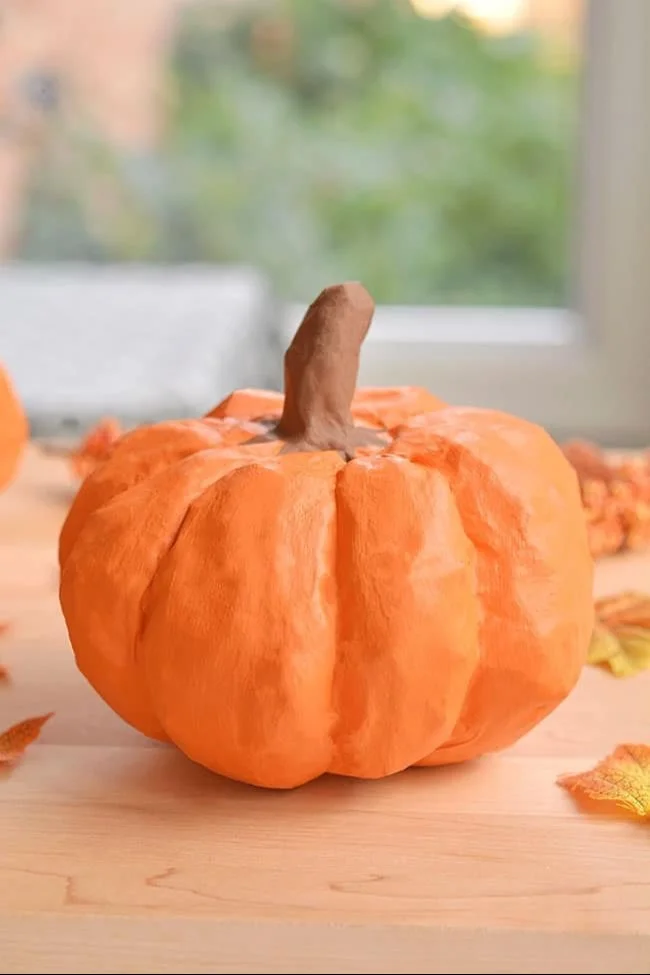
Crafting is a fulfilling and creative way to spend your time, especially with seasonal projects like this pumpkin craft. This easy DIY project can brighten up your home decor or make for delightful handmade gifts during the autumn season. Using simple materials and steps, you can create stunning pumpkins that are perfect for decorating your space or giving as thoughtful gifts. Whether you’re a beginner looking for craft ideas or someone interested in budget-friendly DIY projects, this pumpkin craft is a fantastic choice that everyone can enjoy.
WHY YOU WILL LOVE THIS Pumpkin Craft
This pumpkin craft is ideal for many reasons, making it a joy for anyone to create:
- Easy for Beginners: The steps are simple, with no complicated techniques needed. This makes it a great option for those new to crafting.
- Uses Simple Materials: You don’t need special tools or hard-to-find items; everything can be found around your home or at a low cost.
- Budget-Friendly: Since it uses inexpensive supplies, this craft is perfect for anyone looking to stay within a budget.
- Quick to Make: With just a short time commitment, you’ll have beautiful pumpkins ready for display or gifting.
- Great for Home Decor: These pumpkins can liven up any room and bring a touch of seasonal festivity.
- Easy to Customize: You can personalize your pumpkins with various colors, sizes, and patterns.
PROJECT DETAILS
Here’s a quick overview of the pumpkin craft project:
Skill Level
This craft is beginner-friendly, making it suitable for all ages and skill levels.
Estimated Time
You can complete this project in about 30 to 45 minutes, depending on your crafting speed.
Approximate Cost
The total cost is low, often around $5 to $10, depending on the materials you already have at home.
Best For
This craft is perfect for home decor, gifts, seasonal decorating, and can be used at parties or holiday events.
Project Type
This is a fun, easy DIY project that falls under the category of simple crafts.
TOOLS AND EQUIPMENT NEEDED
Scissors
You will need scissors to cut the circles from the paper. A sharp pair will ensure clean edges for your pumpkins.
Glue Stick
A glue stick is necessary for sticking the layers together. It’s easy to use and ensures that your craft holds up well.
Pencil
A pencil will help you trace circles accurately on your paper, ensuring uniformity in size.
Something Round to Trace
An object like a cup will be used to create perfect circle shapes for the pumpkins.
MATERIALS
Construction Paper or Scrapbook Paper
Choose orange construction paper or different patterns of scrapbook paper to give your pumpkins texture and flair.
Pencil
A pencil is used for tracing, helping you outline the circles that will form your pumpkins.
Scissors
Scissors are essential for cutting the traced circles out of the paper.
Glue Stick
This is used to secure the layers of your pumpkin together, providing a strong bond that holds the structure in place.
Something Round to Trace
A cup or small circular object is needed to trace perfect circles for your pumpkins.
HOW TO MAKE Pumpkin Craft
Creating your pumpkin is both fun and straightforward. Follow these simple steps:
Step 1: Trace Circles
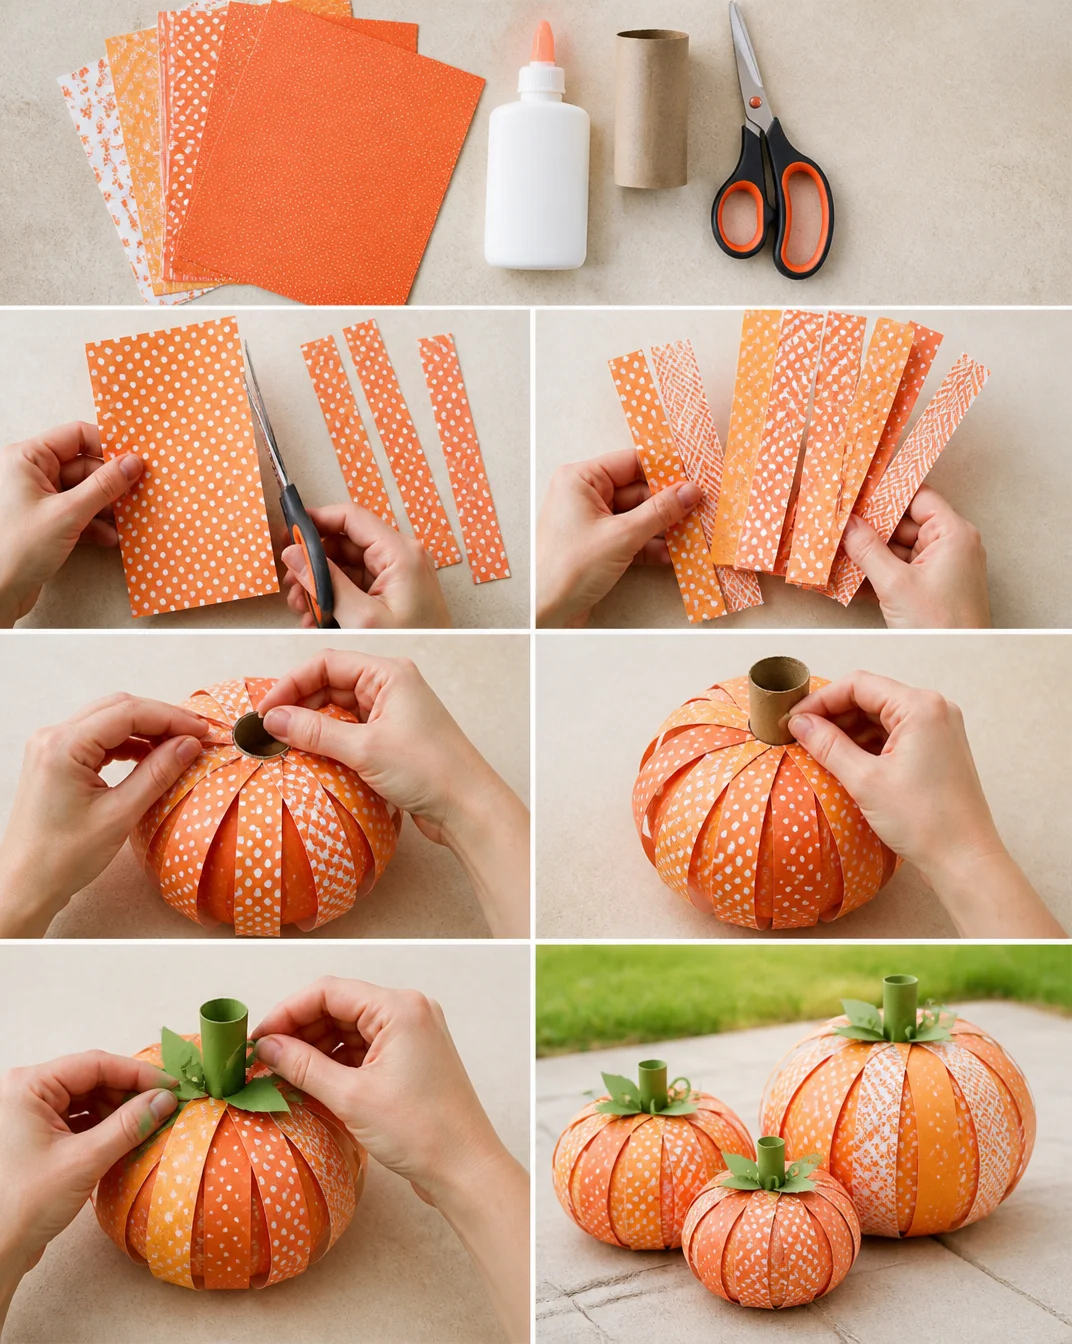
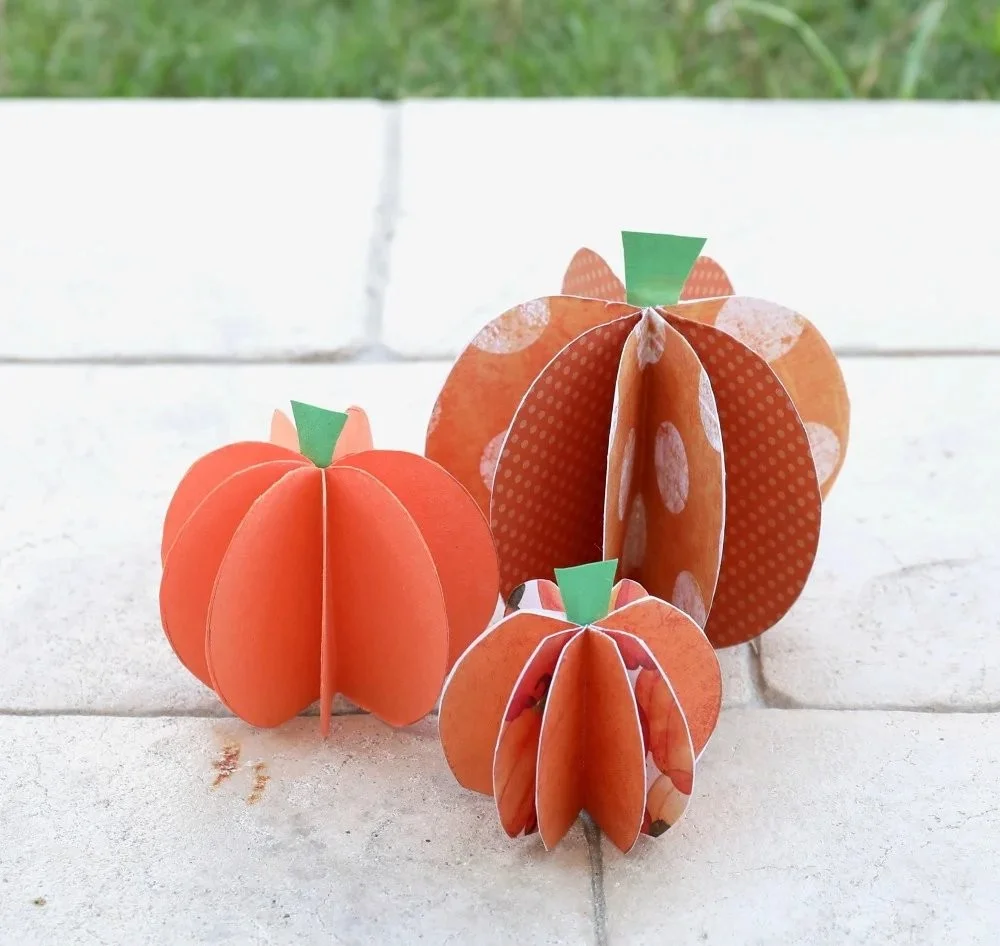
Using a cup, trace 8 circles on orange construction paper. If you are using scrapbook paper, cut 4 circles of each of two different prints to add variety to your pumpkins.
Step 2: Fold Circles
Fold all circles in half with the white side out if you are using scrapbook paper. This will create a nice layered effect when assembled.
Step 3: Glue Circles Together
Apply glue to the top side of one folded circle. Place a second folded circle on top. Repeat this process until all 8 circles are glued in a stack, creating the pumpkin’s body.
Step 4: Shape Your Pumpkin
After all circles are glued together, use scissors to trim the top and bottom of the pumpkin shape. This is a crucial step to give it that pumpkin-like design.
Step 5: Add Finishing Touches
Unfold your pumpkin. To add a stem or vine, cut these shapes from green construction paper. Tuck the stem between the layers before gluing the final segments together to create a finished look for your pumpkin.
TIPS AND TRICKS
Here are some practical tips to help you with your pumpkin craft:
- Choosing Materials: Opt for vibrant colored papers to make your pumpkins stand out. You can even mix colors for a more playful design.
- Cutting and Assembling: Ensure your scissors are sharp for a smooth cut. Take your time when assembling to avoid mess.
- Avoid Common Mistakes: Make sure to glue the circles securely to prevent them from falling apart later. Double-check your folds to ensure all circles are aligned.
- Get a Better Finish: Use a bone folder or your fingernail to press down the folds for a crisper look.
- Making the Craft Last Longer: If you want to preserve your pumpkins for future seasons, consider using a sealant spray once finished.
- Working Safely: Always handle scissors carefully, especially with kids around. Supervise younger crafters to ensure a safe crafting experience.
VARIATIONS AND CUSTOMIZATION IDEAS
Feel free to customize your pumpkin craft in the following ways:
- Different Colors: Use papers in various colors like green, yellow, or even patterned papers to make unique designs.
- Different Sizes: Adjust the size of the circles to create mini pumpkins or larger ones for more impact.
- Seasonal Versions: Decorate the pumpkins with holiday themes. Add glitters for Halloween or include fall leaves for Thanksgiving.
- Personalized Versions: Write names or messages on the pumpkins using markers to make them special gifts.
- Different Patterns: Experiment with polka dots, stripes or other designs on your scrapbook papers for a fun twist.
Pumpkin Craft FAQ
1. Is this pumpkin craft difficult to make?
No, this pumpkin craft is very easy and perfect for beginners. The steps are straightforward, and the materials are simple to use.
2. What materials do I need for this craft?
You will need construction paper or scrapbook paper, a pencil, scissors, a glue stick, and something round to trace.
3. How long does it take to complete this craft?
On average, it takes about 30 to 45 minutes to complete this pumpkin project.
4. Can I store these pumpkins after making them?
Yes, you can store your pumpkins by placing them in a dry area. If you want them to last longer, consider using a sealant spray.
5. Are there any safety tips for crafting with kids?
Always supervise young crafters, especially when using scissors. Teach them proper handling techniques to avoid accidents.
CONCLUSION
In conclusion, this pumpkin craft is an enjoyable, easy DIY project that anyone can tackle. It’s perfect for beginners and uses simple, budget-friendly materials. Whether you want to decorate your home or create memorable gifts for friends and family, these handmade pumpkins add a festive touch. We encourage you to try this fun and creative DIY project and share your experience or any unique variations you come up with! Happy crafting!
Pumpkin Craft
Ingredients
Method
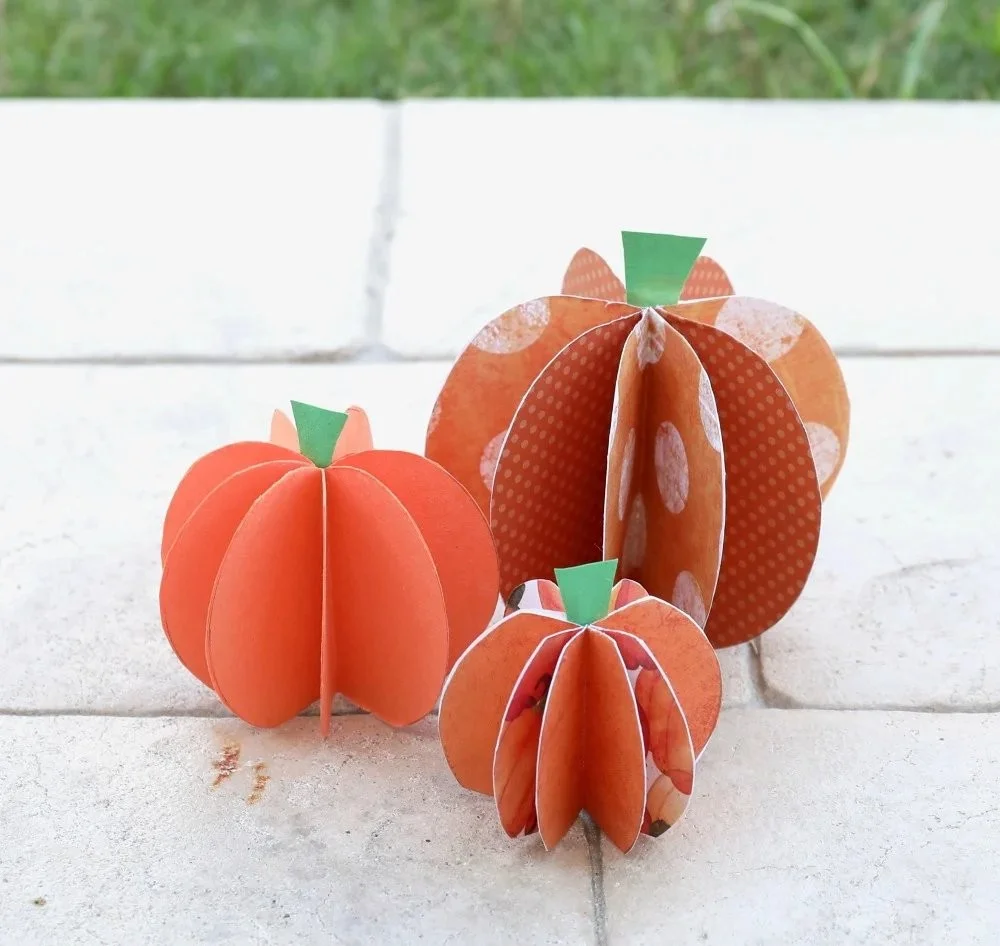
- Step 1: Using a cup, trace 8 circles on orange construction paper.
- Step 2: Fold all circles in half with the white side out if using scrapbook paper.
- Step 3: Apply glue to the top side of one folded circle and stack a second folded circle on top, repeating until all circles are glued.
- Step 4: Trim the top and bottom of the glued circles to shape your pumpkin.
- Step 5: Unfold the pumpkin and add a stem or vine using green construction paper before gluing final segments.