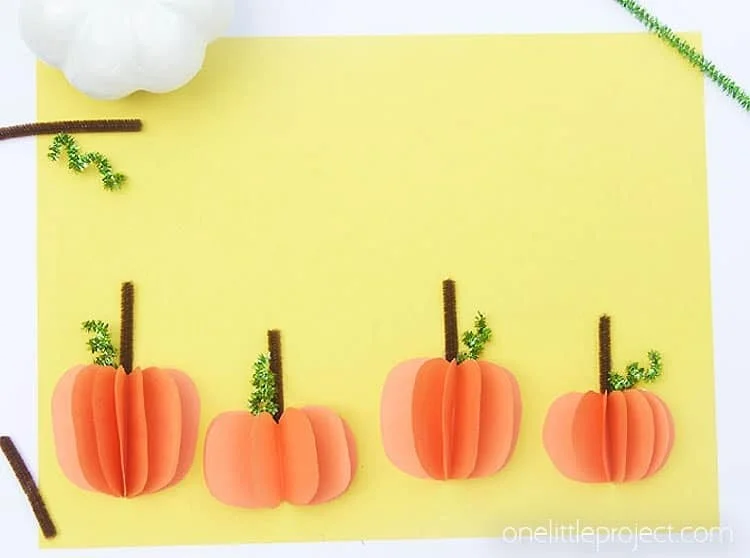
Paper Mache Pumpkin
If you’re looking for a fun, budget-friendly DIY project, then making a Paper Mache Pumpkin is an excellent choice. This easy craft is perfect for beginners and allows you to create beautiful, seasonal decor for your home. Whether as a festive decoration for Halloween or a charming piece for fall displays, this creative DIY idea is sure to be a hit. Best of all, it uses simple materials that you likely already have on hand, making it an excellent option for budget-friendly crafting.
WHY YOU WILL LOVE THIS Paper Mache Pumpkin
Creating your own Paper Mache Pumpkin is a delightful experience that offers several benefits:
- Easy for Beginners: This is an approachable project for anyone new to crafting. Even if you’re not familiar with DIY projects, the simple steps make it a perfect fit.
- Uses Simple Materials: The materials needed for this project are common household items, making it easy to gather everything you need without a trip to the craft store.
- Budget-Friendly: Most of the materials are inexpensive or may be available for free, such as old newspapers and plastic bags. This makes it a perfect choice for those seeking budget-friendly crafts.
- Quick to Make: Once you have everything prepared, this craft can be completed relatively quickly, although you will need to allow time for drying.
- Great for Home Decor: A Paper Mache Pumpkin makes for great DIY home decor, allowing you to showcase your creative skills during the fall season.
- Easy to Customize: You can personalize your pumpkin in various ways, from color choices to size alterations, making it a fun project to express your creativity!
PROJECT DETAILS
Here’s a quick overview of what to expect when making your Paper Mache Pumpkin.
Skill Level
Beginner-Friendly: This craft is simple and does not require advanced skills.
Estimated Time
Approximately 3-4 days: Most of the time will be for drying between layers.
Approximate Cost
Low Cost: The materials are generally inexpensive or can be found around your home.
Best For
Great for home decor, seasonal crafts, and holiday decorations. It’s perfect for anyone wanting to brighten their space for fall or Halloween.
Project Type
This is a creative DIY project that falls under easy crafts for adults, making it accessible for all skill levels and ages.
TOOLS AND EQUIPMENT NEEDED
Here are the tools you’ll need to create a Paper Mache Pumpkin.
Scissors
Used for cutting the newspaper into strips. A sharp pair will ensure clean cuts, making your crafting smooth.
Whisk
Ideal for mixing your paper mache paste. A whisk helps to avoid lumps in your mixture for a smoother application.
Mixing Bowl
You’ll use this for combining your flour and water to make the paste. Choose a bowl that’s easy to clean afterward.
Mason Jar (or Glass)
This will hold your pumpkin while it dries, providing a stable base. It’s essential for giving your pumpkin its shape.
Paintbrush
This tool will help you apply the paint on your finished pumpkin. A medium-sized brush works best for painting the surface.
MATERIALS
Here are the materials you will use throughout the project:
Plastic Grocery Bag
Stuff this bag with polyester fiber fill to form the base of your pumpkin, giving it the right shape.
Polyester Fiber Fill
This provides the stuffing for your plastic bag. It creates a soft, rounded shape for your pumpkin.
Yarn
Use the yarn to create ridges around the pumpkin. This adds texture to your final product.
Masking Tape
This is used to secure the stem you create from the plastic bag. It helps transform the bag into a sturdy pumpkin top.
1 Cup Flour
This is an essential ingredient for your paper mache paste. Flour and water form a simple and effective adhesive.
1-1/2 Cups Water
Mixed with flour, this creates the paste that you’ll use to adhere the newspaper strips.
Newspaper
Tear this into strips to use for the paper mache layers. Old newspapers are perfect for this project and provide a strong structure.
Latex Primer (Optional)
If you choose to paint your pumpkin, primer will help the paint adhere better and enhance the color.
Orange Acrylic Paint
This is the main color for your pumpkin, giving it that classic fall look.
Brown Paint
Use this for painting the stem of your pumpkin, adding realistic detail.
Paintbrush
You’ll use this brush to apply the paint to your pumpkin once it’s dry.
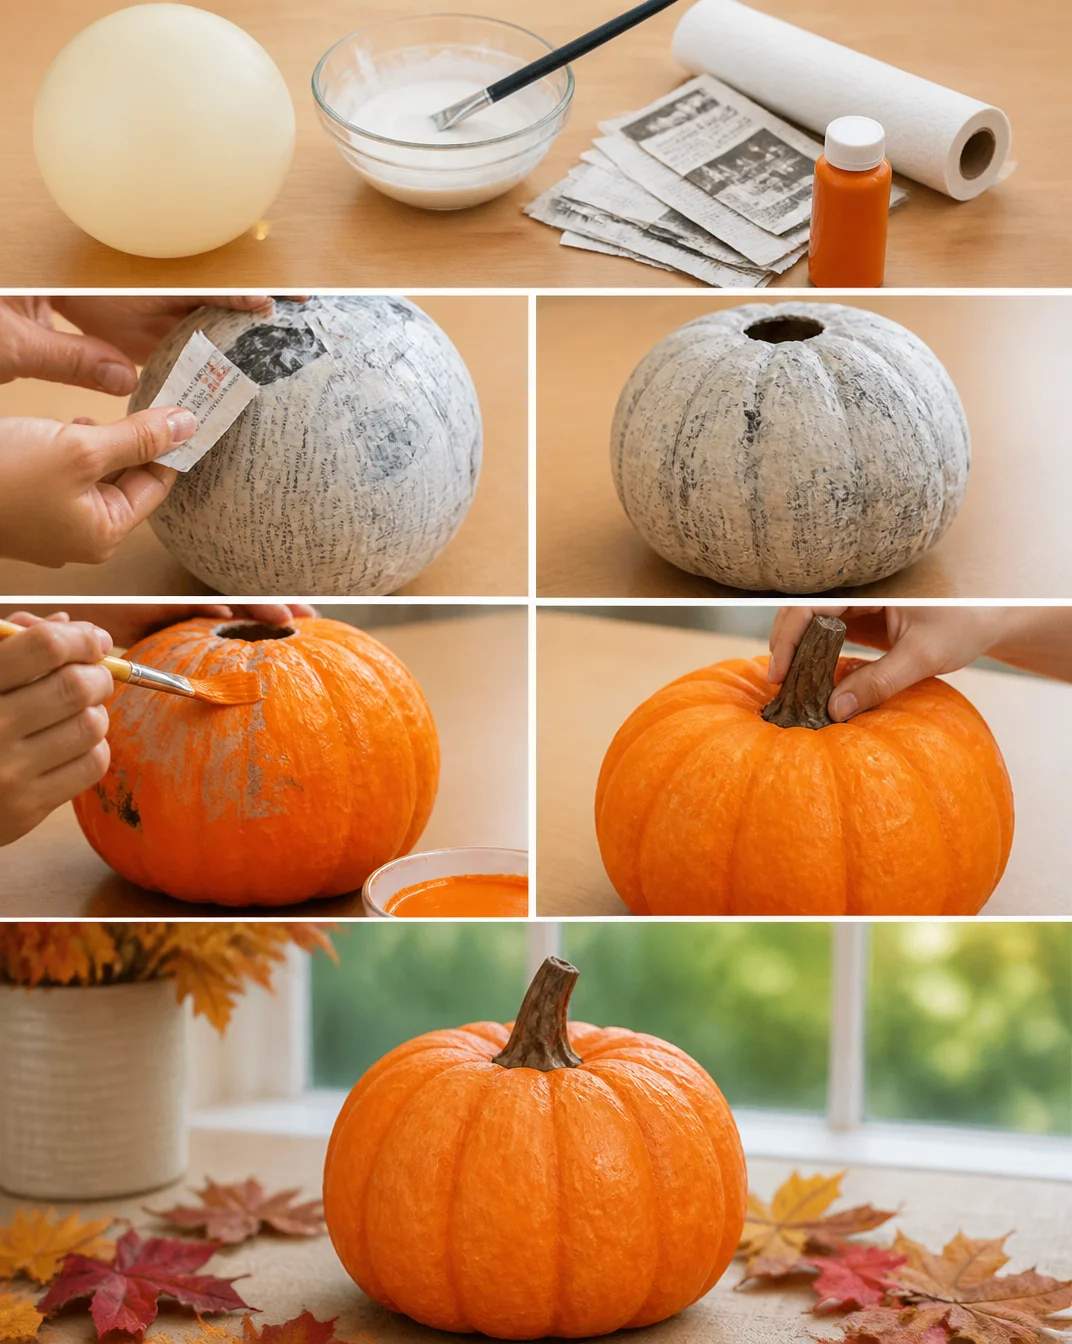
HOW TO MAKE Paper Mache Pumpkin
Follow these simple steps to create your Paper Mache Pumpkin. Each step is straightforward and beginner-friendly.
Step 1: Create the Pumpkin Base
Stuff the plastic grocery bag with fiber fill stuffing. Once you have filled the bag to your desired size, tie a knot close to the stuffing. This will be the base shape of your pumpkin.
Cut off the handles of the bag, and fold the remaining plastic down to create a stem shape. Use masking tape to secure the plastic in place.
Step 2: Add Texture with Yarn
Take your yarn and wrap it around the pumpkin several times, crisscrossing to create ridges. Secure the ends of the yarn with knots to keep it in place. This will add texture and depth to your pumpkin.
Step 3: Prepare the Paper Mache Paste
In a mixing bowl, combine 1-1/2 cups of water with 1 cup of flour. Use the whisk to mix until smooth. This mixture will act as your paper mache paste.
Step 4: Apply Newspaper Strips
Tear the newspaper into strips that are about 1-inch wide. Dip each strip into the paste, ensuring it’s fully coated. Start applying these strips over the pumpkin, overlapping them as you go. This helps form a strong layer.
Step 5: Build Up Layers
Allow the first layer of newspaper to dry for 24 hours. After it has dried, apply a second layer of paper mache in the same way. Let this layer dry for another 24 hours.
Step 6: Add Paint
If desired, you can first apply a coat of latex primer to your pumpkin (this step is optional). Once the primer is dry, paint the body of the pumpkin with orange acrylic paint. Use brown paint for the stem, and feel free to add lines for detail as desired.
Step 7: Display Your Pumpkin
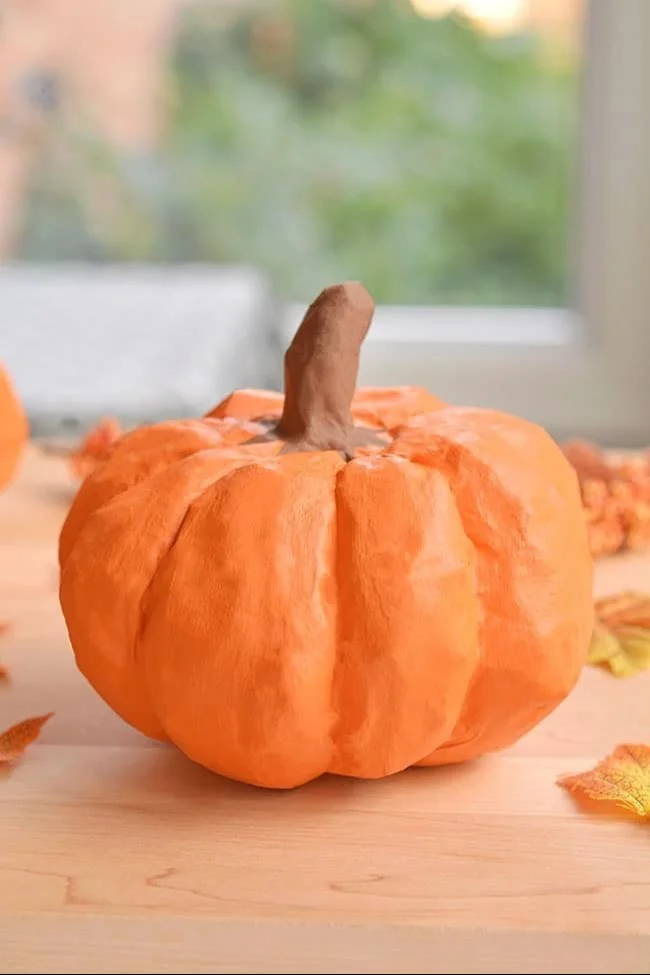
Once the paint has dried completely, your Paper Mache Pumpkin is ready to be displayed! Use it as a centerpiece for fall decorations, or create several for a festive Halloween display.
TIPS AND TRICKS
Here are some helpful tips to ensure your Paper Mache Pumpkin turns out great:
- Choosing Materials: Use newspapers that are not glossy to ensure better adhesion for the paste.
- Cutting Newspaper: Use scissors to create strips, ensuring they are approximately equal in size for a uniform look.
- Avoiding Common Mistakes: Make sure to apply the paste evenly, as too much can make your pumpkin overly wet and take longer to dry.
- Get a Better Finish: For a smoother finish when painting, consider sanding lightly between paint layers if you prefer a more polished look.
- Storing Your Craft: If your pumpkin will be used as a seasonal decoration, consider storing it in a cool, dry place to increase its lifespan.
- Working Safely: Ensure you’re in a well-ventilated area, especially if you are using primer and paint.
VARIATIONS AND CUSTOMIZATION IDEAS
Here are some fun ways to customize your Paper Mache Pumpkin:
- Different Colors: Instead of traditional orange, use colors like white or teal for a unique twist.
- Different Sizes: Create mini pumpkins or large ones for varied decor pieces.
- Seasonal Versions: Add festive leaves, bats, or glitter to give it a seasonal touch for Halloween or Thanksgiving.
- Personalized Versions: Use paint to add names or initials, making them perfect handmade gifts.
- Different Patterns: Create patterns using the yarn by wrapping it in various designs.
- Unique Finishes: Consider using metallic paints or adding decoupage elements for eye-catching details.
Paper Mache Pumpkin FAQ
1. Is this craft difficult for beginners?
No, it’s a beginner-friendly craft that uses simple steps and commonly found materials, making it easy for everyone.
2. What materials do I need?
You will need a plastic grocery bag, polyester fiber fill, yarn, masking tape, flour, water, newspaper, latex primer (optional), acrylic paint, scissors, a whisk, a mixing bowl, a mason jar, and a paintbrush.
3. How long does this project take to complete?
While the hands-on work might only take a few hours, you will need to allow 48 hours for the drying time for the paper mache layers.
4. Can I store my paper mache pumpkin?
Yes, when stored properly in a cool, dry place, your pumpkin can last for several seasons.
5. How should I clean my pumpkin?
If your pumpkin gets dirty, you can gently wipe it down with a damp cloth. Avoid soaking it, as this may affect the paper mache integrity.
6. Can I customize the colors and designs?
Absolutely! You can paint your pumpkin in any color you choose and add personal designs to make it unique.
CONCLUSION
Creating a Paper Mache Pumpkin is an engaging, easy craft perfect for beginners and experienced crafters alike. This budget-friendly DIY project not only enhances your home decor but also allows you to express your creativity through customization. It’s simple to make, enjoyable to personalize, and a delightful addition to your seasonal decorations. We encourage you to try this project and share your experience or any creative ideas you come up with! Happy crafting!
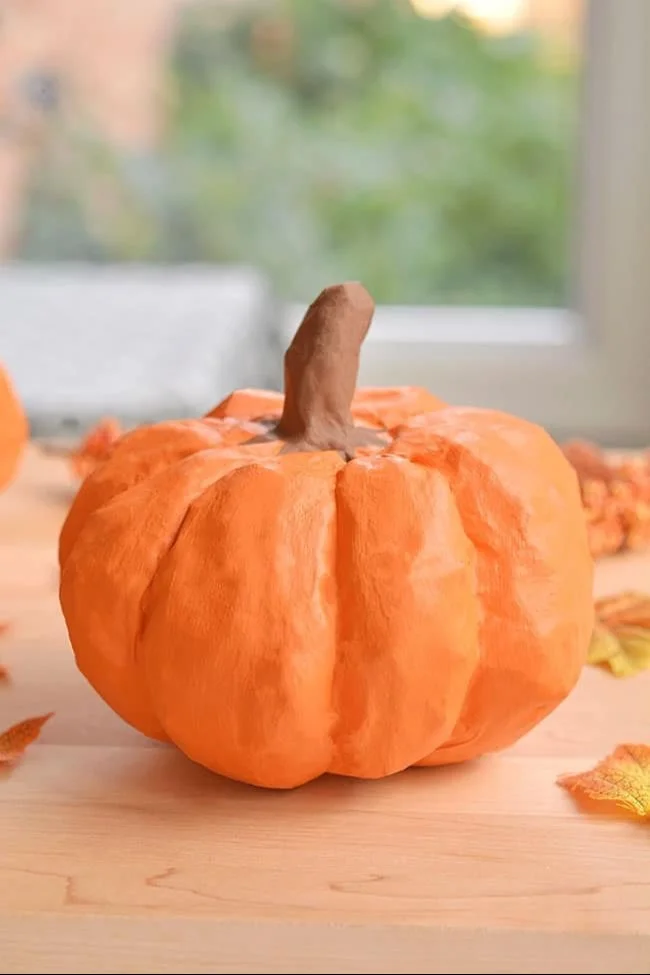
Paper Mache Pumpkin
Ingredients
Method
- Stuff the plastic grocery bag with fiber fill stuffing to your desired size and tie a knot.
- Cut off the handles and fold down the remaining plastic to create a stem shape, securing with masking tape.
- Wrap yarn around the pumpkin several times to create ridges, securing with knots.
- In a mixing bowl, combine 1-1/2 cups of water with 1 cup of flour, and whisk until smooth.
- Tear newspaper into strips about 1-inch wide, dip into the paste, and apply over the pumpkin.
- Allow the first layer to dry for 24 hours, then apply a second layer and let it dry another 24 hours.
- Optionally apply latex primer, let dry, then paint the pumpkin with orange acrylic paint and brown for the stem.
- Once dried, your Paper Mache Pumpkin is ready for display as a centerpiece or part of Halloween decor.