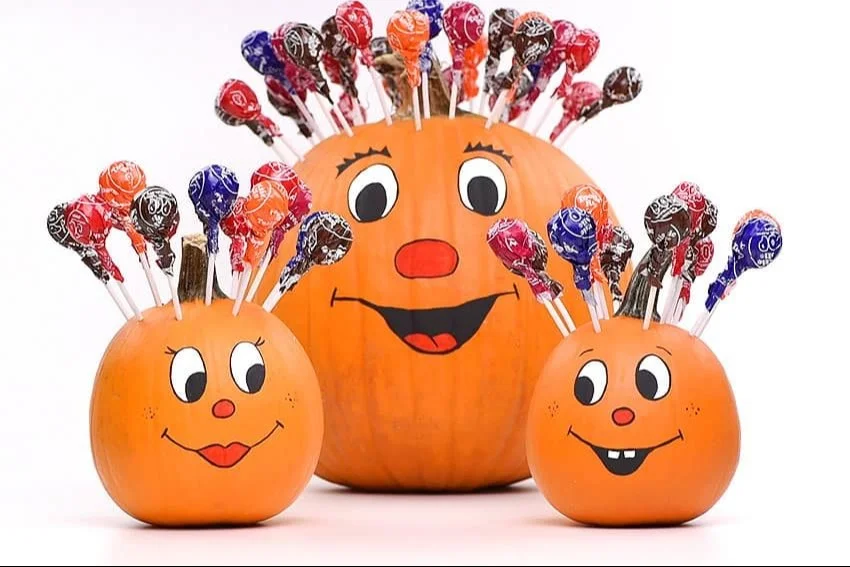
Lollipop Hair Pumpkin | How to Make a Pumpkin Lollipop Holder
Are you looking for a fun and creative DIY project to bring some seasonal cheer to your home? Look no further than the Lollipop Hair Pumpkin! This easy DIY project doubles as a charming decoration and a delightful treat holder, perfect for Halloween or fall parties. With simple materials and a quick assembly process, this craft is ideal for beginners, making it a great addition to your list of budget-friendly crafts. Whether you’re creating it for your own decor or as a handmade gift, this project is sure to spark joy.
WHY YOU WILL LOVE THIS Lollipop Hair Pumpkin
Creating a Lollipop Hair Pumpkin is an enjoyable experience for many reasons:
-
Easy for Beginners: This project is designed to be beginner-friendly, with straightforward steps that anyone can follow, making it a fantastic entry point into the world of crafting.
-
Uses Simple Materials: The materials needed are easily found around your home or at local stores, meaning you won’t have to make any special trips to gather supplies.
-
Budget-Friendly: This project’s low-cost materials make it an affordable craft option for anyone looking to engage in seasonal crafts without breaking the bank.
-
Quick to Make: You can complete this project in under an hour, making it a great choice for busy crafters or those who want a quick afternoon activity.
-
Great for Home Decor: The Lollipop Hair Pumpkin makes for an adorable decoration, adding a playful touch to your seasonal decor.
-
Perfect for Gifts: This craft can easily be turned into a handmade gift, perfect for sharing with friends or family during the fall season.
-
Ideal for Holidays or Seasonal Decorating: It fits perfectly with Halloween and autumn themes, providing an opportunity to enhance your holiday decorations.
-
Easy to Customize: There are many ways to personalize your pumpkin, allowing your creativity to shine through.
PROJECT DETAILS
Skill Level
This craft is suitable for beginners, making it a perfect project for those new to DIY crafts.
Estimated Time
Plan to spend about 30 to 60 minutes on this project, giving you enough time to enjoy the process.
Approximate Cost
The total cost for this project is around $10 or less, depending on materials you may already have on hand.
Best For
Use this craft for home decor, as a fun gift, or as a festive decoration for parties.
Project Type
This is a seasonal craft that can be categorized as a DIY home decor project.
TOOLS AND EQUIPMENT NEEDED
Scissors
Used for cutting the felt and any paper needed for your pumpkin.
Glue Gun
This tool is essential for attaching elements together securely, making it a key part of the crafting process.
Pencil
You’ll need a pencil to trace shapes onto the felt before cutting, ensuring accuracy.
Ruler
Use a ruler to measure and guide your cuts, making the project easier and more precise.
MATERIALS
Orange Felt
This will be the main body of your pumpkin, giving it a bright and festive appearance.
Green Felt
Used for creating the pumpkin’s leaves and hair, adding a nice contrast to the orange.
Lollipops
These will be inserted into the pumpkin, providing a fun treat that complements the decor.
Googly Eyes
Adding googly eyes gives your pumpkin character and a playful touch.
String or Ribbon
This can be used for decorative purposes or to secure your materials in place.
Optional Decorations
Feel free to add additional embellishments like glitter, stickers, or other craft supplies you might have around.
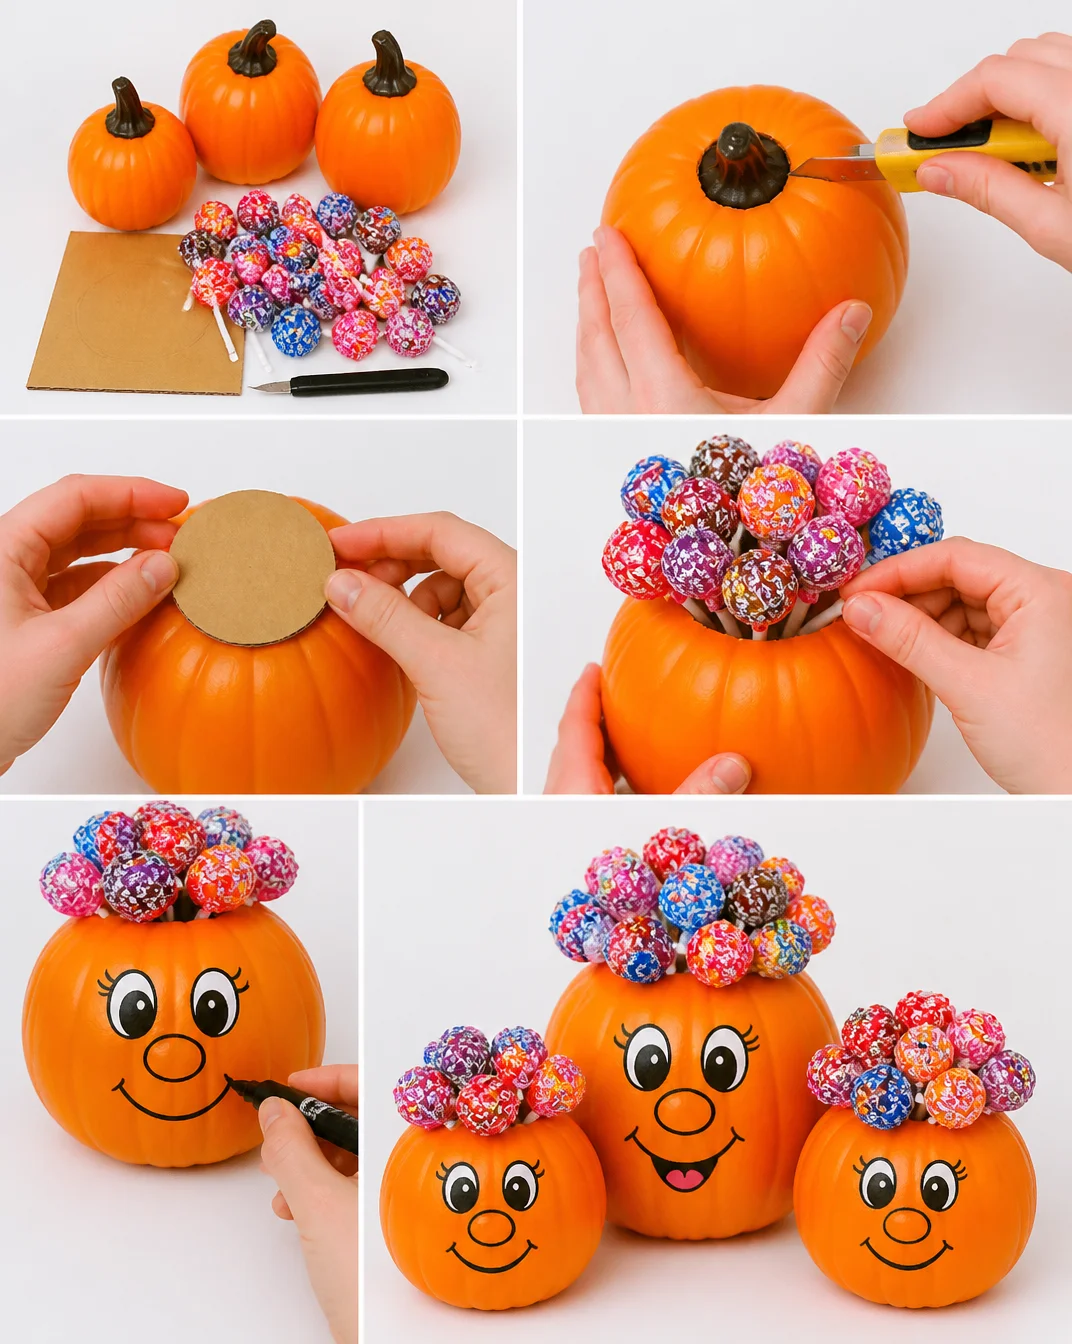
HOW TO MAKE Lollipop Hair Pumpkin
Step 1: Cut the Felt
Start by cutting a large circle from the orange felt, about 12 inches in diameter. This will form the main body of your pumpkin. Then, cut smaller circles from the green felt for the leaves.
Step 2: Create the Pumpkin Shape
Gather the edges of the orange felt circle in the center. Pull the fabric to form a pumpkin shape. You can use a string or ribbon to secure it at the top.
Step 3: Attach the Hair
Cut strips of green felt for the hair and glue them to the top of the pumpkin. Arrange them as you like to give your pumpkin a fun hairstyle.
Step 4: Add the Googly Eyes
Glue the googly eyes onto the front of the pumpkin. Place them in a way that gives your pumpkin a quirky expression.
Step 5: Insert the Lollipops
Gently poke a hole at the bottom of the pumpkin and insert a lollipop stick. Make sure it sticks out enough to be easily grabbed.
Step 6: Add Leaves
Glue the green felt leaves around the base of the pumpkin for decoration, covering any exposed areas where the lollipop sticks out.
Step 7: Display Your Pumpkin
Find a beautiful spot in your home to showcase your Lollipop Hair Pumpkin. It can be on a shelf, table, or as part of your larger Halloween display.
TIPS AND TRICKS
-
Choosing Materials: Opt for high-quality felt to ensure your pumpkin holds together and looks great. You can also choose to use upcycled materials for a more eco-friendly approach.
-
Cutting and Gluing: Make sure your scissors are sharp for clean cuts. When using the glue gun, be careful as the glue can get very hot.
-
Avoiding Common Mistakes: Double-check the measurements before cutting to ensure your pumpkin is the right size.
-
Getting a Better Finish: Spend a few extra moments ensuring all pieces are securely glued and properly positioned before moving on to the next step.
-
Making the Craft Last Longer: Consider using a stronger adhesive for areas that will be manipulated often, such as the lollipop insertion point.
-
Working Safely: Always glue in a well-ventilated area and keep the glue gun away from young children, as the nozzle can reach high temperatures.
VARIATIONS AND CUSTOMIZATION IDEAS
-
Different Colors: Use different colored felt for your pumpkin, such as white, purple, or even black for a spooky twist.
-
Different Sizes: Create mini versions of the Lollipop Hair Pumpkin for party favors or decorations.
-
Seasonal Versions: Change the decoration to make it suitable for other holidays, like adding snowflakes for winter.
-
Different Patterns: Instead of plain felt, use patterned fabric or felt to create a unique design.
-
Personalized Versions: Add names or initials on the pumpkin using fabric paint for a customized touch.
Lollipop Hair Pumpkin FAQ
Is this craft difficult?
No, this project is quite easy and suitable for beginners. It involves simple cutting and gluing techniques that anyone can master.
What materials do I need?
You need orange and green felt, lollipops, googly eyes, glue, scissors, and optionally, string or ribbon for decoration.
How should I store my Lollipop Hair Pumpkin?
Store it in a dry, cool place away from direct sunlight. If using paper or non-durable materials, consider keeping it in a box to protect it.
Can I clean the pumpkin if it gets dusty?
Yes! You can use a soft, dry cloth to gently wipe off any dust. Avoid using water as it can dampen and ruin the felt material.
How long will this craft take to make?
The entire project should take about 30 to 60 minutes, depending on your crafting speed and whether you choose to customize it.
CONCLUSION
The Lollipop Hair Pumpkin is an engaging and beginner-friendly craft that beautifully combines creativity and fun. This budget-friendly DIY not only serves as a delightful decoration for your home but can also be a charming handmade gift for friends and family. With simple materials and a straightforward process, this project is perfect for those new to crafting and looking to explore creative DIY ideas. We encourage you to try out this craft and share your experience or customization ideas with others! Happy crafting!
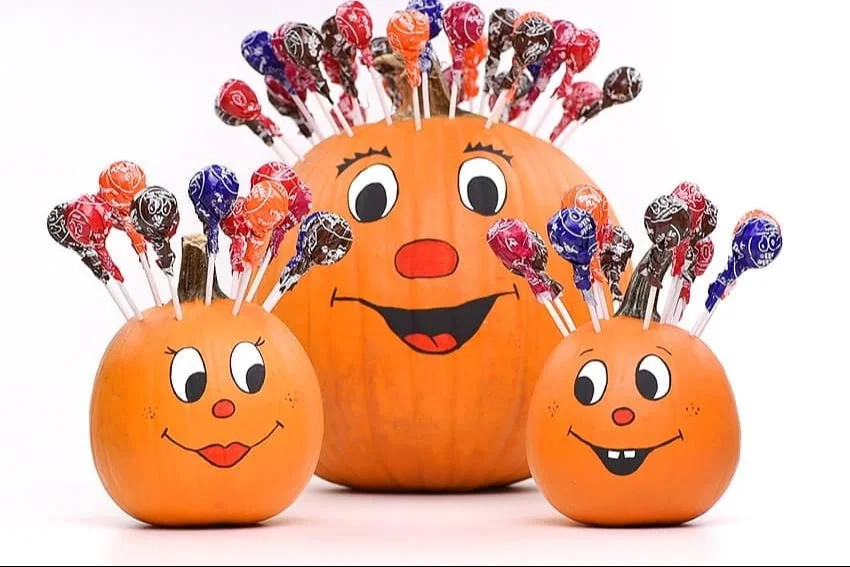
Lollipop Hair Pumpkin
Ingredients
Method
- Cut a large circle from the orange felt, about 12 inches in diameter.
- Gather the edges of the orange felt circle in the center to form a pumpkin shape, securing it with string or ribbon.
- Cut strips of green felt for the hair and glue them to the top of the pumpkin.
- Glue the googly eyes onto the front of the pumpkin.
- Poke a hole at the bottom of the pumpkin and insert a lollipop stick.
- Glue the green felt leaves around the base of the pumpkin.
- Display the Lollipop Hair Pumpkin in a desired spot.