3D Paper Pumpkin Craft
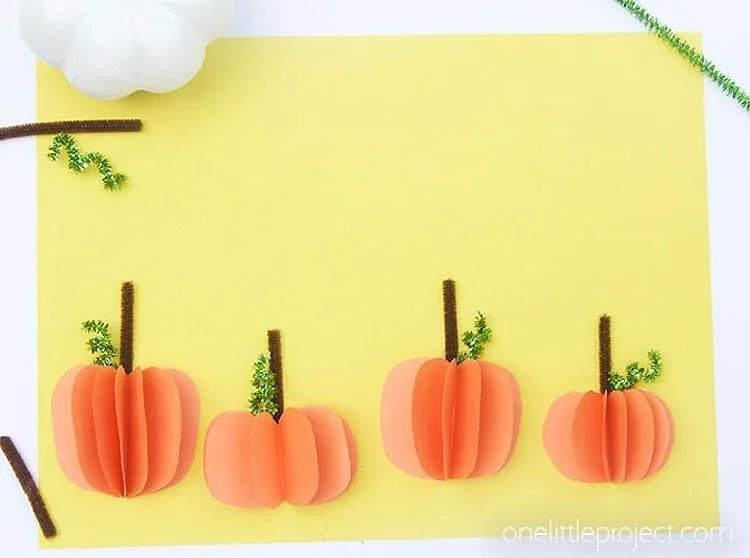
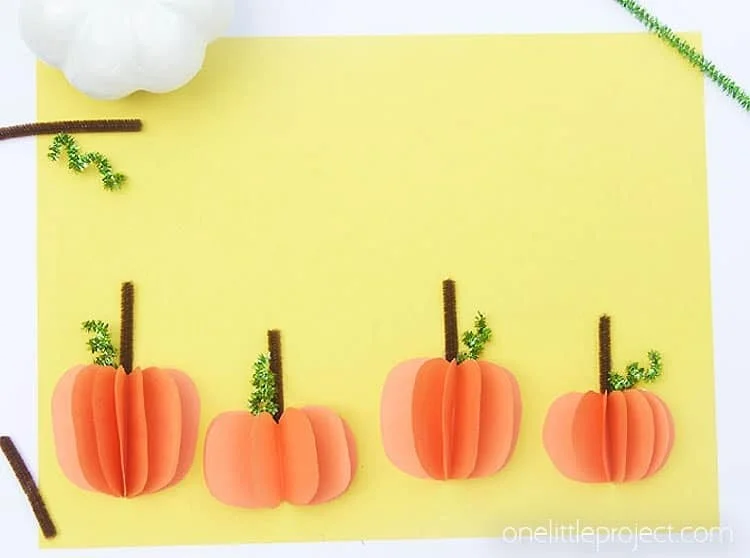
If you’re looking for an easy craft that combines creativity with the excitement of the fall season, the 3D Paper Pumpkin Craft is a perfect choice! This simple DIY project is ideal for beginners and can serve as impressive seasonal décor or delightful homemade gifts. Perfect for parties, holidays, or just a fun afternoon activity, this craft will bring a bit of autumn cheer into your home. In this article, we’ll walk you through the materials needed, step-by-step instructions, tips, and customization ideas for creating these charming paper pumpkins. Get ready to dive into this festive world of DIY!
WHY YOU WILL LOVE THIS 3D Paper Pumpkin Craft
Creating these 3D paper pumpkins is a delightful experience that offers a variety of benefits. Here’s why you will love making this DIY project:
- Easy for beginners: This craft is designed to be approachable, making it suitable for crafters of all skill levels, especially those just starting out.
- Uses simple materials: You don’t need to hunt for complicated supplies; everything you need can be found at home or at a local craft store.
- Budget-friendly: The materials are inexpensive, making this a cost-effective project perfect for those on a budget.
- Quick to make: With a little time and creativity, you can make these adorable pumpkins in about an hour.
- Great for home decor: Display your finished pumpkins on tables, mantels, or as part of a festive centerpiece for holiday gatherings.
- Easy to customize: You can adjust colors, sizes, and designs to fit your personal taste and decor style.
PROJECT DETAILS
Skill Level
This project is beginner-friendly and accessible for anyone looking to try out easy crafts.
Estimated Time
You can complete this 3D paper pumpkin craft in about 45 to 60 minutes.
Approximate Cost
The total cost for materials typically ranges from $5 to $10, depending on what you already have at home.
Best For
This project is ideal for home decor, gifts, and seasonal or holiday decorating.
Project Type
This is a straightforward DIY home decor project that serves as both a fun craft to make and a charming decoration.
TOOLS AND EQUIPMENT NEEDED
Scissors
Essential for cutting out pumpkin shapes and other craft adjustments.
Glue Gun
Used for securely adhering the pumpkin parts together, ensuring durability.
Pencil
Great for tracing out shapes and marking where to cut.
MATERIALS
Orange Construction Paper
This is the main material for your pumpkins. You’ll cut out the shapes needed for crafting the 3D pumpkins.
Yellow/Blue/Black Construction Paper
Use this for adding unique touches or creating different color variations of your pumpkins.
Brown Pipe Cleaner
This will serve as the pumpkin stem, adding a fun three-dimensional aspect to your design.
Green Pipe Cleaner
Use this to create a whimsical vine that adds detail and character.
Glue Stick
Perfect for sticking together sections of the pumpkins before applying hot glue for a stronger bond.
Glue Gun
Provides a strong hold for assembling the pumpkins when they are fully constructed.
Scissors
Necessary for cutting out the pumpkin shapes from the construction paper accurately.
Pencil
Useful for marking the shapes you need to cut.
HOW TO MAKE 3D Paper Pumpkin
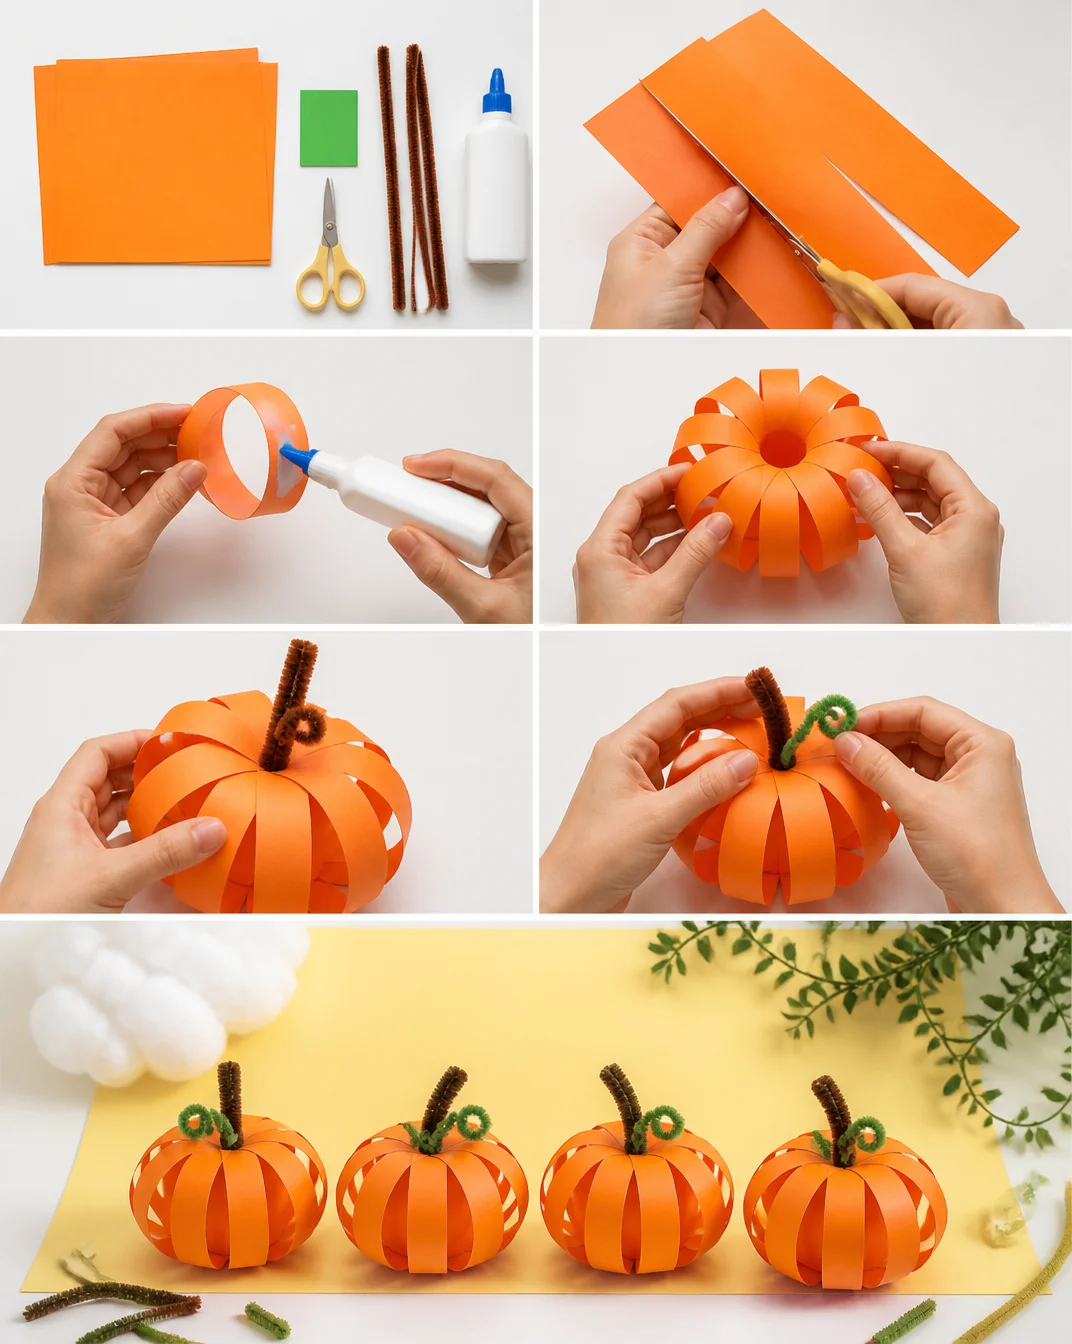
Step 1: Prepare Your Shapes
Stack two pieces of orange construction paper and fold them in half. Cut out half pumpkin shapes along the folded edge. Create at least 4 half pumpkins to give your pumpkin some fullness.
Step 2: Unfold the Shapes
Once you have your half pumpkins cut out, unfold them to reveal full pumpkin shapes.
Step 3: Glue the Shapes Together
Use a glue stick to apply glue to the back of one folded pumpkin piece, covering one half. Place another folded piece on top so that the folds align.
Step 4: Complete the Pumpkin Structure
Continue gluing pumpkin pieces together, fanning them out until you have 3 to 4 pieces glued together in a circular formation.
Step 5: Create the Base
Attach the bottom of your paper pumpkin to the final piece of construction paper using glue. If you’re making a greeting card, fold the construction paper in half before gluing.
Step 6: Make the Stem and Vine
Cut a 1-inch piece of brown pipe cleaner for the stem and a 2-inch piece of green pipe cleaner for the vine.
Step 7: Create a Spiral
Wrap the green pipe cleaner around a pencil to create a spiral vine.
Step 8: Finish the Pumpkin with Glue
Use your glue gun to attach the brown pipe cleaner as the stem and the spiral green pipe cleaner as the vine. Make sure it’s secure.
Step 9: Repeat the Steps
If you want to create more pumpkins, simply repeat the previous steps to add to your collection.
TIPS AND TRICKS
- Choosing Materials: Opt for colorful construction paper for pumpkins in different shades. This makes your project visually appealing.
- Cutting Accurately: Take your time when cutting out the pumpkin shapes. Precision will enhance the final look.
- Avoiding Common Mistakes: Make sure the glue sticks well before moving on to the next step to avoid mistakes.
- Easing the Project: Preselect a pattern for your pumpkin shapes to make uniform cutting easier.
- Ending Up with Neat Finishing: Smooth out any creases or folds before you glue the pieces together to achieve cleaner results.
- Cost-Saving Tip: Reuse scrap paper or old craft supplies you have at home; this will lower the overall material cost.
- Creating Durability: Store your paper pumpkins in a dry place to prevent them from getting crushed or damaged.
VARIATIONS AND CUSTOMIZATION IDEAS
- Different Colors: Try using different shades of orange, green, or even purple to create a unique twist on your pumpkins.
- Different Sizes: Scale your pumpkins up or down in size to create a variety of shapes and make your display more interesting.
- Different Patterns: Use patterned paper or add stickers and drawings to personalize each pumpkin.
- Seasonal Versions: Swap pumpkin colors and designs for other seasonal themes, such as a winter holiday or spring motifs.
- Different Materials: Experiment with other materials like felt or fabric for texture variations.
- Personalized Versions: Create custom pumpkins by writing names or messages on them with markers or stickers.
3D Paper Pumpkin FAQ
What skill level is needed for this project?
This is a beginner-friendly craft, perfect for anyone new to DIY projects.
How long will it take to make these pumpkins?
Most people can complete this easy DIY project in about 45 to 60 minutes, depending on the number of pumpkins you decide to create.
What materials do I need?
You will need orange construction paper, brown and green pipe cleaners, a glue stick, a glue gun, scissors, and a pencil.
How do I store the finished pumpkins?
You can store your paper pumpkins in a dry place, like a box or drawer, to avoid crushing or bending them.
Are there any safety considerations?
When using the glue gun, be careful as the tip can get very hot. Always supervise children while they craft.
CONCLUSION
The 3D Paper Pumpkin Craft is not only a budget-friendly way to add some fall charm to your home, but it also qualifies as an easy DIY project especially suited for beginners. With minimal materials and straightforward instructions, it’s a creative way to enhance your home decor or give as a handmade gift during the holiday season. We hope this guide has inspired you to try this fun craft. Don’t hesitate to share your experiences, finished pumpkins, or any creative customization ideas you’ve come up with!
3D Paper Pumpkin Craft
Ingredients
Method
- Stack two pieces of orange construction paper and fold them in half. Cut out half pumpkin shapes along the folded edge. Create at least 4 half pumpkins.
- Unfold the half pumpkins to reveal full pumpkin shapes.
- Apply glue with a glue stick to the back of one folded pumpkin piece, covering one half, then place another folded piece on top.
- Continue gluing pieces together until you have 3 to 4 pieces in a circular formation.
- Attach the bottom of your paper pumpkin to the final piece of construction paper using glue.
- Cut a 1-inch piece of brown pipe cleaner for the stem and a 2-inch piece of green pipe cleaner for the vine.
- Wrap the green pipe cleaner around a pencil to create a spiral vine.
- Use the glue gun to attach the brown pipe cleaner as the stem and the spiral green pipe cleaner as the vine.
- Repeat the steps to create more pumpkins as desired.