Ingredients
Method
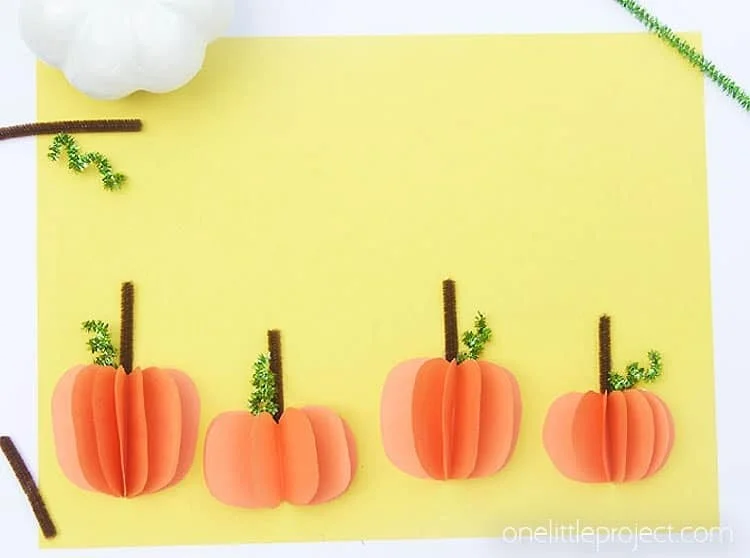
Creating the Pumpkin
- Stack two pieces of orange construction paper and fold them in half. Cut out half pumpkin shapes along the folded edge. Create at least 4 half pumpkins.
- Unfold the half pumpkins to reveal full pumpkin shapes.
- Apply glue with a glue stick to the back of one folded pumpkin piece, covering one half, then place another folded piece on top.
- Continue gluing pieces together until you have 3 to 4 pieces in a circular formation.
- Attach the bottom of your paper pumpkin to the final piece of construction paper using glue.
- Cut a 1-inch piece of brown pipe cleaner for the stem and a 2-inch piece of green pipe cleaner for the vine.
- Wrap the green pipe cleaner around a pencil to create a spiral vine.
- Use the glue gun to attach the brown pipe cleaner as the stem and the spiral green pipe cleaner as the vine.
- Repeat the steps to create more pumpkins as desired.
Notes
Opt for colorful construction paper and take your time cutting out shapes for better results. Store finished pumpkins in a dry place to prevent damage.