Green Chilaquiles
If you’re looking for a healthy twist on classic comfort food, try Green Chilaquiles! This dish offers a delicious blend of crispy corn tortillas and zesty salsa verde, making it a lighter option that’s perfect for any meal. Packed with fresh ingredients, it’s a great choice for meal prep and a satisfying high protein meal.
WHY YOU WILL LOVE THIS Green Chilaquiles
Green Chilaquiles is a delightful Mexican dish that not only satisfies cravings but also supports a healthy lifestyle. With its emphasis on fresh vegetables and wholesome ingredients, this recipe is naturally low calorie and a fantastic option for weight loss. You can customize it to be gluten free, low carb, and even diabetic-friendly by carefully selecting your ingredients. Plus, the inclusion of eggs makes this a high protein meal, ideal for anyone looking to boost their protein intake!
EQUIPMENT NEEDED
Equipment 1: Skillet
A good non-stick skillet is essential for frying the corn tortillas. It ensures that your tortillas become crispy without sticking, making the process easier and cleaner.
Equipment 2: Paper Towels
Paper towels are necessary for draining the excess oil from the fried tortillas. This step is crucial for keeping your chilaquiles a lighter option.
Equipment 3: Knife and Cutting Board
A sharp knife and sturdy cutting board are required for cutting the corn tortillas into triangles. They also come in handy when prepping fresh garnishes like onions and cilantro.
INGREDIENTS
Ingredient 1: Corn Tortillas
Corn tortillas are the star of this dish. They are gluten-free, low in calories, and serve as the perfect base for the chilaquiles. When fried, they become crispy and delicious, creating the ideal texture for this recipe.
Ingredient 2: Salsa Verde
Salsa verde adds a zesty flavor that elevates the dish. Made from tomatillos, it’s a healthy option that’s rich in vitamin C and can be made fresh or store-bought for convenience.
Ingredient 3: Eggs (optional)
Fried eggs are optional, but they provide an additional protein boost to the dish. Eggs are versatile and can be cooked to your liking, offering a deliciously creamy texture when added to the chilaquiles.
Ingredient 4: Oil (for frying)
Use a small amount of oil for frying your tortillas. Opting for healthier oils like avocado or olive oil can enhance the overall health benefits of this dish.
Ingredient 5: Salt
Salt is a basic seasoning that brings out the flavors of the ingredients. Use it sparingly to keep the dish heart healthy.
Ingredient 6: Cheese (optional)
Cheese is a flavorful addition that can enrich the dish. Choose a low-fat cheese for a healthier option that will still provide a satisfying taste.
Ingredient 7: Onion and Cilantro (for garnish, optional)
Fresh onion and cilantro provide a refreshing garnish. Both ingredients add extra flavor and nutrients, making your chilaquiles more vibrant and healthy.
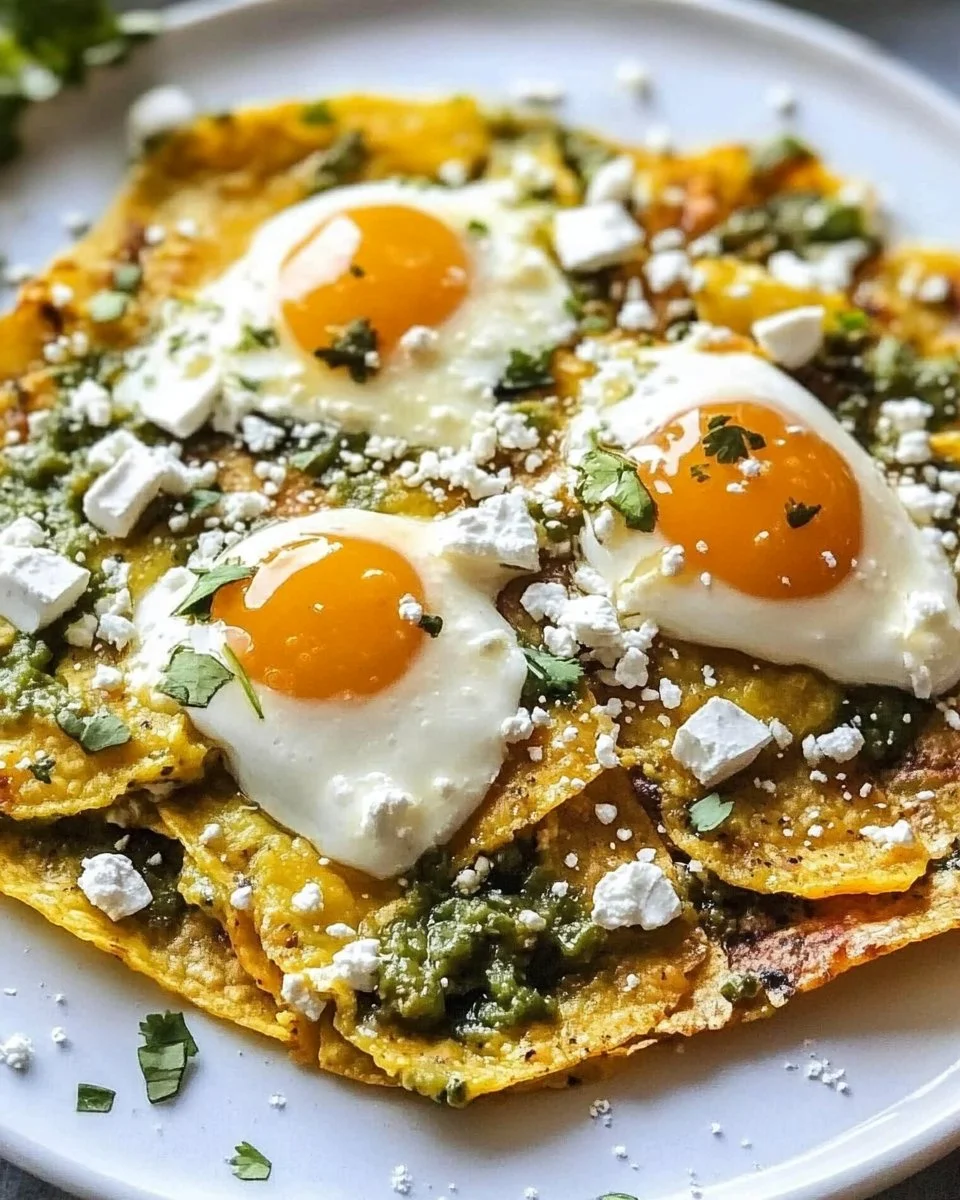
HOW TO MAKE Green Chilaquiles
Step 1: Cut the Tortillas
Start by cutting your corn tortillas into triangles. You can make them small or large, depending on your preference.
Step 2: Fry the Tortillas
In your non-stick skillet, heat a small amount of oil over medium heat. Once hot, add the tortilla triangles. Fry them until they turn golden brown and crispy. This should take about 2-3 minutes.
Step 3: Drain the Tortillas
Once they are crispy, remove the fried tortillas from the skillet and drain them on paper towels. This will help eliminate excess oil and keep your dish lighter and healthier.
Step 4: Prepare the Salsa Verde
In the same skillet, add your salsa verde. Stir it and bring it to a simmer over medium heat. Let it heat through, which should take about 2-3 minutes.
Step 5: Combine Tortillas and Salsa
Add the fried tortillas to the simmering salsa verde. Gently stir to coat the tortillas evenly. Make sure each piece is well-covered to soak in that delicious flavor.
Step 6: Fry the Eggs (optional)
If you choose to add eggs, now’s the time to fry them to your liking. You can make them sunny-side up, over-easy, or scrambled—whatever suits you best!
Step 7: Serve and Garnish
Serve the chilaquiles hot, topped with your fried eggs (if using), a sprinkle of cheese, and garnished with fresh onion and cilantro. Enjoy!
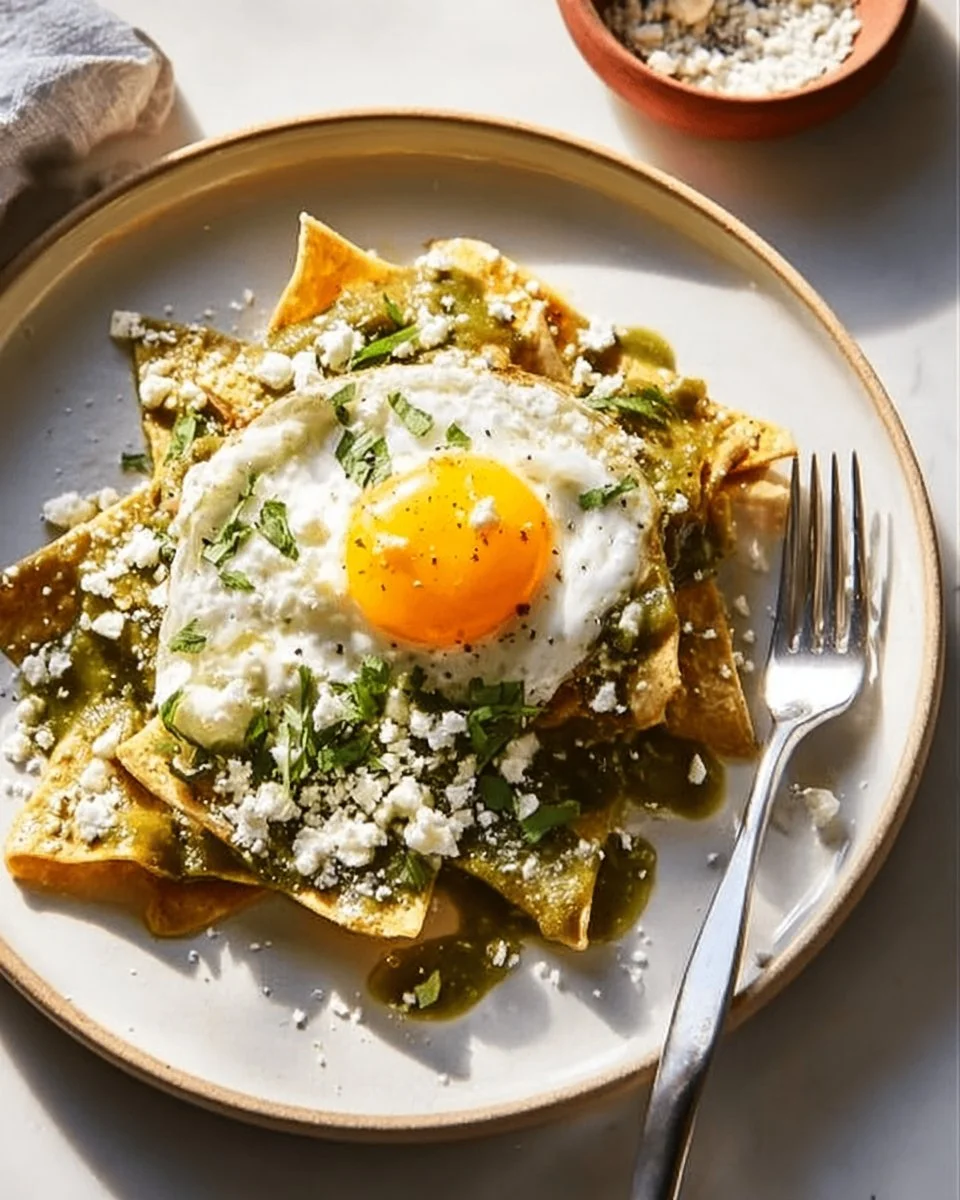
TIPS AND TRICKS
- Meal Prep: This dish is excellent for meal prep. You can prepare the salsa verde and fry the tortillas ahead of time, storing them separately in the refrigerator. Just combine and heat when ready to eat.
- Storage: If you have leftovers, store them in an airtight container in the fridge for up to 2 days. Although the tortillas may lose some crispiness, reheating in an air fryer can help restore some texture.
- Health Variations: Consider adding black beans or diced avocado to boost fiber and healthy fats. These additions can also enhance the meal’s texture and flavor.
- Gluten Free: Always confirm that your corn tortillas are labeled gluten-free, as some brands may mix with other types of flour.
Green Chilaquiles FAQ
Is this recipe diabetic-friendly?
Yes, by using fresh ingredients and controlling the amount of oil and cheese, you can make this dish suitable for a diabetic diet, especially by adding more vegetables or proteins.
How can I make this recipe lower in calories?
To create a lower-calorie version, limit the amount of oil used for frying and opt for a smaller portion of cheese, or use a low-fat cheese option.
Can I store leftovers?
Yes, you can store leftovers in an airtight container in the fridge for up to 2 days. Just remember that the tortillas may lose their crispiness.
What are some ways to customize this dish?
You can customize Green Chilaquiles by adding proteins like grilled chicken or turkey. Vegetarian options include black beans or sautéed vegetables for added nutrients.
CONCLUSION
Green Chilaquiles is not just a tasty dish; it’s also a healthy version of a classic favorite! With its emphasis on wholesome ingredients, this recipe is great for meals that support weight loss, offer high protein content, and can be easily adjusted to fit dietary needs, such as gluten-free or low-carb lifestyles.
Try making this refreshing and flavorful dish, and you will surely enjoy every bite! Don’t forget to share your experiences or variations with us; we love hearing how you make this recipe your own!
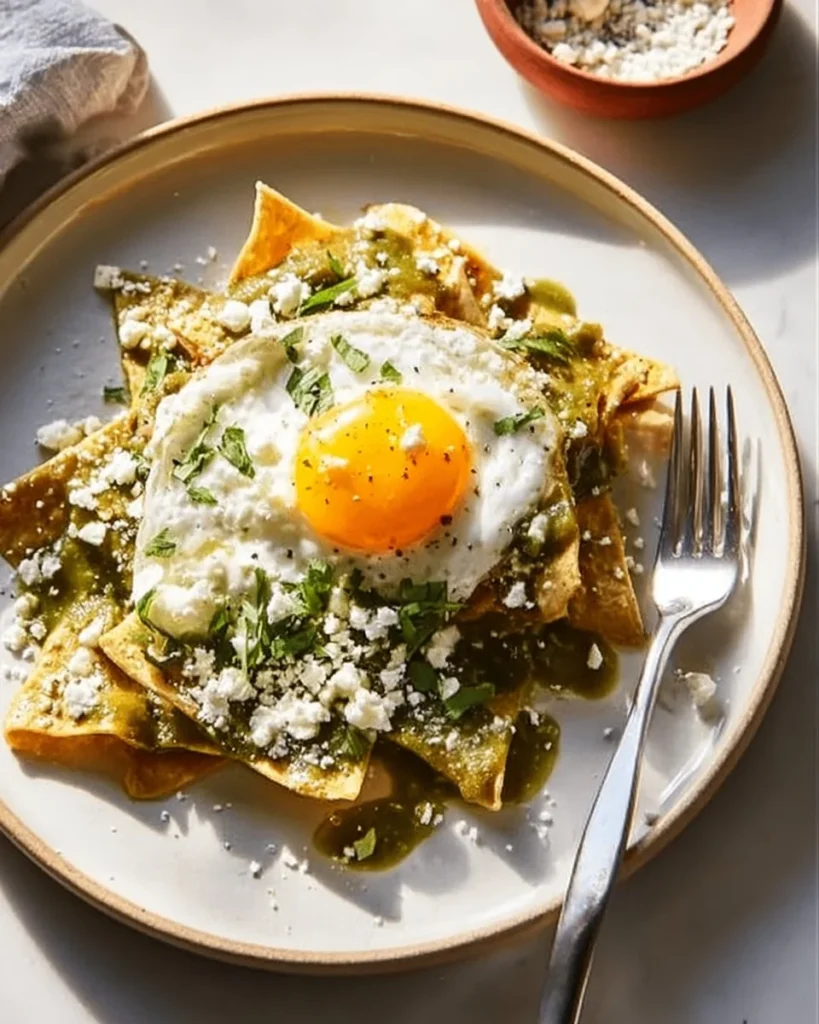
Green Chilaquiles
Ingredients
Method
- Cut the corn tortillas into triangles.
- In a non-stick skillet, heat a small amount of oil over medium heat. Add the tortilla triangles and fry until golden brown and crispy, about 2-3 minutes.
- Remove the fried tortillas from the skillet and drain them on paper towels.
- In the same skillet, add the salsa verde and bring to a simmer over medium heat for about 2-3 minutes.
- Add the fried tortillas to the simmering salsa verde and gently stir to coat them evenly.
- If using, fry the eggs to your liking.
- Serve the chilaquiles hot, topped with fried eggs (if using), cheese, and garnished with fresh onion and cilantro.