Pumpkin Fairy House
Creating a delightful Pumpkin Fairy House is a cozy and charming DIY craft project that can add a magical touch to your home decor this fall. This easy craft not only allows you to get creative but also makes for a fantastic seasonal decoration. Using simple materials that you might already have at home, this project is budget-friendly and perfect for beginners. Whether you are looking for fun crafts to do alone or with family, this Pumpkin Fairy House will inspire your holiday spirit and creativity.
WHY YOU WILL LOVE THIS Pumpkin Fairy House
Making a Pumpkin Fairy House is an engaging and rewarding experience. Here are a few reasons you’ll enjoy this craft:
- Easy for Beginners: This craft requires no special skills, making it a beginner-friendly option.
- Uses Simple Materials: Most materials are natural or easily sourced, promoting an eco-friendly mindset with upcycled crafts.
- Budget-Friendly: You can create this charming piece without breaking the bank.
- Quick to Make: With an estimated time of a few hours, you can enjoy quick gratification as you bring your idea to life.
- Great for Home Decor: This unique decoration can enhance your indoor or outdoor spaces during the fall season.
- Awesome for Gifts: Share the joy of crafting with friends or family by gifting your pumpkin house as a lovely handmade gift.
- Versatile Seasonal Decor: This creative DIY project fits perfectly into your Halloween or Thanksgiving decorations.
- Easy to Customize: You can personalize your fairy house with various decorations, colors, and materials.
PROJECT DETAILS
Here’s a quick overview of the Pumpkin Fairy House project.
Skill Level
Beginner-friendly – No advanced crafting skills are required.
Estimated Time
Approximately 2-4 hours, depending on the level of detail you want to achieve.
Approximate Cost
Most materials can be sourced for about $20, making this a budget-friendly craft.
Best For
Great for individuals and families looking for seasonal crafts or holiday projects.
Project Type
Homemade decor ideal for Halloween, Thanksgiving, or general autumn decor.
TOOLS AND EQUIPMENT NEEDED
To create your Pumpkin Fairy House, you will need a few simple tools.
Craft Tools
Basic crafting tools like scissors and glue are essential for assembling your fairy house.
Wire Snips
Use these to cut small twigs and sticks to the desired lengths for your fairy house features.
Fan
A small fan can help speed up the drying time of Mod Podge when applying it to your project.
MATERIALS
Here is a list of materials you’ll need for this charming project.
Pumpkin
Choose a fresh pumpkin or a faux one. This will be the base of your fairy house.
Sticks
Use small twigs to create doors and other decorative elements of your fairy house.
Twigs
These can serve as additional accents and details for the house.
Pinecones
Use pinecones to create decorative touches that add to the natural look.
Wood Slices
These can be used to build stairs for the fairy house.
Pebbles or Rocks
These will create a charming pebble path leading to your fairy house.
Moss
Cover the top of the pumpkin to mimic a rustic roof.
Faux Flowers
These can add to the whimsical look of your fairy house and are easy to arrange.
Yellow Card Stock
Cut this into shapes for windows to bring your fairy house to life.
Miniature Birds
These can be added as cute decorations near the bird bath.
Small Clay Pot
This can serve as a birdbath in your fairy house setup.
Tray
A tray can be used to display your entire project.
Miniature Scarecrow
Use it to enter a festive autumn theme in your fairy house.
Styrofoam Balls
These can be painted and used to resemble toadstools.
Red Paint
For painting the Styrofoam balls for a classic toadstool look.
White Paint
Use this to create a painted accent for various features.
Raffia
Add some rustic style by tying raffia with twine to create decorative elements.
Twine
Twine can be used for tying elements together and along with raffia.
Foam Core Board
This serves as the base for your fairy house.
Mod Podge
Essential for sealing your decorations and adding durability.
White Craft Glue
This will hold many elements in place, ensuring a strong bond.
Scissors
Basic scissors are needed for cutting materials as required.
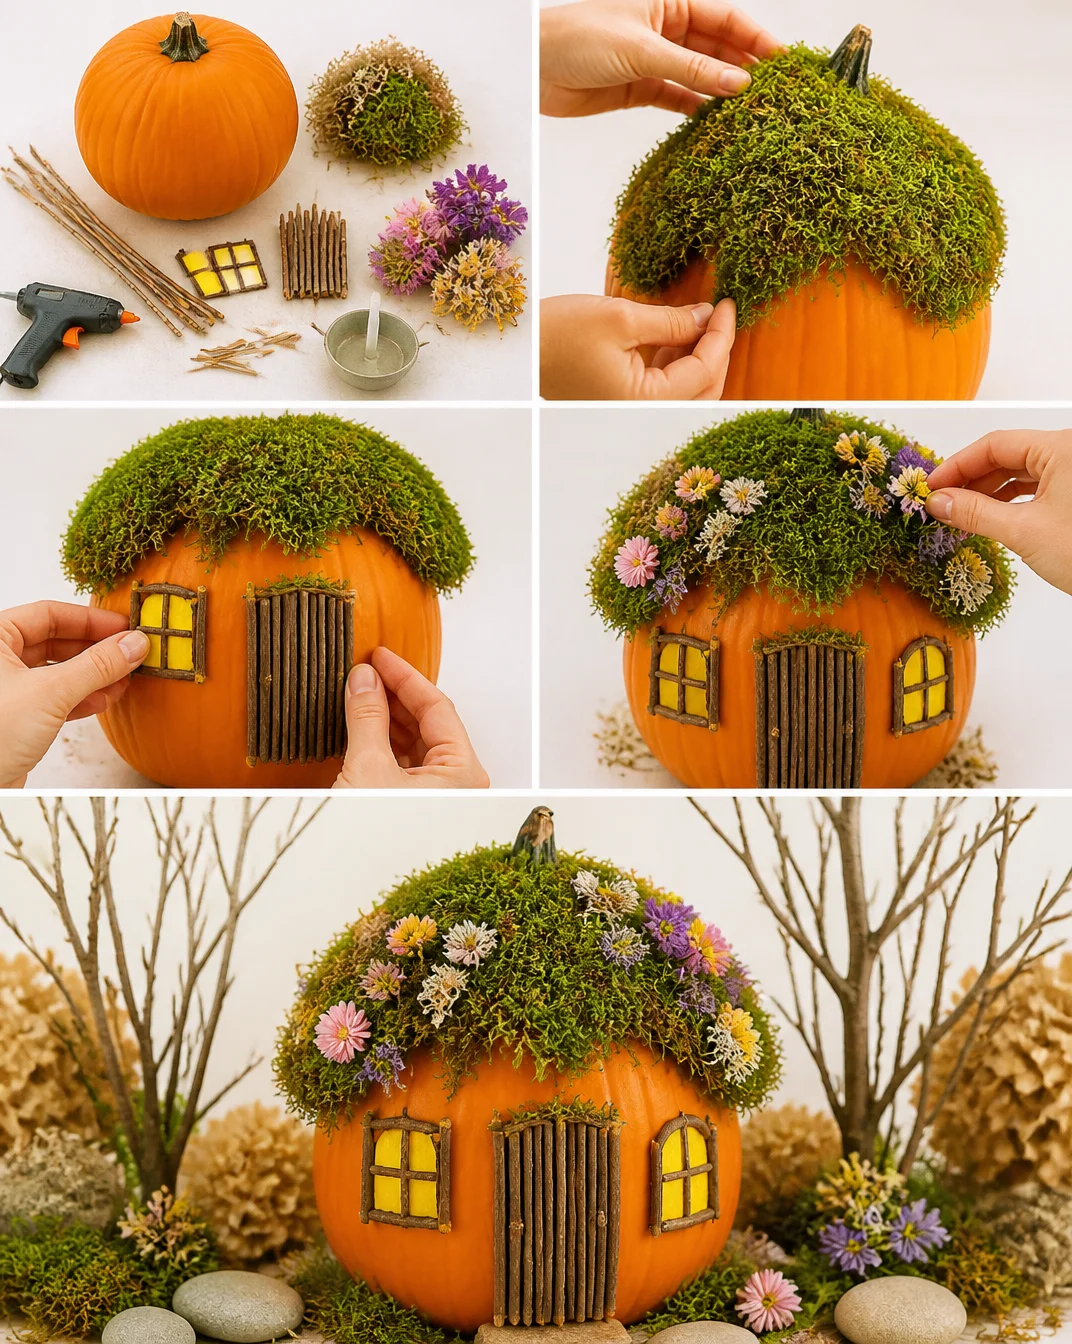
HOW TO MAKE Pumpkin Fairy House
Follow these steps to create your own Pumpkin Fairy House.
Step 1: Wash and Dry the Pumpkin
Start by cleaning your pumpkin. If you’re using a real pumpkin, wash it to remove any dirt. Pat it dry thoroughly to ensure it’s ready for decorating.
Step 2: Cut Twigs for the Door
Cut small twigs using wire snips and glue them together to form a door. This step adds a whimsical touch to your fairy house.
Step 3: Build Stairs Using Wood Slices
Arrange wood slices to resemble stairs leading up to the door. Glue them in place securely, making them look like a charming entryway.
Step 4: Create Windows
Cut out shapes from yellow card stock to serve as windows. Frame these with twigs and glue them onto the pumpkin for a cozy look.
Step 5: Cover the Top with Moss
Use moss to cover the top of the pumpkin, creating a beautiful roof effect for your fairy house.
Step 6: Create a Pebble Path
Place a piece of foam core board as the base for your whole setup. Lay down a pebble path using glue and pebbles, guiding visitors to your pumpkin house.
Step 7: Cover the Remaining Foam Core
Cover the rest of the foam core with moss, ensuring only the area where the pumpkin sits is left bare.
Step 8: Apply Mod Podge
Coat over the pebble path with Mod Podge to help secure the pebbles in place. Use a fan to help speed up the drying process and allow it to dry overnight.
Step 9: Add Decorative Details
Glue pinecones, decorate with raffia tied with twine for corn stalks, and paint Styrofoam balls red and white to create cute toadstools.
Step 10: Glue Miniature Birds
Attach miniature birds to the clay pot that will serve as a birdbath. Place this delightful feature near your pumpkin house.
Step 11: Final Creative Touches
Get creative! Add any additional decorations that inspire you, making your pumpkin fairy house truly unique.
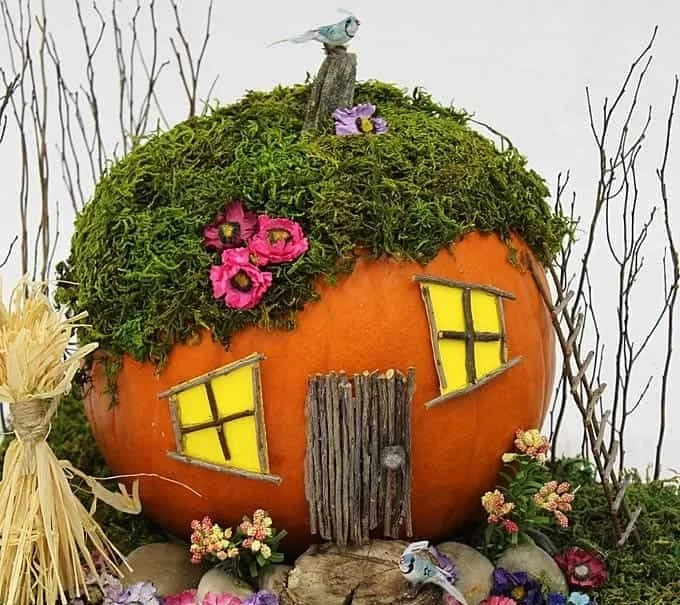
TIPS AND TRICKS
Here are some handy tips to help ensure your crafting experience is enjoyable and successful.
- Choosing Materials: Look for sticks and twigs in your backyard or neighborhood to save money while also being eco-friendly.
- Cutting and Gluing: Use sharp scissors for precise cuts and apply glue generously to ensure pieces stay together.
- Avoiding Common Mistakes: Take your time with each step and let the glue dry properly before moving on, which will prevent items from coming loose.
- Making the Craft Last Longer: Store your fairy house in a cool and dry place once the project is completed to avoid decay for real pumpkins.
- Working Safely: Always supervise children while crafting, especially when using tools like scissors or small decorative items.
VARIATIONS AND CUSTOMIZATION IDEAS
Feel free to customize your Pumpkin Fairy House! Here are several ideas to inspire you.
- Different Colors: Change up the paint colors used on the Styrofoam balls for a unique twist.
- Larger or Smaller Sizes: Experiment with the size of your pumpkin choice to create various themed houses.
- Seasonal Versions: Consider making a winter version later with different colors and decorations for snow.
- Different Textures: Explore using different materials, like fabric or scrap paper, to invent new textures and designs.
- Personalized Versions: Use initials or small handmade signs to personalize your fairy house for specific recipients.
Pumpkin Fairy House FAQ
Is this Pumpkin Fairy House project difficult?
No, this is a beginner-friendly craft that’s perfect for anyone looking for easy DIY project options.
How long does it take to make this craft?
You can expect to spend about 2-4 hours completing the entire Pumpkin Fairy House project.
What materials are needed for the Pumpkin Fairy House?
You will need a pumpkin, twigs, wood slices, pebbles, decorative moss, and other craft supplies to create your fairy house.
How should I store my finished pumpkin craft?
If made with a real pumpkin, store it in a cool, dry area. For longer durability, you can use faux pumpkins.
Can I customize the decorations on my fairy house?
Absolutely! Get creative with different colors, shapes, and materials to personalize your Pumpkin Fairy House.
CONCLUSION
The Pumpkin Fairy House is an easy craft idea that brings a charming touch of whimsy to your fall decor. It’s a simple craft that requires just a few materials and a bit of creativity, making it perfect for beginners. This project is budget-friendly and allows for endless customization, suited for gift-giving or enhancing your seasonal home decor.
Give this DIY home decor craft a try and let your imagination shine. We would love to know how your Pumpkin Fairy House turned out! Share your completed project or any customization ideas you may have. Happy crafting!
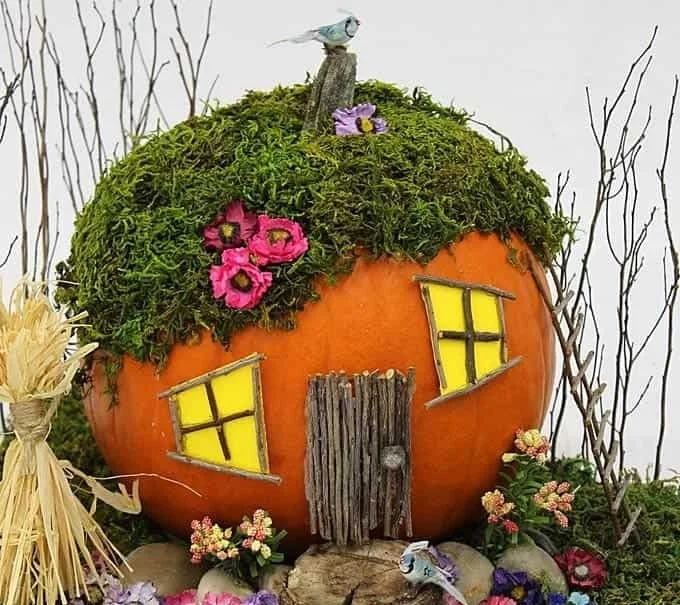
Pumpkin Fairy House
Ingredients
Method
- Step 1: Wash and Dry the Pumpkin. Clean your pumpkin and pat it dry thoroughly.
- Step 2: Cut Twigs for the Door. Cut small twigs using wire snips and glue them together to form a door.
- Step 3: Build Stairs Using Wood Slices. Arrange wood slices to resemble stairs and glue them in place.
- Step 4: Create Windows. Cut out shapes from yellow card stock for windows and glue them on.
- Step 5: Cover the Top with Moss. Use moss to create a roof effect.
- Step 6: Create a Pebble Path. Lay down a pebble path on a piece of foam core board using glue.
- Step 7: Cover the Remaining Foam Core with Moss. Ensure only the area where the pumpkin sits is left bare.
- Step 8: Apply Mod Podge. Coat the pebble path with Mod Podge and use a fan to speed up drying.
- Step 9: Add Decorative Details. Glue pinecones, decorate with raffia, and paint Styrofoam balls.
- Step 10: Glue Miniature Birds. Attach miniature birds to the clay pot and place it near your pumpkin house.
- Step 11: Final Creative Touches. Add any additional decorations that inspire you.