Homemade Zucchini Bread
If you’re looking for a delicious and healthy treat, this homemade zucchini bread recipe is just what you need. Packed with fiber, this recipe is a great choice if you’re interested in meal prep, weight loss, or even just a tasty snack. Plus, it’s diabetic-friendly, low calorie, and can be made with gluten-free ingredients if necessary. Let’s dive into the details of how to make this delightful homemade zucchini bread!
WHY YOU WILL LOVE THIS Homemade Zucchini Bread
Homemade zucchini bread combines sweetness with a delightful hint of spice, making each slice a treat. This recipe utilizes fresh zucchini, providing essential vitamins and minerals. What’s more, this zucchini bread is:
- Healthy Version: It offers a lighter option compared to many traditional bread recipes.
- High in Fiber: The zucchini adds a good amount of fiber, promoting digestive health.
- Meal Prep Friendly: This bread is perfect for preparing ahead of time for busy days.
- Great for Weight Loss: With its lower sugar content and healthy ingredients, it helps in weight management.
- Flexible: You can easily add nuts or chocolate chips to suit your preferences.
EQUIPMENT NEEDED
Equipment 1: Loaf Pan
A standard loaf pan is essential for baking. It gives the bread its classic shape. For the best results, use a non-stick or greased pan to ensure easy removal.
Equipment 2: Large Mixing Bowl
This bowl is necessary for mixing your wet ingredients. It should be large enough to accommodate the grated zucchini and other ingredients comfortably.
Equipment 3: Mixing Spoon
A sturdy mixing spoon, preferably wooden or silicone, is perfect for combining ingredients without damaging your bowl.
Equipment 4: Whisk
A whisk is useful for thoroughly mixing eggs and wet ingredients to ensure a smooth batter.
Equipment 5: Oven
Your oven is crucial for baking the zucchini bread evenly. Be sure it’s preheated to the right temperature for optimal results.
INGREDIENTS
Ingredient 1: 2 cups grated zucchini
Zucchini is the star of this recipe. It adds moisture, fiber, and a slight sweetness while keeping the bread tender. It’s also low in calories, making it an excellent addition for a healthy version.
Ingredient 2: 1 cup all-purpose flour
All-purpose flour provides the structure for the bread. You can substitute it with gluten-free flour to make this recipe suitable for those with gluten sensitivities.
Ingredient 3: 1 cup sugar
Sugar adds sweetness to the zucchini bread. You can consider reducing the amount for a healthier option, or using a low-calorie sweetener if desired.
Ingredient 4: 1/2 cup vegetable oil
This ingredient contributes to the moist texture of the bread. You may substitute it with applesauce for a lower calorie version.
Ingredient 5: 2 eggs
Eggs bind the ingredients together and help with the rising process, creating a fluffy texture in the finished bread.
Ingredient 6: 1 teaspoon vanilla extract
Vanilla extract enhances the flavor profile. It brings warmth and richness to the zucchini bread that everyone will love.
Ingredient 7: 1 teaspoon baking soda
Baking soda acts as a leavening agent and helps the bread rise. It’s essential for achieving that light and airy texture.
Ingredient 8: 1/2 teaspoon baking powder
Like baking soda, baking powder helps with leavening and provides lift to the bread.
Ingredient 9: 1/2 teaspoon salt
Salt is crucial for balancing flavors. It enhances sweetness and suppresses bitterness in baked goods.
Ingredient 10: 1 teaspoon ground cinnamon
Cinnamon adds a comforting and aromatic spice to the bread, elevating its flavor and making it smell delightful while baking.
Ingredient 11: 1/2 cup chopped nuts (optional)
Nuts add healthy fats, protein, and crunch to the bread. They make it more filling and nutritious, perfect for meal prep.
Ingredient 12: 1/2 cup chocolate chips (optional)
For a sweeter version, add chocolate chips. They bring a delightful surprise with each bite while still keeping the bread enjoyable for weight loss when consumed in moderation.
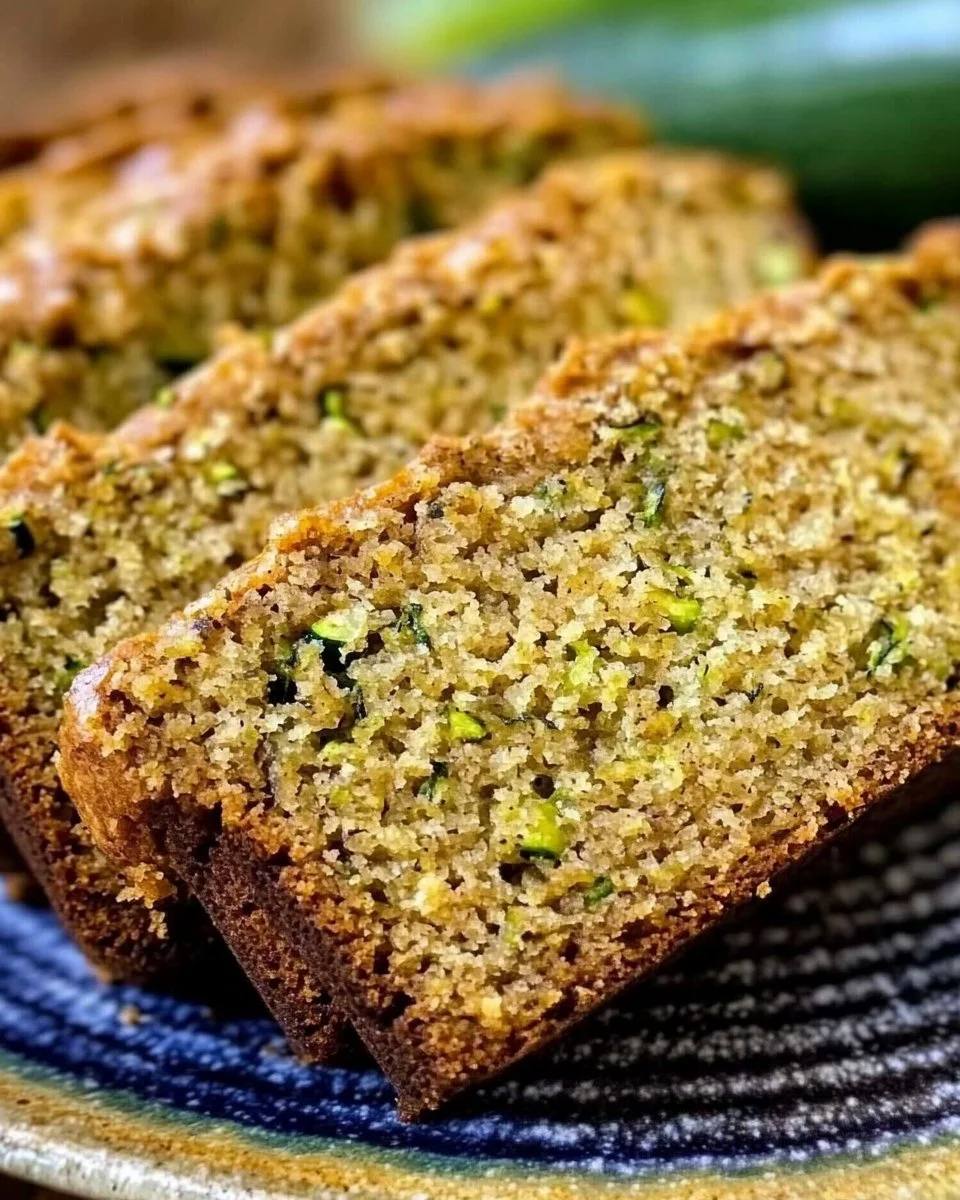
HOW TO MAKE Homemade Zucchini Bread
Step 1: Preheat the Oven
Preheat the oven to 350°F (175°C). Greasing your loaf pan at this stage helps avoid sticking during baking. A little cooking spray or oil works well.
Step 2: Mix Wet Ingredients
In a large bowl, combine the grated zucchini, sugar, vegetable oil, eggs, and vanilla extract. Use the whisk to ensure that everything is mixed thoroughly.
Step 3: Combine Dry Ingredients
In another bowl, mix the flour, baking soda, baking powder, salt, and ground cinnamon. Make sure there are no lumps so your bread will rise evenly.
Step 4: Combine Wet and Dry Mixtures
Gradually add the dry ingredients to the wet mixture. Mix gently until just combined. Be careful not to overmix, as that can lead to tough bread.
Step 5: Add Nuts and Chocolate Chips
If you’re using nuts or chocolate chips, gently fold them into the batter now. This step adds crunch and sweetness, enhancing the flavor.
Step 6: Pour into Loaf Pan
Pour the batter into the prepared loaf pan. Use a spatula to smooth the top and ensure it is level for even baking.
Step 7: Bake
Place the loaf pan in the preheated oven. Bake for 50-60 minutes or until a toothpick inserted into the center comes out clean. This is a key step to ensure your bread is thoroughly cooked.
Step 8: Cool and Slice
After baking, allow the bread to cool in the pan for 10-15 minutes, then transfer it to a wire rack to cool completely. Once cooled, slice and serve your delicious homemade zucchini bread!
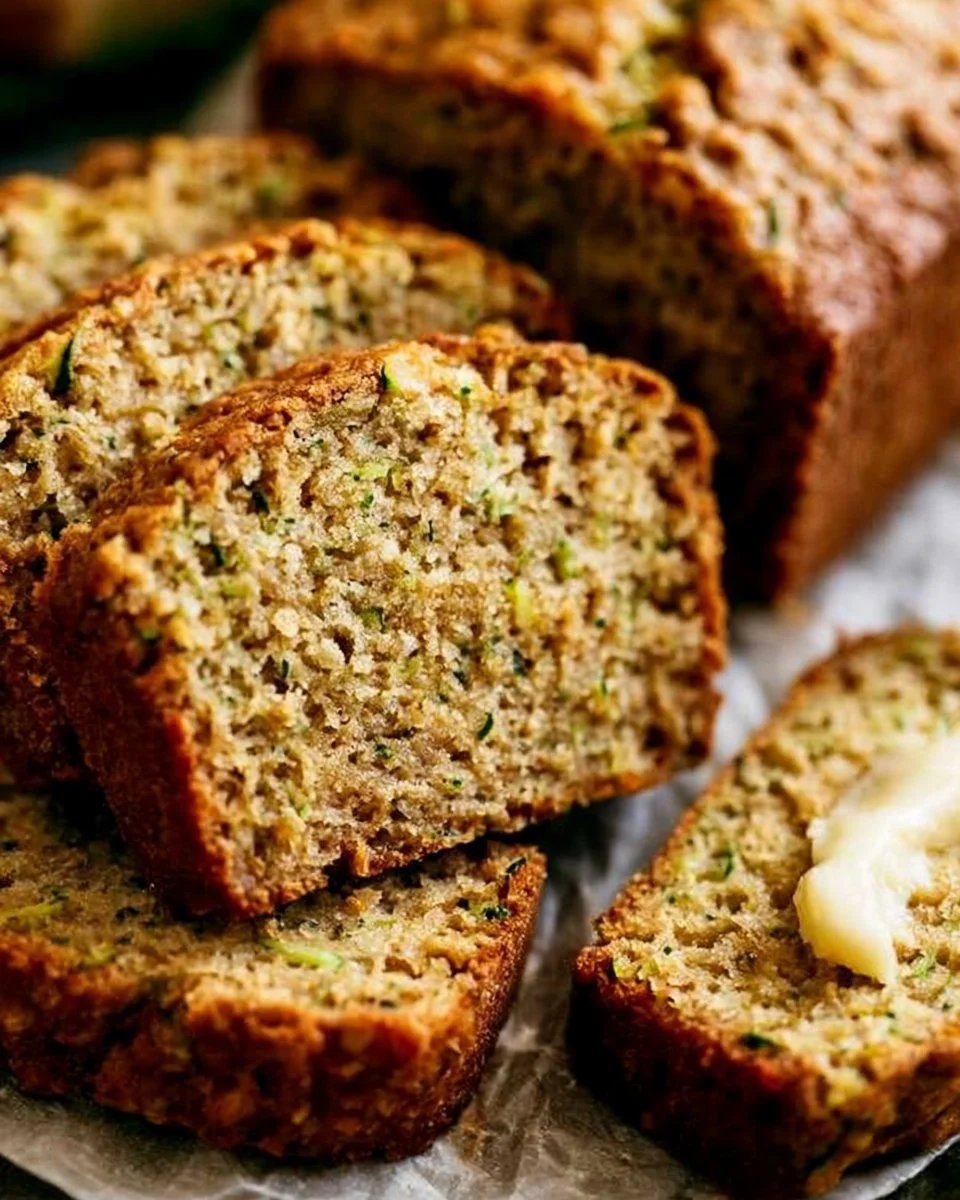
TIPS AND TRICKS
- Healthy Swaps: For a low-calorie version, substitute half of the sugar with applesauce or a low-calorie sweetener.
- Meal Prep: This zucchini bread keeps well in the fridge for about a week. You can slice it up and store it in airtight containers for quick snacks.
- Storage: To keep your bread fresh, store it in a cool, dry place. Freezing slices works great; just wrap them tightly in plastic wrap or foil before placing in a freezer bag.
- Variations: Feel free to experiment with the recipe! Add in some dried fruits, seeds, or even swap out spices to find your perfect flavor combination.
Homemade Zucchini Bread FAQ
Is zucchini bread healthy?
Yes, zucchini bread can be a healthy treat, especially when you use whole ingredients and reduce added sugars. It’s also a good source of fiber and essential nutrients.
How can I store leftovers?
You can store zucchini bread in an airtight container in the fridge for up to a week. For longer storage, wrap slices tightly and freeze them for up to three months.
Can I make this recipe gluten-free?
Absolutely! Simply substitute the all-purpose flour with a gluten-free flour blend. This way, you can enjoy the same flavors and textures without gluten.
Is it suitable for weight loss?
Yes! This homemade zucchini bread is lower in calories compared to many other bakes, especially if you reduce the sugar and use healthy fats. It’s also filling due to its fiber content, making it a good snack for weight loss.
CONCLUSION
Homemade zucchini bread is a perfect blend of flavor and nutrition. With its high fiber content and lower sugar, it’s a great option for those looking for a healthy, hearty snack or breakfast. Whether you’re preparing it for your meal prep or just enjoying a slice with your afternoon tea, this recipe will not disappoint.
So why not give it a try? Feel free to share your variations or experiences in the comments below. Happy baking!
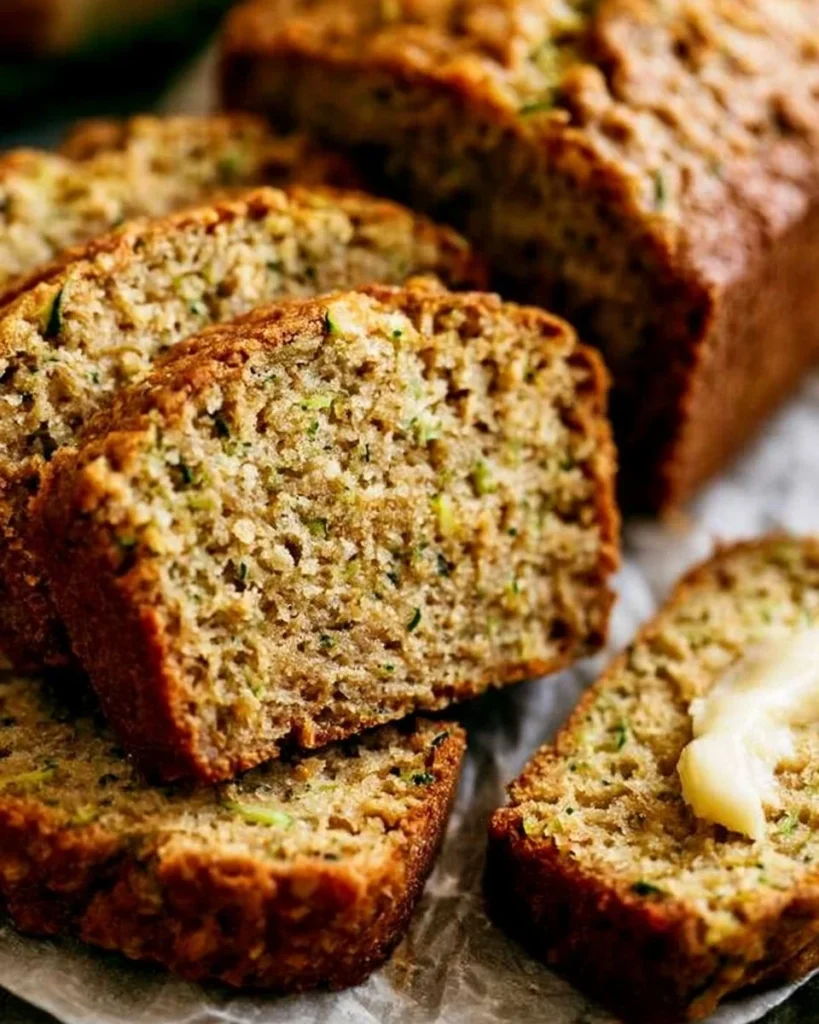
Homemade Zucchini Bread
Ingredients
Method
- Preheat the oven to 350°F (175°C) and grease a loaf pan.
- In a large bowl, combine the grated zucchini, sugar, vegetable oil, eggs, and vanilla extract. Whisk until mixed thoroughly.
- In another bowl, mix together the flour, baking soda, baking powder, salt, and ground cinnamon until no lumps remain.
- Gradually fold the dry ingredients into the wet mixture until just combined; be careful not to overmix.
- Gently fold in the nuts and chocolate chips if using.
- Pour the batter into the prepared loaf pan and smooth the top.
- Bake in the preheated oven for 50-60 minutes or until a toothpick inserted into the center comes out clean.
- Allow the bread to cool in the pan for 10-15 minutes, then transfer to a wire rack to cool completely.