Halloween Clay Decorations
Halloween is an exciting time of year, filled with spooky decorations, parties, and creative activities. If you’re looking for a fun, easy craft to celebrate the season, then making Halloween clay decorations is an excellent choice! This easy DIY project allows you to create charming decorations that will add a festive touch to your home. With just a few simple materials and steps, you can make unique handmade decor that’s perfect for Halloween parties, seasonal displays, or as delightful gifts for friends and family.
WHY YOU WILL LOVE THIS Halloween Clay Decorations
Creating Halloween clay decorations is a fantastic way to enjoy the craft of homemade decor while also giving you and your family a chance to get creative. Here are several reasons why you’ll love this project:
- Easy for beginners: This craft is straightforward and perfect for those new to DIY projects. The steps are simple, making it an enjoyable experience for everyone.
- Uses simple materials: The materials needed are basic and easy to find, ensuring you can start making your decorations without a large shopping list.
- Budget-friendly: With minimal costs associated with the materials, this craft is perfect for anyone looking to create without breaking the bank.
- Quick to make: You won’t need to spend hours on this project. The time required is reasonable, allowing you to create multiple pieces in a short period.
- Great for home decor: These unique decorations will enhance your home atmosphere during Halloween, making your space feel festive and fun.
- Perfect for gifts: Your handmade creations can serve as charming gifts. Friends and family will appreciate the thought and effort behind a handmade gift.
- Easy to customize: You can personalize these decorations with various colors and designs, making each piece truly unique.
PROJECT DETAILS
This project is straightforward and enjoyable, making it a perfect choice for anyone interested in crafting.
Skill Level
Beginner: This is a simple craft that anyone can do, making it perfect for beginners or kids with adult supervision.
Estimated Time
Approximately 1.5 to 2 hours: This includes preparation, baking, and cooling time.
Approximate Cost
Under $20: The materials are inexpensive and can often be found at most craft stores or online.
Best For
This project is ideal for home decor enthusiasts, families looking to engage in crafting together, or anyone preparing for Halloween festivities.
Project Type
DIY project: A simple craft that results in handmade decorations for the holiday.
TOOLS AND EQUIPMENT NEEDED
Below are the essential tools and equipment you will need to create your Halloween clay decorations.
Oven
You will need an oven to bake the clay, which helps it harden and maintain its shape.
Baking Sheet
A flat surface to place your clay designs before baking. This ensures that they don’t stick or burn during the cooking process.
Rolling Pin or Smooth Glass Jar
Used to roll out the clay to the desired thickness before cutting out shapes.
Fine Tip Permanent Marker (Optional)
This tool is for adding small details and designs, such as smiles or patterns, on your decorations.
MATERIALS
Now let’s discuss the materials required to complete your Halloween clay decorations.
Oven Bake Clay
This is the primary material used for your decorations. Oven bake clay is easy to manipulate and holds its shape well while being baked.
Mini Googly Eyes
These fun, movable eyes add a playful element to your decorations. They help bring your clay shapes to life.
Hot Glue
You’ll need hot glue to securely attach googly eyes and any hair clips or brooch pins to your creations.
Plain Hair Clips or Brooch Pins
These serve as a way to display or wear your clay decorations. They can easily be attached to each piece with hot glue.
Small Halloween Cookie Cutters
These are used to cut your rolled-out clay into festive shapes, such as pumpkins, ghosts, or bats, making it a fun and creative project.
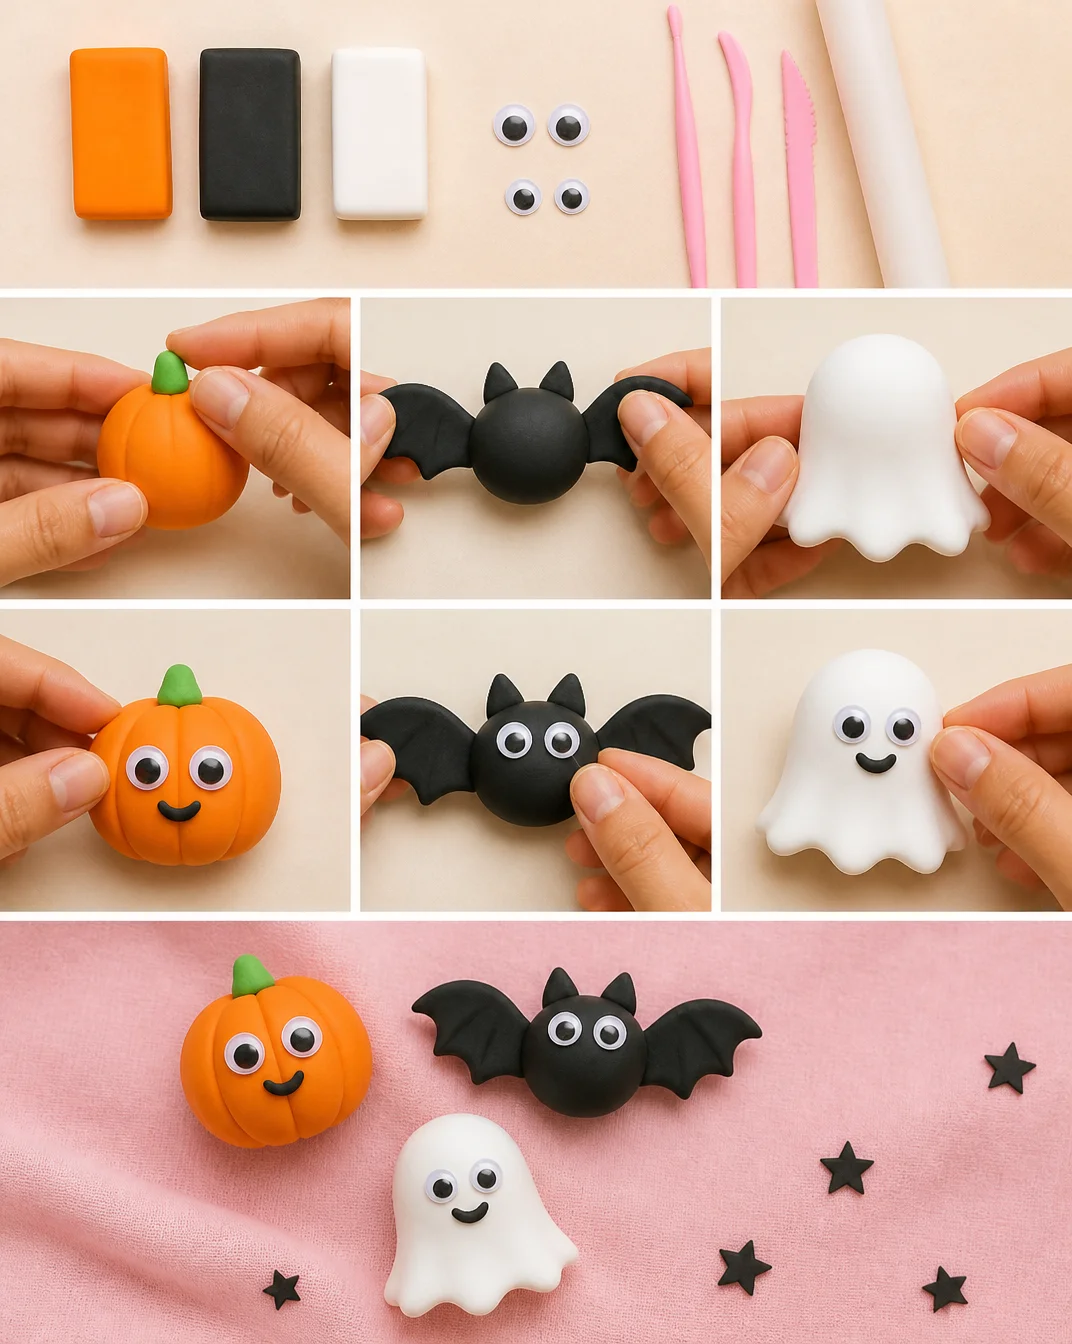
HOW TO MAKE Halloween Clay Decorations
Creating your Halloween clay decorations is easy and will result in charming pieces to display or give away. Follow the detailed steps below:
Step 1: Knead the Clay
Begin by warming the oven bake clay in your hands. Knead it until it becomes soft and pliable. This step ensures that the clay is manageable for rolling out.
Step 2: Roll the Clay
Use a rolling pin or a smooth glass jar to roll the softened clay flat to about 1/4 inch thick. Ensure the thickness is consistent, so your decorations bake evenly.
Step 3: Cut Out Shapes
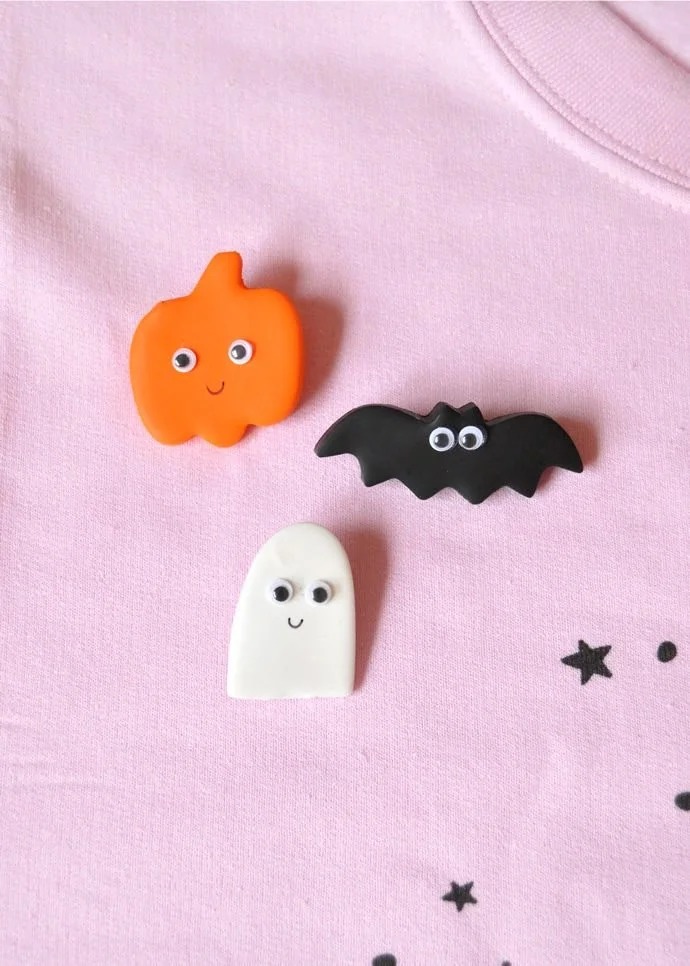
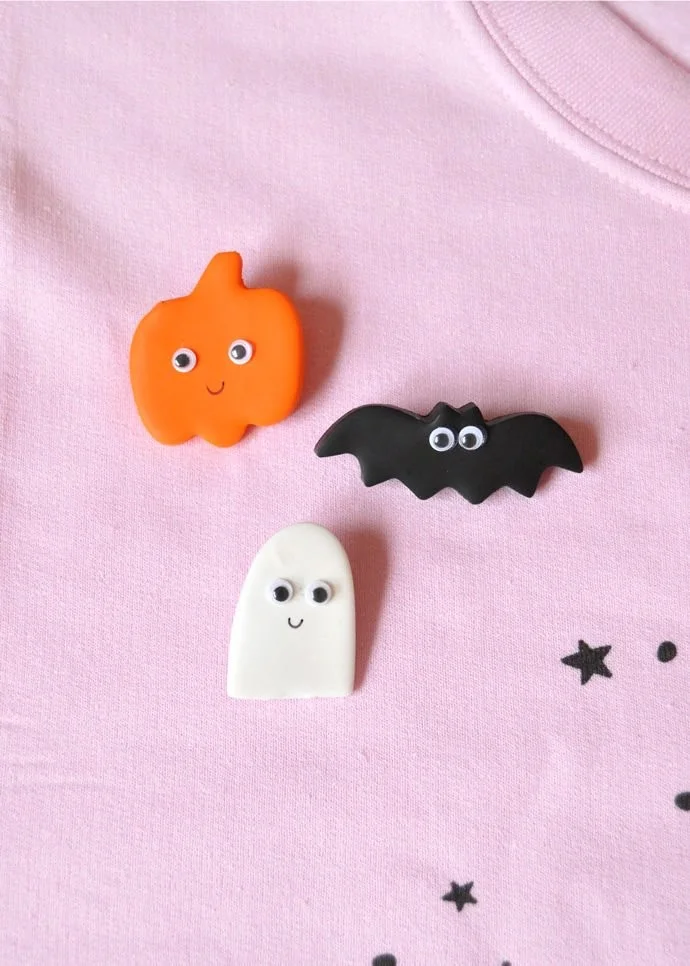
Using the small Halloween cookie cutters, cut out fun shapes from the rolled clay. You can make a variety of shapes like ghosts, pumpkins, and bats to create a fun Halloween theme.
Step 4: Bake the Clay Shapes
Place the clay shapes on a baking sheet lined with parchment paper. Bake them according to the instructions on the clay package. Usually, this takes about 30 minutes at 275°F (135°C).
Step 5: Let Cool
Once done baking, remove the shapes from the oven and let them cool completely. This step is crucial as it allows the clay to harden fully.
Step 6: Add Googly Eyes
Once the shapes are cool, hot glue mini googly eyes onto each shape. This will give your decorations a fun and whimsical look.
Step 7: Add Details (Optional)
You can use a fine tip permanent marker to draw tiny smiles or other designs on each shape if desired. This adds a personal touch.
Step 8: Attach Clips or Pins
Finally, hot glue hair clips or brooch pins onto the backs of your shapes. This will allow you to wear them or pin them onto bags, jackets, or display them in various ways.
TIPS AND TRICKS
Here are some practical tips to enhance your crafting experience:
- Choosing Materials: Opt for brightly colored oven bake clay if you want a more vibrant look. You can also mix colors or use metallic versions for a unique flair.
- Avoiding Common Mistakes: Ensure that your oven is set to the right temperature. Too high can burn the clay, while too low can leave it soft.
- Making the Project Easier: Prepare all your tools and materials before starting. Having everything at hand will make the process smoother.
- Getting a Better Finish: Allow your decorations to cool completely before adding any paint or glue. This prevents smudging and ensures a better finish.
- Saving Money: If you have leftover clay from previous projects, you can combine colors or create new shapes instead of buying new materials.
VARIATIONS AND CUSTOMIZATION IDEAS
You can easily customize your Halloween clay decorations. Here are some ideas:
- Different Colors: Use various colors of clay to match different Halloween themes or your home décor.
- Different Sizes: Create a range of sizes for a playful assortment of decorations.
- Seasonal Versions: Modify your designs to create decorations for other holidays, such as Christmas or Thanksgiving.
- Unique Patterns: Use stamps or tools to imprint patterns on the clay before baking to add texture.
- Personalized Versions: Write initials or names on the clay pieces to create custom gifts.
Halloween Clay Decorations FAQ
How difficult is this project for beginners?
This project is beginner-friendly and simple to follow. The steps are straightforward, making it easy for anyone to create beautiful decorations.
How long does it take to make these decorations?
It takes about 1.5 to 2 hours from start to finish, including baking time.
Can I store these decorations?
Yes, these clay decorations can be stored in a cool, dry place. They are durable and can last for many Halloweens if cared for properly.
What should I use to clean them?
If they get dusty, wipe them with a damp cloth. Avoid submerging them in water or cleaning them with harsh chemicals.
What if I don’t have an oven?
If you don’t have access to an oven, consider using air-dry clay. The process will be similar, but it won’t require baking.
CONCLUSION
Making Halloween clay decorations is an easy and enjoyable DIY project, great for beginners and perfect for the Halloween season. You can create charming pieces that enhance your home decor, serve as wonderful gifts, or decorate your next Halloween party. This budget-friendly craft is also highly customizable, allowing you to add your personal touch. So gather your materials, unleash your creativity, and enjoy making these delightful handmade decorations. Don’t forget to share your finished project or any customization ideas you have; we’d love to see them!
Halloween Clay Decorations
Ingredients
Method
- Begin by warming the oven bake clay in your hands. Knead it until it becomes soft and pliable.
- Use a rolling pin or a smooth glass jar to roll the softened clay flat to about 1/4 inch thick.
- Using the small Halloween cookie cutters, cut out fun shapes from the rolled clay.
- Place the clay shapes on a baking sheet lined with parchment paper and bake them according to the instructions, usually about 30 minutes at 275°F (135°C).
- Once done baking, remove the shapes from the oven and let them cool completely.
- Once the shapes are cool, hot glue mini googly eyes onto each shape.
- Use a fine tip permanent marker to draw tiny smiles or other designs if desired.
- Finally, hot glue hair clips or brooch pins onto the backs of your shapes.