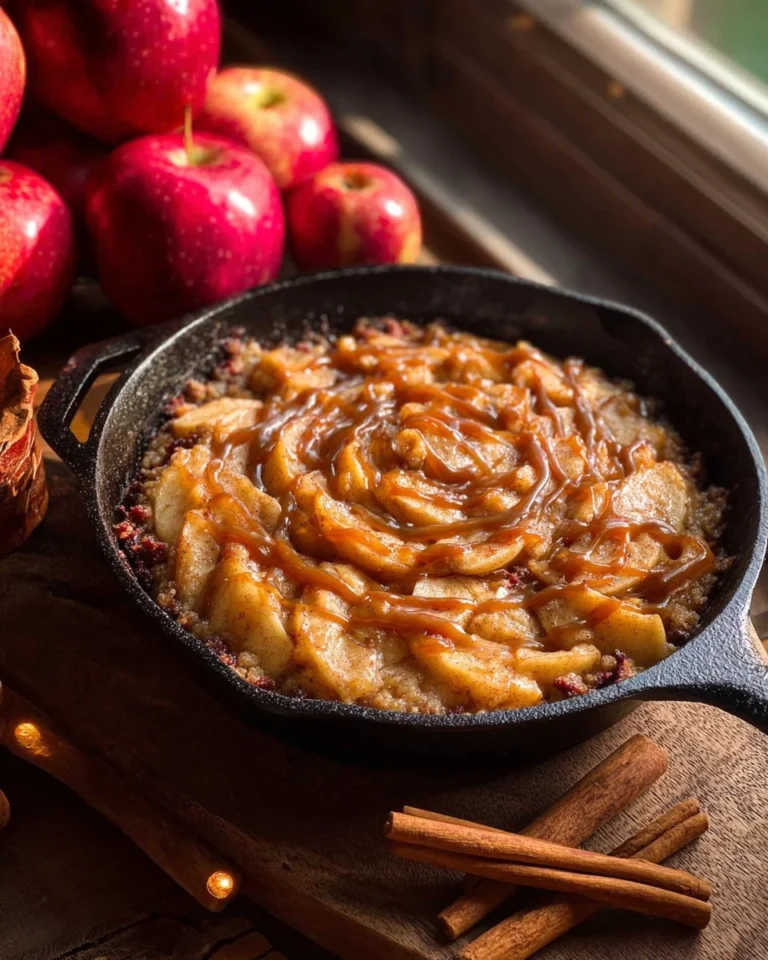
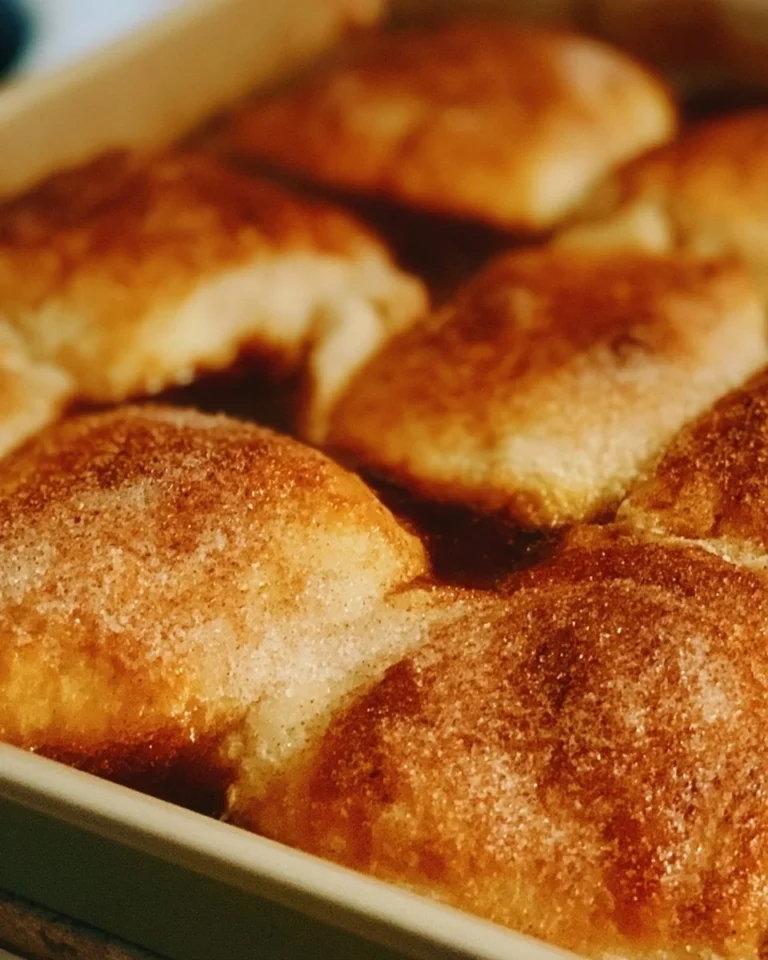
Apple Cobbler
Apple Cobbler is a delicious dessert that combines tender apples with a sweet, buttery topping. This classic dish is not only comforting and satisfying but can also be made in a healthier way. With a few simple swaps, you can create a lighter option that is still packed with flavor. If you’re looking for a great meal prep idea or a dish that is good for weight loss, this Apple Cobbler can be your go-to recipe. You may also find Apple Broccoli Salad useful.
WHY YOU WILL LOVE THIS Apple Cobbler
This Apple Cobbler is a simple yet delightful recipe that combines fresh, juicy apples with a soft, crumbly topping. It’s a healthier version of the traditional dessert, making it a perfect option for those watching their calorie intake. With wholesome ingredients, this dish not only satisfies your sweet tooth but also offers some nutritional benefits, like fiber from the apples. If you enjoy apple-based dishes, you might also like our apple crisp with caramel sauce.
EQUIPMENT NEEDED
Equipment 1: Mixing Bowls
You will need at least two mixing bowls for this recipe: one for the apple mixture and one for the batter. Having separate bowls makes it easier to combine ingredients without mess. You may also find Carrot Apple Salad 2 useful.
Equipment 2: Baking Dish
A greased baking dish is essential to hold your Apple Cobbler while it bakes. A square or rectangular dish works well for even cooking and spreading the batter.
Equipment 3: Knife and Cutting Board
A sharp knife and cutting board are necessary for peeling and slicing your apples. Make sure they are ready to use before you start assembling the dish.
INGREDIENTS
Ingredient 1: Fresh Apples (4 cups)
Choose firm apples that are great for baking. Peeling and slicing them allows the sugar and cinnamon to coat the fruit, enhancing its natural sweetness and flavor.
Ingredient 2: Sugar (1 cup)
While sugar adds sweetness, you can adjust the amount to fit your dietary needs, making it a versatile ingredient for those on a low-calorie or diabetic-friendly diet.
Ingredient 3: Cinnamon (1 teaspoon)
Cinnamon provides warmth and depth of flavor to the dish. It also has health benefits, such as being high in antioxidants.
Ingredient 4: Lemon Juice (1 tablespoon)
Adding lemon juice brightens the flavor of the apples and prevents them from browning too quickly.
Ingredient 5: All-Purpose Flour (1 cup)
This ingredient acts as the base for the cobbler topping, providing structure while still allowing it to remain light and fluffy.
Ingredient 6: Buttermilk (1 cup)
Buttermilk contributes to a tender texture in the batter. If you’re looking for a lighter option, you can substitute it with low-fat or almond milk.
Ingredient 7: Unsalted Butter (1/2 cup, melted)
Melted butter adds richness and moisture to your cobbler. You can use a healthier fat option like coconut oil for a different flavor.
Ingredient 8: Baking Powder (1 tablespoon)
This ingredient is essential for creating a light and airy texture in the cobbler topping.
Ingredient 9: Salt (1/2 teaspoon)
A small amount of salt enhances the flavors of the other ingredients, balancing the sweetness of the dish.
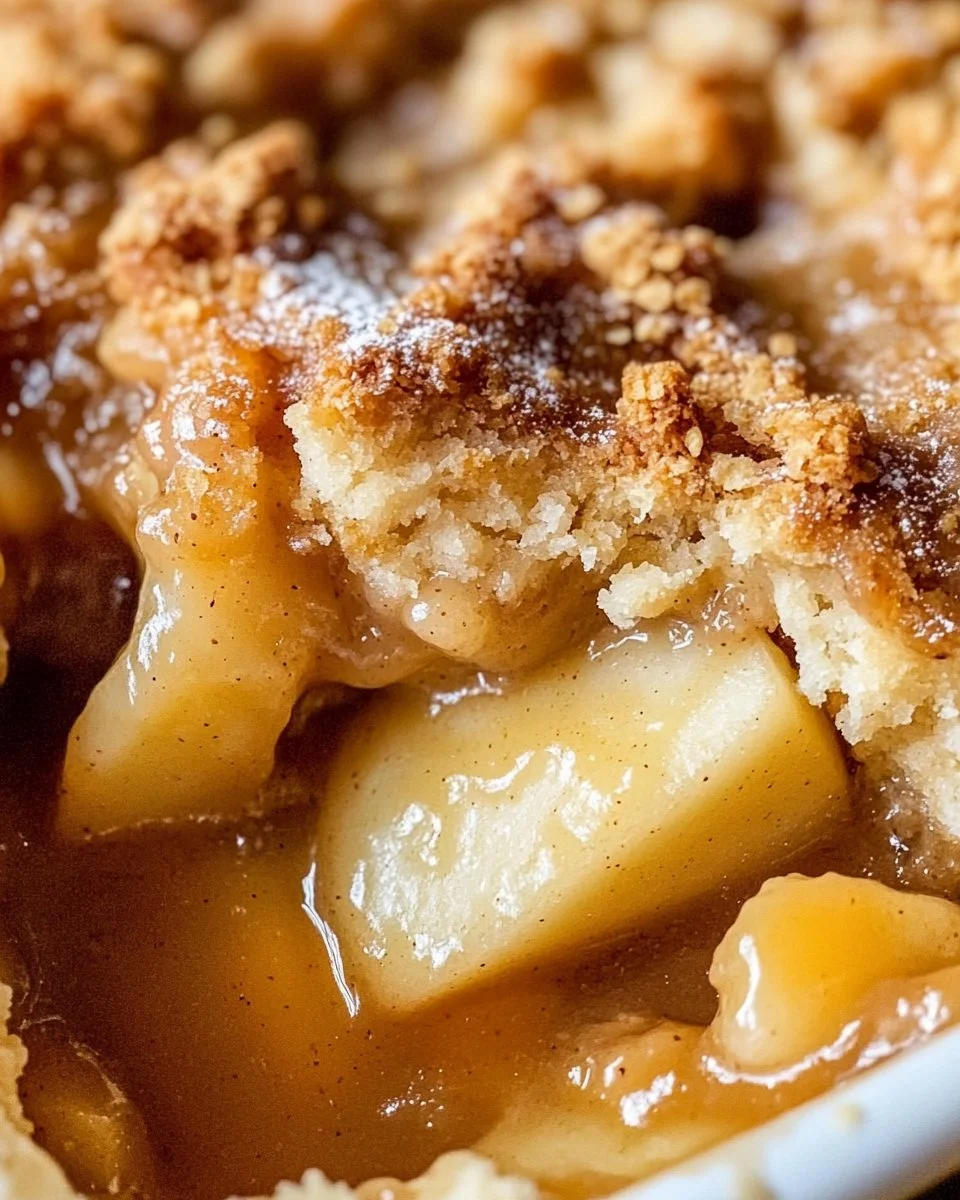
HOW TO MAKE Apple Cobbler
Step 1: Preheat the Oven
Preheat your oven to 350°F (175°C). This step is essential to ensure that the Apple Cobbler cooks evenly and develops a lovely golden top.
Step 2: Prepare the Apples
In a large bowl, mix sliced apples with sugar, cinnamon, and lemon juice. Stir well to coat the apples evenly. Once mixed, pour this apple mixture into a greased baking dish.
Step 3: Combine Dry Ingredients
In another bowl, combine flour, baking powder, and salt. Mix these dry ingredients well to ensure the baking powder is evenly distributed through the flour.
Step 4: Mix the Wet Ingredients
Gradually stir in buttermilk and melted butter until just combined with the dry ingredients. Be careful not to over-mix, as this can make the topping heavy.
Step 5: Spread the Batter
Spread the batter evenly over the apples in the baking dish. The batter should cover the apples but does not need to be perfect, as it will spread out during baking.
Step 6: Bake the Cobbler
Bake for 35-40 minutes or until the top is golden brown and a toothpick inserted into the topping comes out clean. The aroma of baked apples will fill your kitchen during this time!
Step 7: Serve Warm
Let the cobbler cool for a few minutes before serving. It pairs wonderfully with a scoop of vanilla ice cream or can be enjoyed on its own for a heart-healthy dessert.
TIPS AND TRICKS
- Healthy Substitutions: To make a lighter option, consider using stevia or a sugar substitute in place of regular sugar.
- Meal Prep: This Apple Cobbler is perfect for meal prep, as it can be made ahead and kept in the fridge for a few days—just reheat before serving.
- Storage: Store leftovers in an airtight container in the refrigerator for up to three days. Warm it up in the oven for the best texture.
- Variations: Feel free to mix in other fruits like berries or pears for different flavor combinations, or add nuts for extra protein and crunch.
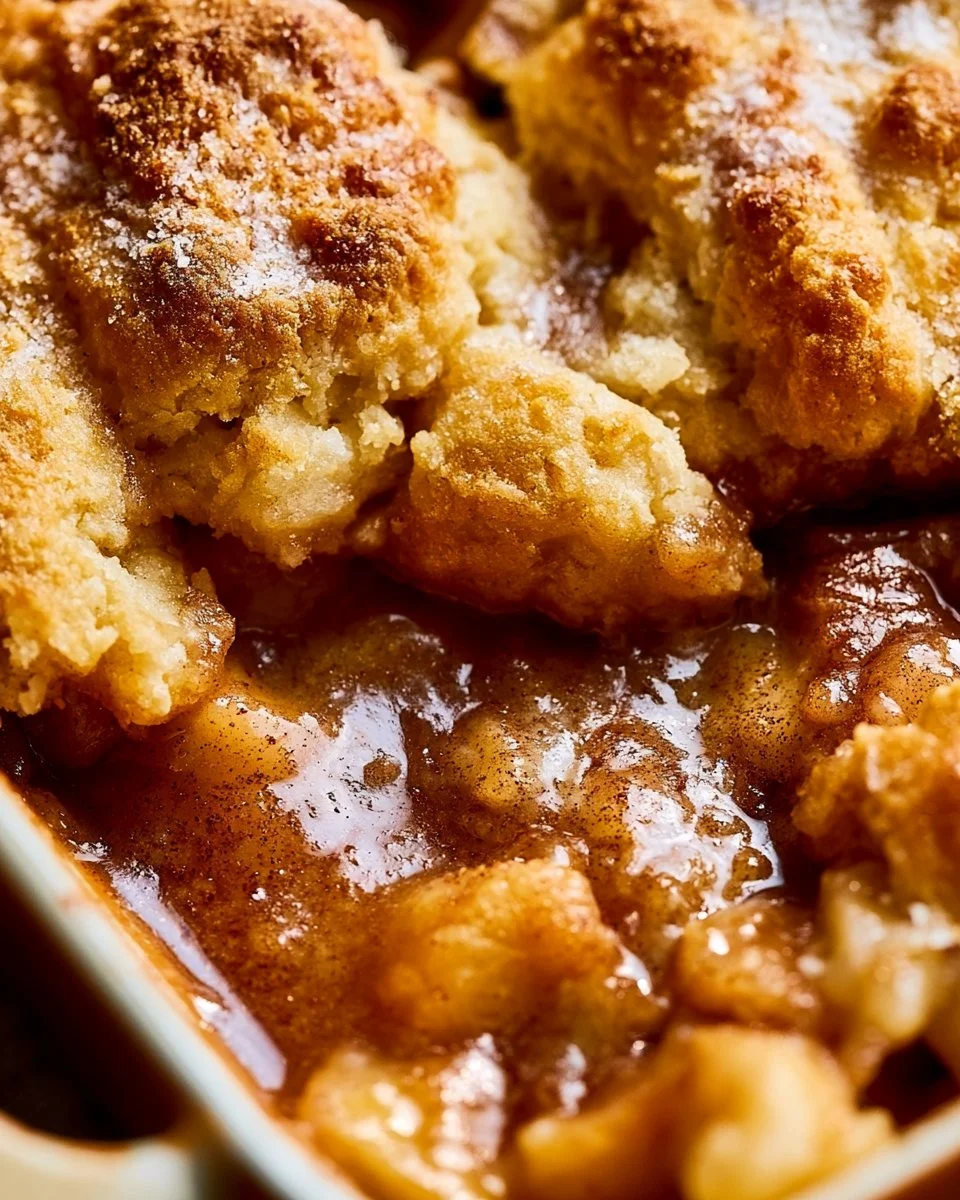
Apple Cobbler FAQ
Q1: Is Apple Cobbler gluten-free?
Apple Cobbler is typically not gluten-free due to the use of all-purpose flour. However, you can easily substitute a gluten-free flour blend to make it suitable for gluten-intolerant individuals.
Q2: Can I use frozen apples instead of fresh?
Yes, you can use frozen apples in this recipe. Just ensure they are thawed and drained of excess moisture before mixing them in with the other ingredients.
Q3: How can I lower the calories in this recipe?
To create a lower-calorie version of this dish, reduce the amount of sugar and butter used or replace them with sugar substitutes and lower-fat options.
Q4: How should I store leftovers?
Store leftovers in an airtight container in the refrigerator. The cobbler can last for about three days, making it easy to enjoy later without any hassle.
By integrating wholesome ingredients into this comforting dish, your Apple Cobbler can stand as a delightful treat that also pays attention to health. Whether you enjoy it straight from the oven or after a bit of refrigeration, it makes for a wonderful sweet addition to any meal.