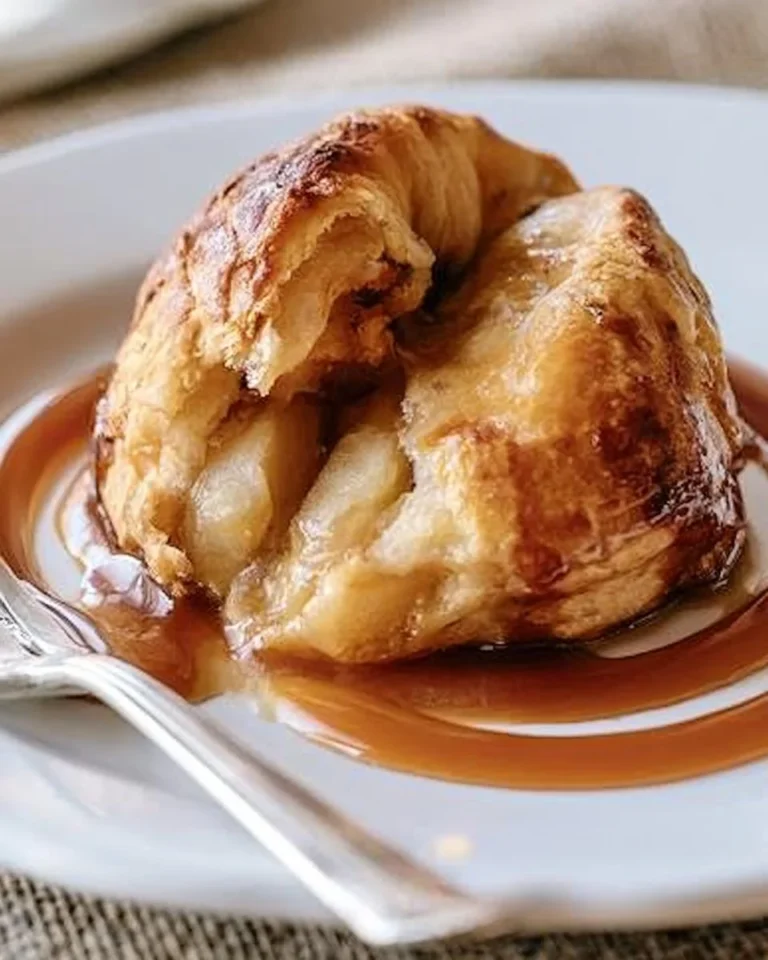
The Best Apple Crisp Recipe
Apple crisp is a classic dessert that many people adore, especially during the fall season. It combines sweet, tender apples with a crunchy topping, making it a delightful treat. This recipe not only focuses on flavor but also on health benefits. It is a healthy version that can cater to various diet preferences—perfect for anyone looking for a lighter option without compromising on taste. If you enjoy delicious desserts that are also good for you, you will love this apple crisp recipe! You may also find The Best Chocolate Chip Cookie Recipe Butternut Bakery useful.
WHY YOU WILL LOVE THIS Apple Crisp
This apple crisp is not only scrumptious but also packed with nutrients. It uses wholesome ingredients like oats and apples, which are high in fiber and can help keep you feeling full longer. With a few simple adjustments, this dessert can become a diabetic-friendly or low-calorie option that everyone can enjoy. Plus, it’s easy to prepare and great for meal prep! Whether you’re hosting a family gathering or just want a sweet treat, this recipe is sure to impress. You may also find The Best Crockpot Garlic Parmesan Chicken Pasta Recipe useful.
EQUIPMENT NEEDED
Baking Dish
A 9×9 baking dish is perfect for holding all the delicious layers of apples and the crumbly topping. It ensures even baking and makes it easy to serve.
Mixing Bowls
A couple of mixing bowls are essential for combining the ingredients efficiently. They help to keep your workspace organized while you prepare the filling and topping.
Peeler and Knife
You will need a peeler to easily remove the skin from your apples and a sharp knife for slicing them. This ensures uniform pieces that cook evenly.
INGREDIENTS
Ingredient 1: Apples
You will need 5 cups of peeled and sliced apples. The best varieties for baking include Granny Smith, Jonagold, Braeburn, Honeycrisp, and Cortland. They provide a balance of sweetness and tartness, enhancing the overall flavor of the crisp.
Ingredient 2: Light Brown Sugar
Using 1/2 cup of light brown sugar adds a hint of sweetness and a rich flavor. If you prefer, you can also use dark brown sugar for a more intense taste.
Ingredient 3: All-Purpose Flour
For the filling, 2 tablespoons of all-purpose flour help to thicken the mixture, while an additional 1/2 cup for the topping gives it that desired crumbly texture.
Ingredient 4: Water
Adding 2 tablespoons of water helps to blend the flavors together and keeps the apple filling moist during baking.
Ingredient 5: Oats
You will need 1/2 cup of Old Fashioned oats for the topping. Oats are not only delicious but also packed with fiber, making this dessert a healthier choice.
Ingredient 6: Sugar
A further 1/2 cup of sugar enhances the sweetness of the topping, complementing the tartness of the apples beautifully.
Ingredient 7: Melted Unsalted Butter
Finally, 1/2 cup of melted unsalted butter adds richness to the topping. It helps to bind all the ingredients together and create a perfect crunchy texture.
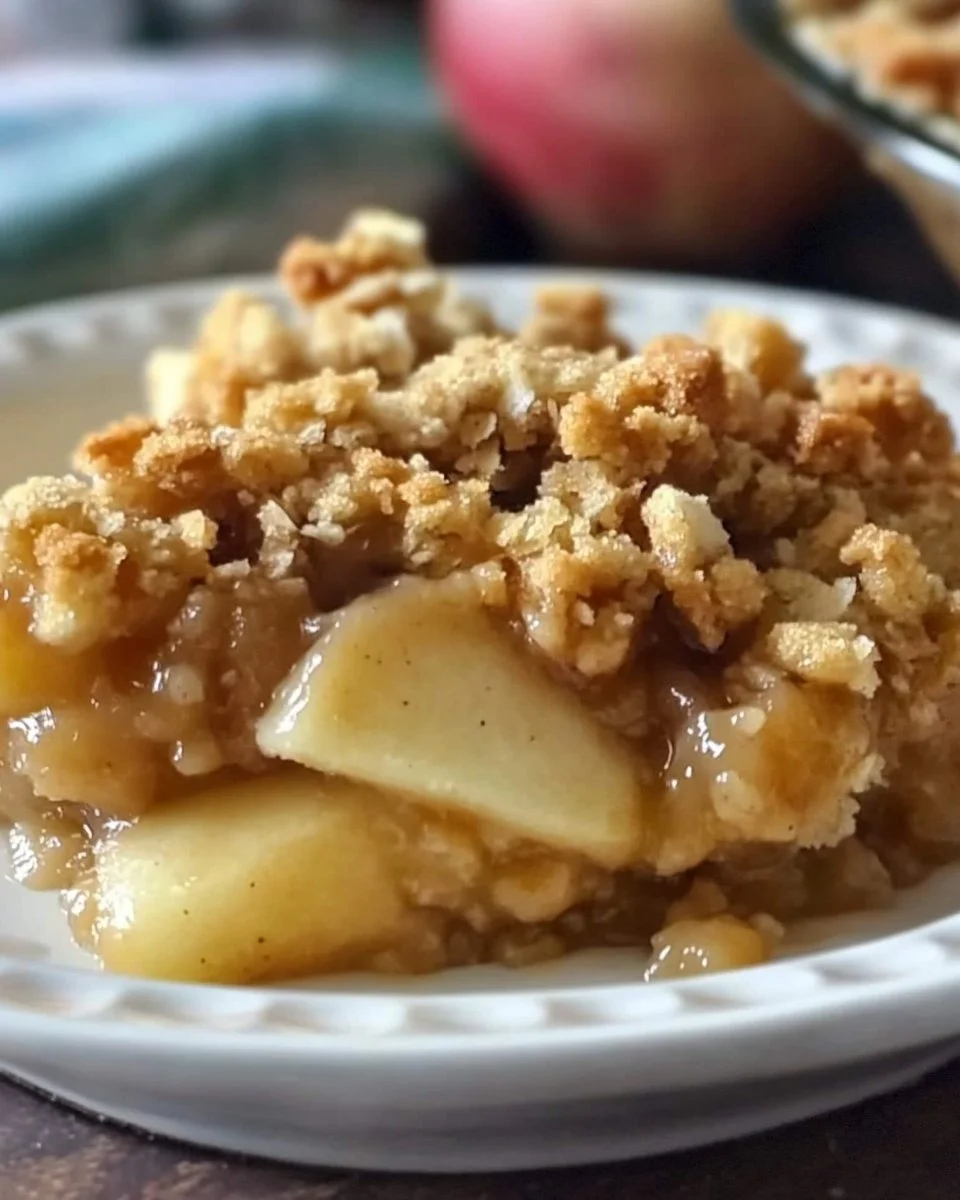
HOW TO MAKE Apple Crisp
Step 1: Preheat the Oven
Start by preheating your oven to 350 degrees Fahrenheit. This ensures that your apple crisp cooks evenly.
Step 2: Prepare the Apples
Place the sliced apples into the 9×9 baking dish. Make sure they are evenly distributed so every bite has the perfect amount of fruit.
Step 3: Mix the Filling
In a small bowl, combine the 2 tablespoons of all-purpose flour, 1/2 cup of light brown sugar, and 2 tablespoons of water. Mix until smooth and pour it over the apples, ensuring they are well coated.
Step 4: Make the Topping
In another bowl, mix together the 1/2 cup of Old Fashioned oats, 1/2 cup of sugar, and 1/2 cup of all-purpose flour. Drizzle in the melted butter and stir until the topping resembles coarse crumbs.
Step 5: Combine Everything
Spread the crumb topping evenly over the apples, ensuring every bit of fruit is covered. This will create a wonderful crunch when baked.
Step 6: Bake
Place the baking dish in the preheated oven and bake for 1 hour. The apples should be tender, and the topping should be golden brown and crispy.
Step 7: Cool and Serve
Once baked, allow the apple crisp to cool for a few minutes. Serve warm on its own or with a scoop of your favorite ice cream for an extra indulgence.
TIPS AND TRICKS
- Healthy Substitutes: For a lower-calorie option, consider using a sugar substitute that suits your dietary needs. Additionally, using whole-grain oats can elevate the fiber content.
- Meal Prep: This apple crisp can be made ahead of time and stored in the fridge for a few days. Just reheat in the oven or microwave before serving.
- Storage: Store any leftovers in an airtight container in the fridge. It can remain fresh for up to 3 days.
- Variations: Add nuts or seeds to the topping for additional crunch and nutrition. You can also mix in berries with the apples for a burst of flavor.

Apple Crisp FAQ
Can I make this recipe gluten-free?
Absolutely! You can use gluten-free flour and oats to make this apple crisp gluten-free without sacrificing flavor.
How can I store leftovers?
To store leftovers, place them in an airtight container in the fridge. They should stay fresh for up to 3 days.
Is this apple crisp diabetic-friendly?
Yes, by using a sugar substitute and controlling the portion size, this recipe can be made diabetic-friendly.
Can I use frozen apples for this recipe?
While fresh apples yield the best texture, you can use frozen apples as long as they are thawed and drained properly before use.
CONCLUSION
This apple crisp recipe is a delightful way to enjoy a classic dessert while keeping your health in mind. Its wholesome ingredients and ease of preparation make it a fantastic option for anyone looking for a healthy treat. Don’t hesitate to try this recipe and share your experiences or any variations you’ve made. Enjoy the delicious flavors of this apple crisp today!