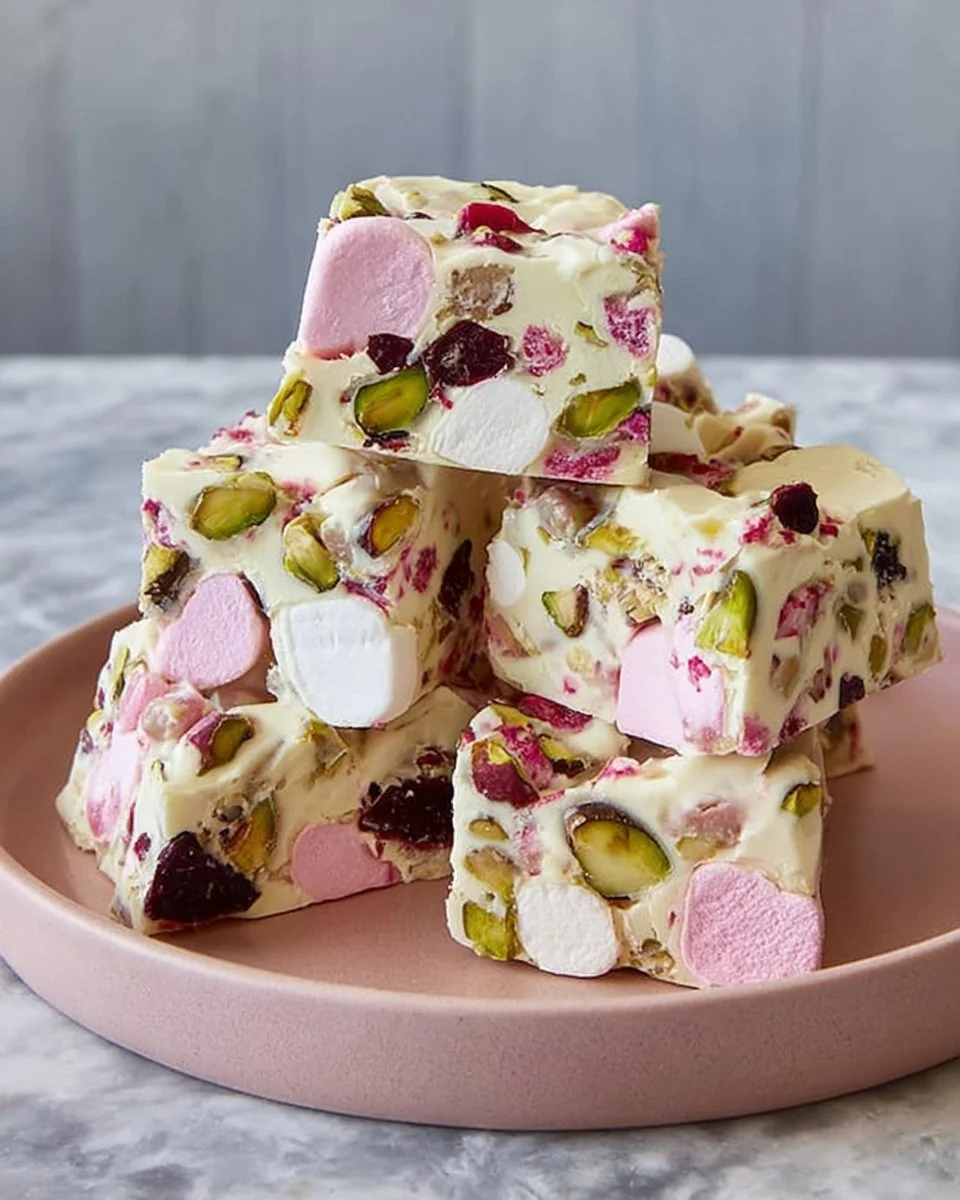
White Chocolate Rocky Road
If you’re looking for a sweet treat that checks all the boxes for deliciousness and healthiness, then look no further than White Chocolate Rocky Road. This delightful confection combines rich white chocolate with a variety of nuts, dried fruits, and marshmallows, creating a perfect snack or dessert. It’s easy to make and can be tailored to suit different dietary needs, making it a great choice for everyone. This recipe is a healthier version of traditional rocky road, making it a lighter option for those looking for something satisfying without all the guilt.
WHY YOU WILL LOVE THIS White Chocolate Rocky Road
White Chocolate Rocky Road is not only a mouthwatering treat but also a great way to enjoy some balanced nutrition. Packed with protein from nuts and fiber from fruits, this recipe can be a good choice for a high-protein meal or snack. With its crunchy nuts and chewy marshmallows, this healthier version is great for meal prep, ensuring you always have a sweet bite on hand that’s good for weight loss. And let’s not forget, it’s vegetarian and can be made gluten-free, making it diabetic-friendly!
EQUIPMENT NEEDED
Equipment 1: Mixing Bowl
A large mixing bowl is essential for combining all the dry ingredients together before introducing the melted chocolate. This bowl should be strong enough to accommodate the mixture without spilling.
Equipment 2: Microwave or Stovetop
You’ll need either a microwave-safe bowl or a saucepan to melt the white chocolate. Both methods are straightforward, but ensure you have a reliable microwave or stove to prevent burning the chocolate.
Equipment 3: Baking Paper
This is crucial for lining your slice tin or cake tin. Baking paper not only makes it easier to remove the rocky road once set but also helps prevent sticking.
Equipment 4: Slice Tin or Cake Tin
An 18cm x 28cm slice tin or a 20cm square cake tin will work well. This will hold your mixture in place while it sets, allowing you to slice it into neat pieces later.
INGREDIENTS
Ingredient 1: Good Quality White Chocolate (600 g)
Using high-quality white chocolate ensures that your rocky road will taste phenomenal. This chocolate should be broken into small squares for easier melting. Look for options that have lower sugar to make it a healthier choice.
Ingredient 2: Dried Cranberries (3/4 c, 95g)
Dried cranberries add a delightful tartness that balances the sweetness of the chocolate. They also provide antioxidants and fiber, making your rocky road healthier.
Ingredient 3: Raw and Unsalted Macadamia Nuts (120 g)
Macadamia nuts are rich in healthy fats and protein. When cut in half, they blend seamlessly into your rocky road while adding a creamy texture.
Ingredient 4: Unsalted Pistachio Nuts (80 g)
Pistachios not only add vibrant color but also are a great source of protein, fiber, and healthful fats. They are a fantastic nut to include for added crunch and flavor.
Ingredient 5: Marshmallows (180 g)
Marshmallows provide that classic chewy texture that complements the crunchiness of the nuts. Choose smaller marshmallows or cut larger ones in half to distribute them evenly throughout the rocky road.
Ingredient 6: Freeze-Dried Strawberries (1/2 c, 25g)
You can substitute freeze-dried strawberries with cherries or raspberries, but strawberries are a popular choice due to their natural sweetness and vibrant color.
Optional Ingredients: Extra Toppings
Consider adding extra crushed pistachios, freeze-dried berries, or cranberries for decoration. These optional ingredients will make your candy look even more appealing.
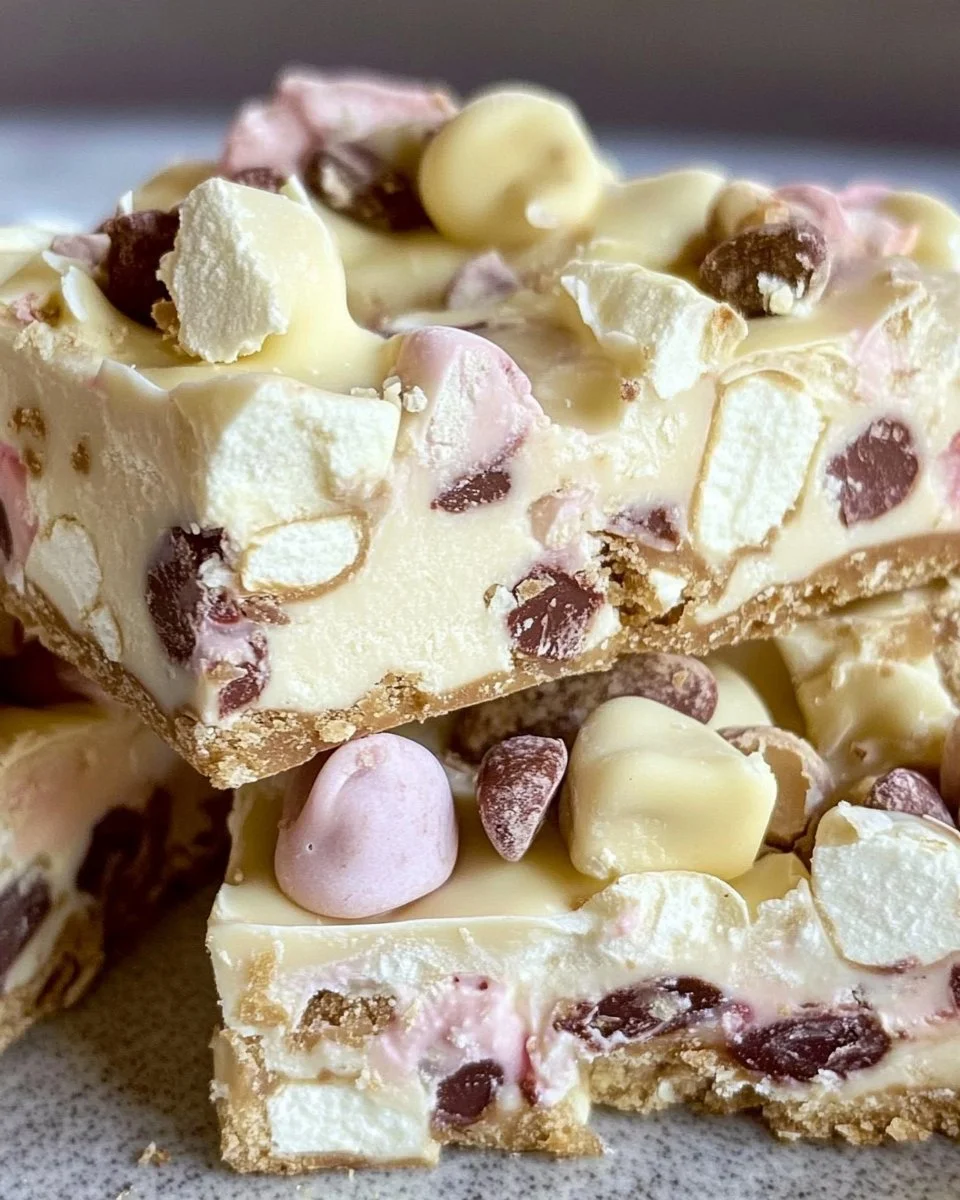
HOW TO MAKE White Chocolate Rocky Road
Step 1: Prepare the Baking Tin
Start by lining an 18cm x 28cm slice tin (or a 20cm square cake tin) with baking paper. Ensure that the paper rises up the sides of the tin, which will make it easy to lift the rocky road out once set.
Step 2: Combine the Dry Ingredients
In a large bowl, place the dried cranberries, halved macadamia nuts, marshmallows, pistachios, and freeze-dried strawberries. Stir these ingredients together until they are well distributed. This step is important because it ensures you get a bit of everything in each piece.
Step 3: Melt the White Chocolate
In a microwave-proof bowl, place the white chocolate pieces. Heat them on 40-50% power, stirring every 20-25 seconds until you have melted chocolate with just a few small lumps left. If preferred, melt the chocolate on a stovetop in a saucepan over low heat, stirring occasionally. Be sure to cool the chocolate for a couple of minutes before adding it to the mix to prevent melting the marshmallows.
Step 4: Combine Everything
Once the chocolate has cooled slightly, pour it over the mixture of dry ingredients. Using a large clean metal spoon or spatula, gently mix everything together until all the ingredients are well-coated in chocolate. This step gives the rocky road its characteristic taste.
Step 5: Fill the Tin
Spoon the mixture into your prepared slice tin. Spread it out evenly, pressing lightly as you go to ensure everything sticks together.
Step 6: Decorate the Top
Optional: To make it even more appealing, decorate the top with extra crushed pistachios and freeze-dried berries or cranberries. This not only adds to the visual appeal but also provides some additional flavor.
Step 7: Chill Until Set
Place the tray in the fridge for at least 1.5 hours or until completely set. This wait will ensure your rocky road holds its shape when you slice it.
Step 8: Slice and Serve
After chilling, it’s time to cut your rocky road into slices or squares. For cleaner edges, run your knife under hot water, then dry it off before cutting. Let the rocky road sit at room temperature for 5-10 minutes before slicing to make it easier to cut.
Step 9: Store
Store any leftovers in an airtight container in the fridge. They will last for 2-3 weeks, making them great for snacks or dessert throughout the week.
TIPS AND TRICKS
- Healthier Alternatives: If you want to reduce the sugar content even further, consider using sugar-free white chocolate or decreasing the amount of chocolate used in the recipe.
- Meal Prep Ready: This recipe is perfect for meal prep. Make a batch early in the week, portion it out, and have it ready as a grab-and-go snack.
- Storage Tips: Keep your rocky road stored in the fridge to maintain its texture. It can also be frozen for longer storage, though this may change the texture slightly.
- Varieties: Feel free to switch out the nuts or fruits according to your preferences or what you have available. Almonds, walnuts, or various dried fruits can all bring a unique flavor to the rocky road.
White Chocolate Rocky Road FAQ
1. Is White Chocolate Rocky Road a healthy snack?
While traditional rocky road can be high in sugar and calories, this version includes ingredients like nuts and dried fruits that offer essential nutrients. It’s a lighter option that can be enjoyed in moderation.
2. Can I make this rocky road gluten-free?
Yes! This recipe is already gluten-free, but always check the labels on your ingredients to ensure they meet gluten-free standards.
3. How should I store White Chocolate Rocky Road?
Store your rocky road in an airtight container in the fridge. It will last for 2-3 weeks, allowing you to enjoy it throughout the month.
4. Can I freeze White Chocolate Rocky Road?
Yes, you can freeze it for longer storage. Just make sure to wrap it securely to prevent freezer burn and texture changes.
CONCLUSION
White Chocolate Rocky Road is an easy and delightful treat that combines flavor and nutrition beautifully. This healthier version is rich in protein, fiber, and essential nutrients, making it a perfect snack for weight loss enthusiasts and those looking for a balanced, high-protein meal. With its delicious combination of white chocolate, nuts, and dried fruits, you’ll want to make this again and again. Give this recipe a try, and don’t forget to share your experience, or let us know any tasty variations you tried!
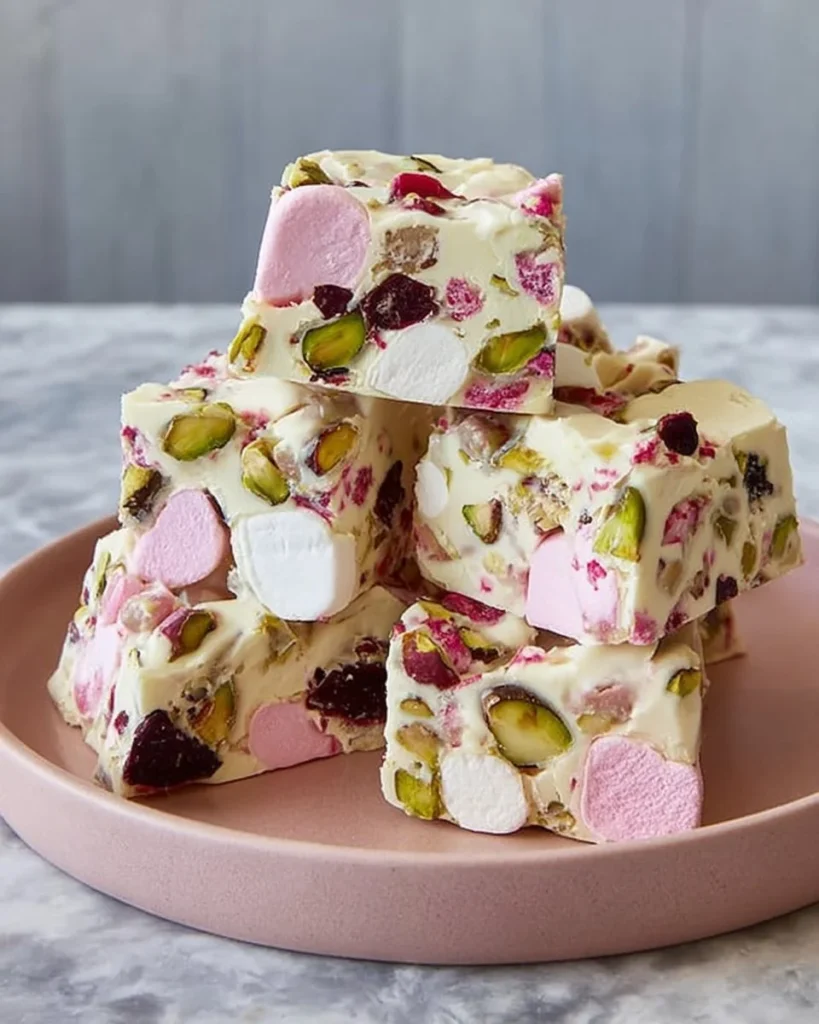
White Chocolate Rocky Road
Ingredients
Method
- Line an 18cm x 28cm slice tin (or a 20cm square cake tin) with baking paper.
- In a large bowl, combine dried cranberries, halved macadamia nuts, marshmallows, pistachios, and freeze-dried strawberries.
- Melt the white chocolate in a microwave or stovetop until smooth, making sure to cool slightly before mixing.
- Pour the melted chocolate over the dry ingredients and mix gently until everything is well-coated.
- Spoon the mixture into the prepared tin, spread evenly, and press lightly.
- Optional: Decorate the top with extra crushed pistachios and freeze-dried berries.
- Chill in the fridge for at least 1.5 hours until set.
- Once set, slice into pieces and serve.
- Store leftovers in an airtight container in the fridge for 2-3 weeks.