Ingredients
Method
Preparation
- Gather all the supplies and materials listed above.
- Print a pumpkin string art template.
- Cut out the shape of the pumpkin template roughly and tape it to the center of your wood board.
Assembly
- Carefully hammer nails around the outline of the pumpkin, leaving about 1/2 inch sticking out.
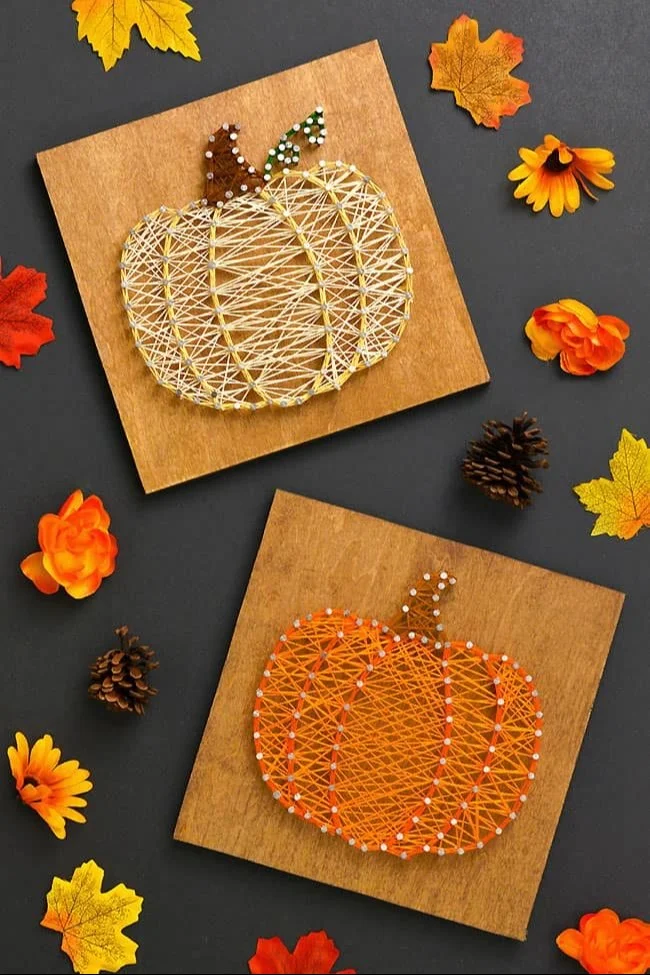
- Tie the pumpkin orange embroidery thread to one of the nails on the edge of the pumpkin and weave in a zigzag pattern.
- Continue filling the pumpkin shape by weaving the pumpkin orange thread back and forth.
- Once the pumpkin is fully covered, tie off the orange thread securely to one of the nails.
- Switch to the brown embroidery thread to create the shape of the stem.
- Use dark orange embroidery thread to create a border around the pumpkin.
Final Touches
- Ensure all strings are tied off securely and trim any excess thread.
- Remove tape and template; the DIY Pumpkin String Art is now complete.
Notes
This project is beginner-friendly and customizable with color and design options. Take your time and enjoy the crafting process.