Go Back
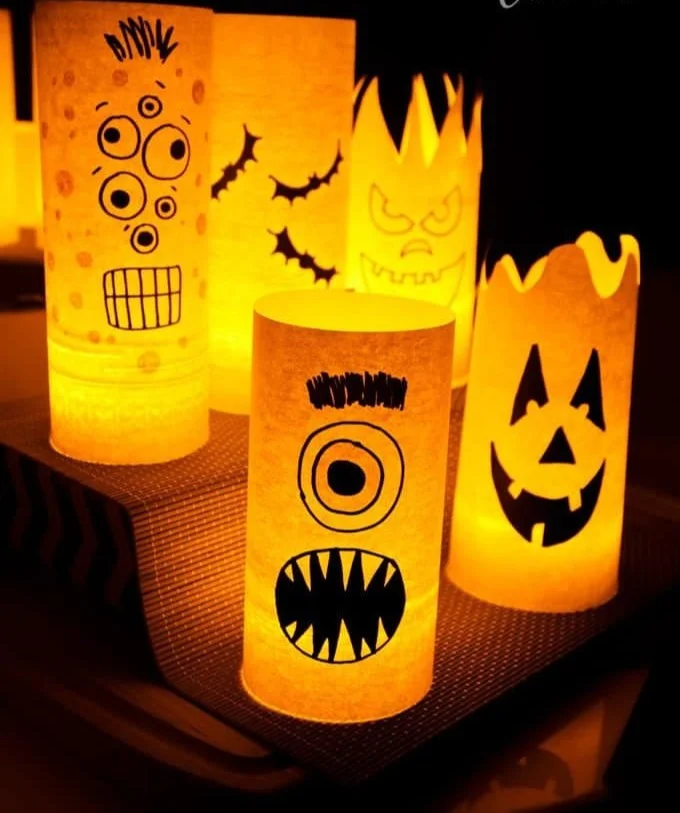
Colorful paper Halloween luminaries glowing for spooky decorations

Paper Halloween Luminaries

Create charming and spooky luminaries for Halloween with this easy and budget-friendly DIY project that transforms ordinary paper into delightful decorations.
Prep Time 30 minutes
Total Time 1 hour
Servings: 1 luminary
Course: Crafts, DIY
Cuisine: Holiday, Seasonal

Ingredients
  

Main Materials
  • 1 sheet Cardstock or thick paper in colors like orange or black This will be the main material for your luminaries.
  • 1 piece Battery-operated tea light To create a warm glow without any fire risk.
  • 1 tbsp Glue (Optional) To secure parts if layering different shapes or designs.
  • 1 bottle Decor paint (Optional) To add additional flair with fun Halloween patterns.
Tools Needed
  • 1 piece Craft knife Essential for cutting shapes and providing precision.
  • 1 piece Ruler Helps measure and create straight cuts.
  • 1 piece Cutting mat Protects surfaces from sharp tools.
  • 1 piece Pencil For sketching designs before cutting.

Method
 

Preparation Steps
  1. Gather all the materials listed above. Make sure to have your tools ready for easy access.
  2. Using the craft knife and ruler, cut the paper into your desired size.
  3. Use the pencil to draw spooky shapes like pumpkins, ghosts, or bats.
  4. Carefully use the craft knife to cut out the shapes from your paper.
  5. Fold the paper to create a cylinder shape and tabs for stability.
  6. Use glue, if needed, to secure the ends of the paper together.
  7. Place the battery-operated tea light inside the luminary, ensuring it is centered.
  8. Turn on the tea light and enjoy your creation!

Notes

Store your luminaries in a cool, dry place after Halloween to maintain their shape. Consider optional materials for added flair, and always prioritize safety with battery-operated lights.