Ingredients
Method
Crafting Steps
- Gather your materials and tools to ensure everything is organized.
- Clean the pine cones with water and let them dry completely.
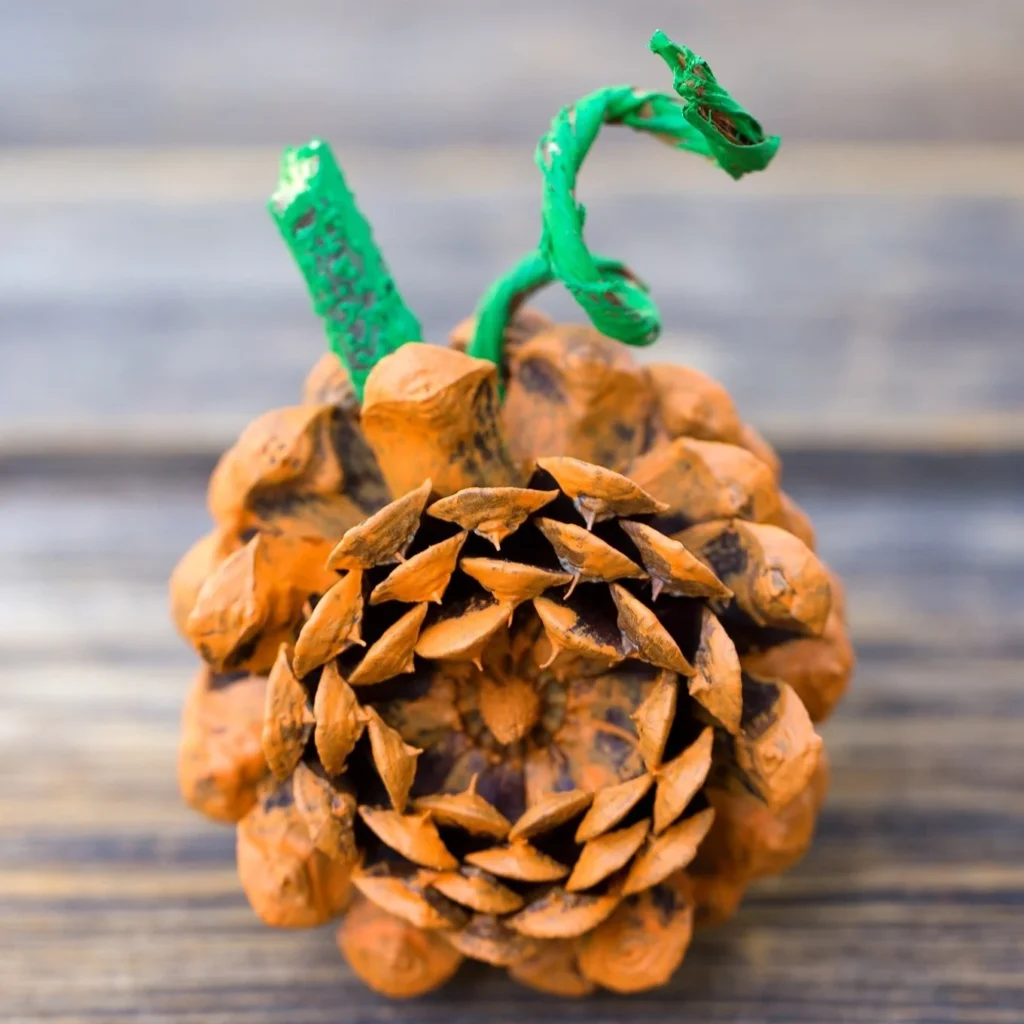
- Apply a layer of orange acrylic paint to the pine cones and allow it to dry.
- Cut a shape resembling a stem from the cereal box or cardboard and paint it if desired.
- Once the paint on the pine cones is dry, attach the stem using a hot glue gun.
- Tie a piece of green ribbon or twine around the top below the stem.
- Decorate the base with leaves if using.
- If desired, sprinkle glitter on the wet paint and let dry completely.
- Allow all glue and decorations to dry (15–30 minutes) before displaying.
- Find a spot to display your finished pine cone pumpkins.
Notes
Choose clean and whole pine cones for best results. Adult supervision is advised when using scissors and hot glue guns. Use outdoor-sealed acrylic paint if displaying outside.