Ingredients
Method
Preparation
- Gather all your supplies: mason jars, multi-surface acrylic paint, paintbrushes, twine, a ruler, and a palette.
- Wash the mason jar with soap and water to remove dust and grease. Ensure it is dry before applying any paint.
Painting
- Using a large paintbrush, apply a base color of your choice to the outside of the mason jar and let it dry completely.
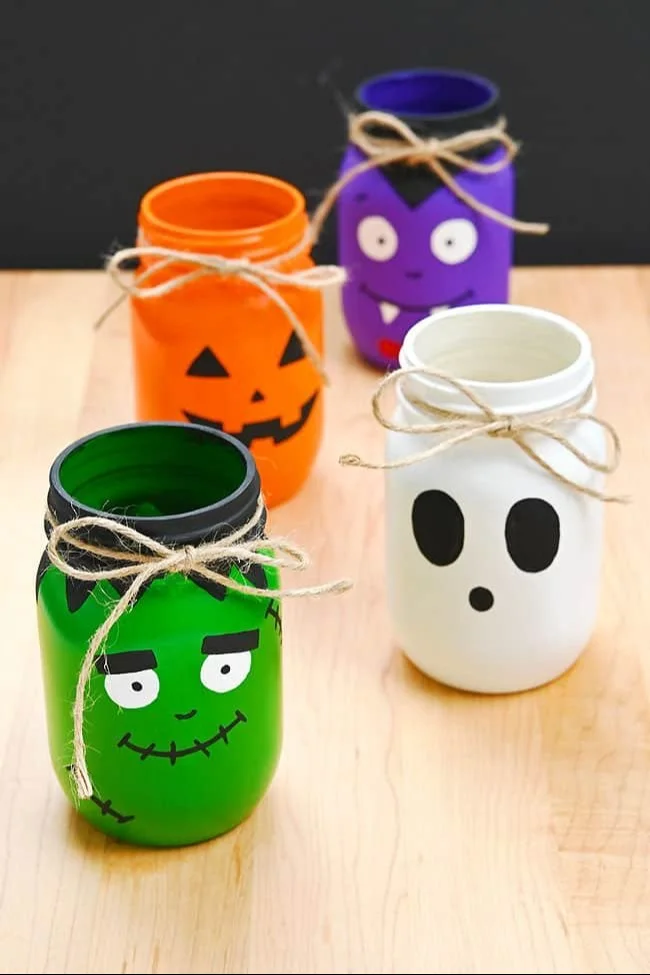
- Once the base coat is dry, use a fine tip brush and black acrylic paint to create a jack-o-lantern face or any Halloween design you prefer.
Finishing Touches
- Cut a piece of twine and wrap it around the neck of the jar, tying it into a bow or a knot.
- Let everything dry completely. If you intend to use the jars for candles, ensure the paint is fully set before inserting them.
Notes
Make sure to work in a well-ventilated area, especially if using spray paint. To increase durability, consider applying a clear seal over the paint once it fully dries.