Ingredients
Method
Preparation
- Start by clearing a flat, clean surface to work on. Lay down some parchment paper to make cleanup easier and prevent the clay from sticking.
Make the Clay Ghost
- Break off a small piece of the glow-in-the-dark polymer clay and knead it until soft and pliable.
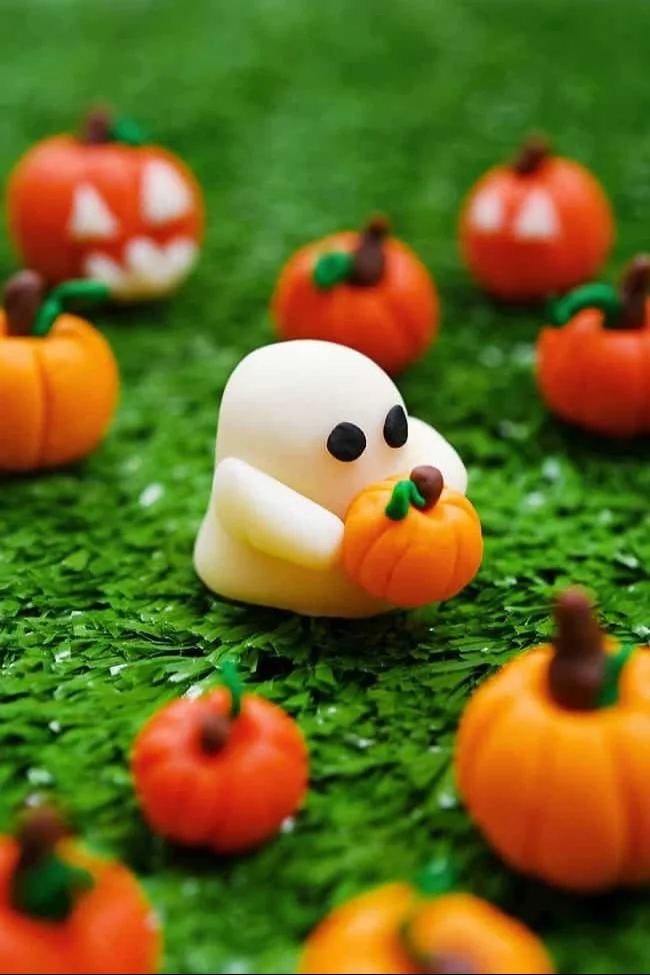
- Roll the conditioned clay into an oval shape for the ghost's body. Pinch the top slightly to form the head.
- Gently hollow out the bottom of the oval shape to create a base for the ghost.
- Create two small balls from the black polymer clay for the ghost's eyes. Flatten them slightly and attach them to the ghost's face.
Make the Clay Pumpkin
- Take a piece of orange polymer clay and knead it until soft.
- Roll the conditioned orange clay into a ball and gently press down on the top to create an indent.
- Sculpt the sides of the pumpkin into sections using a craft knife to add realism.
- Roll a small piece of brown clay into a cylinder for the stem and attach it to the pumpkin's top.
- For the tendril, take a small length of green clay, curl it, and attach it to the pumpkin.
Bake the Clay Creations
- Place both the ghost and the pumpkin on a baking sheet lined with parchment paper. Bake according to the polymer clay instructions, typically for 15-30 minutes at 275°F (135°C).
Allow to Cool
- After baking, take the creations out of the oven and let them cool completely before handling.
Notes
Use high-quality polymer clay for better durability. Kneading the clay thoroughly makes shaping easier. Store leftover clay in an airtight container to prevent drying out.