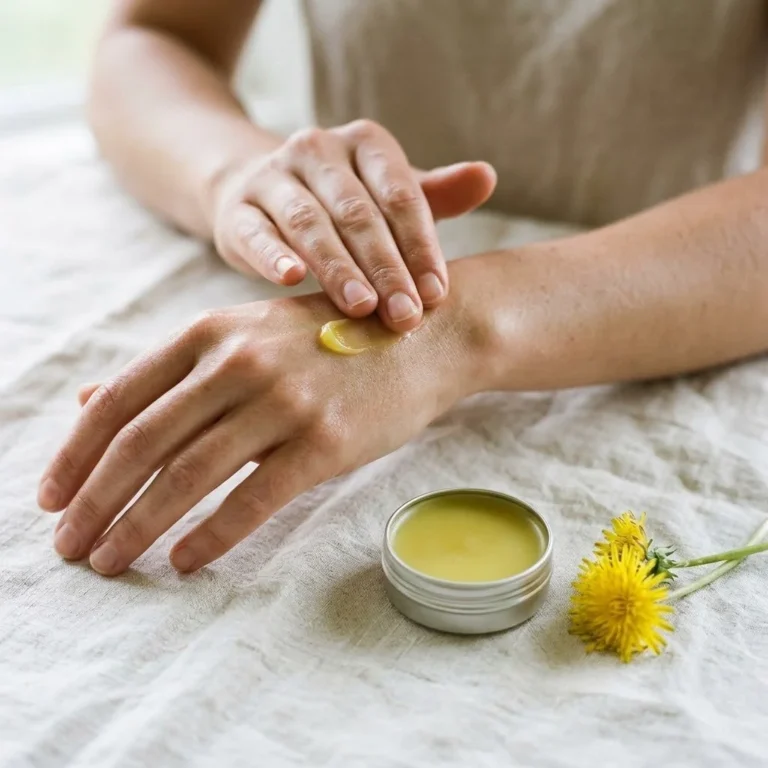
How to Make a Shampoo Bar
Making a shampoo bar at home is a fun and rewarding experience. Not only is this a healthier option compared to store-bought shampoos, but it allows you to customize ingredients to suit your needs. By creating your own shampoo bar, you can ensure it is free from harmful chemicals, making it a great choice for those seeking a natural and healthy hair care solution. You may also find Barbecue Tofu Veggie Skewers useful.
WHY YOU WILL LOVE THIS SHAMPOO BAR
You will love this homemade shampoo bar because it provides a gentle cleansing experience without stripping your hair of its natural oils. The ingredients used in this recipe, such as cocoa butter and vitamin E oil, are known for their nourishing properties. Additionally, this recipe is flexible, allowing you to choose essential oils that suit your preferences, making it a personalized product in your hair care routine. You may also find Black Bean Burgers With Pimento Cheese And Cheddar Your Ultimate Guide To A Flavor Packed Vegetarian Burger useful.
EQUIPMENT NEEDED
Double Boiler
A double boiler is used to melt the soap base without direct heat. This helps to prevent the ingredients from burning and ensures an even melt.
Soap Mold
A soap mold is essential for shaping your shampoo bar. It can be any mold that suits the size and shape you prefer for your bar.
Wooden Spoon
A wooden spoon is handy for stirring the ingredients as they melt and combine, preventing scratching your cookware.
INGREDIENTS
Ingredient 1: 1 Pound Melt and Pour Soap Base
Melt and pour soap base is the foundation of your shampoo bar. This base is convenient as it comes pre-made, allowing you to skip the complex soap-making process.
Ingredient 2: 2 Tablespoons Cocoa Butter
Cocoa butter is known for its moisturizing properties. It adds a creamy texture to the shampoo bar, making it an excellent choice for those with dry hair.
Ingredient 3: 2 Teaspoons Olive Oil
Olive oil is a natural conditioner that helps in moisturizing and nourishing the hair, making it a great addition for improving hair texture.
Ingredient 4: 2 Teaspoons Vitamin E Oil
Vitamin E oil is known for its antioxidant properties. Including this in your shampoo bar can help protect the hair from damage and promote healthy growth.
Ingredient 5: 25-50 Drops Essential Oils
Essential oils add fragrance and can provide various benefits, depending on the type used. For example, lavender essential oil can promote relaxation, while tea tree oil can help with scalp health.
HOW TO MAKE SHAMPOO BAR
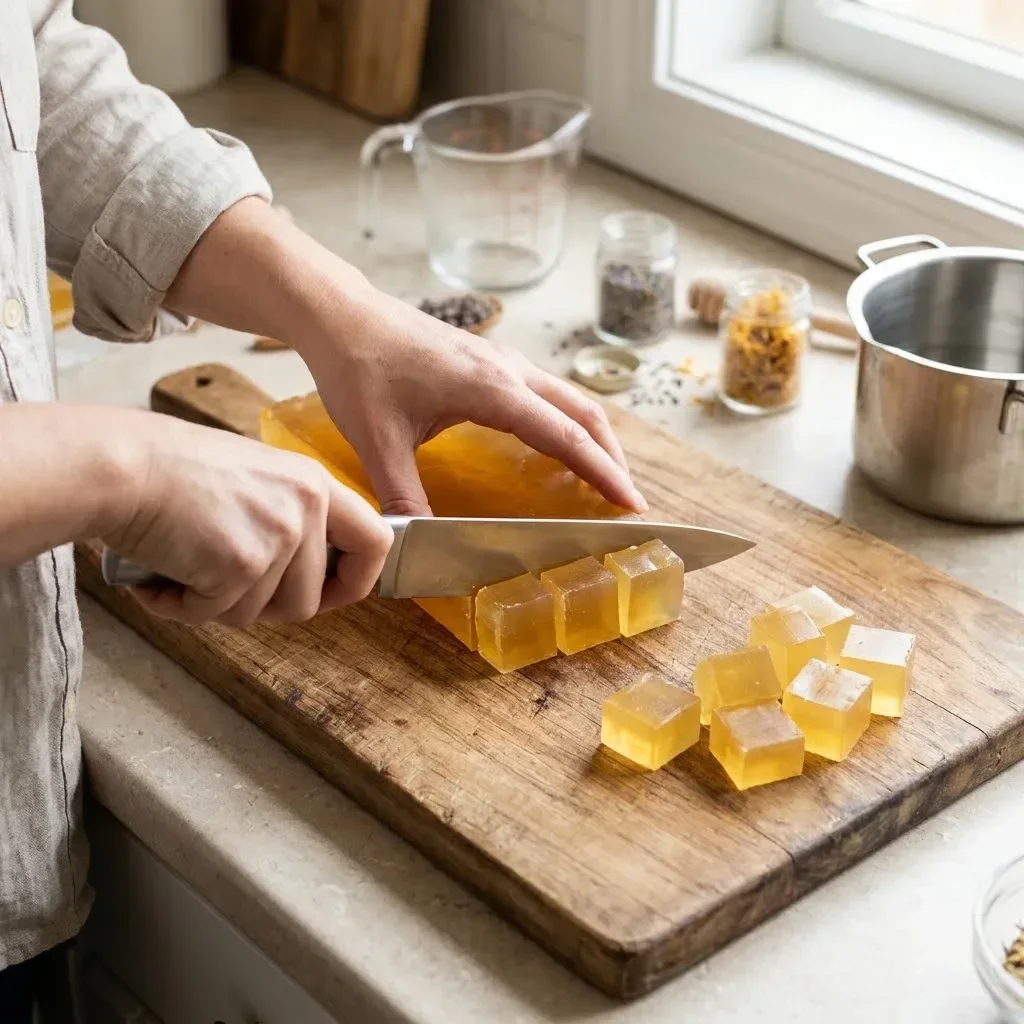
Step 1: Cut the Soap Base
Begin by cutting the melt and pour soap base into small chunks. This will allow for an even melt when placed in the double boiler.
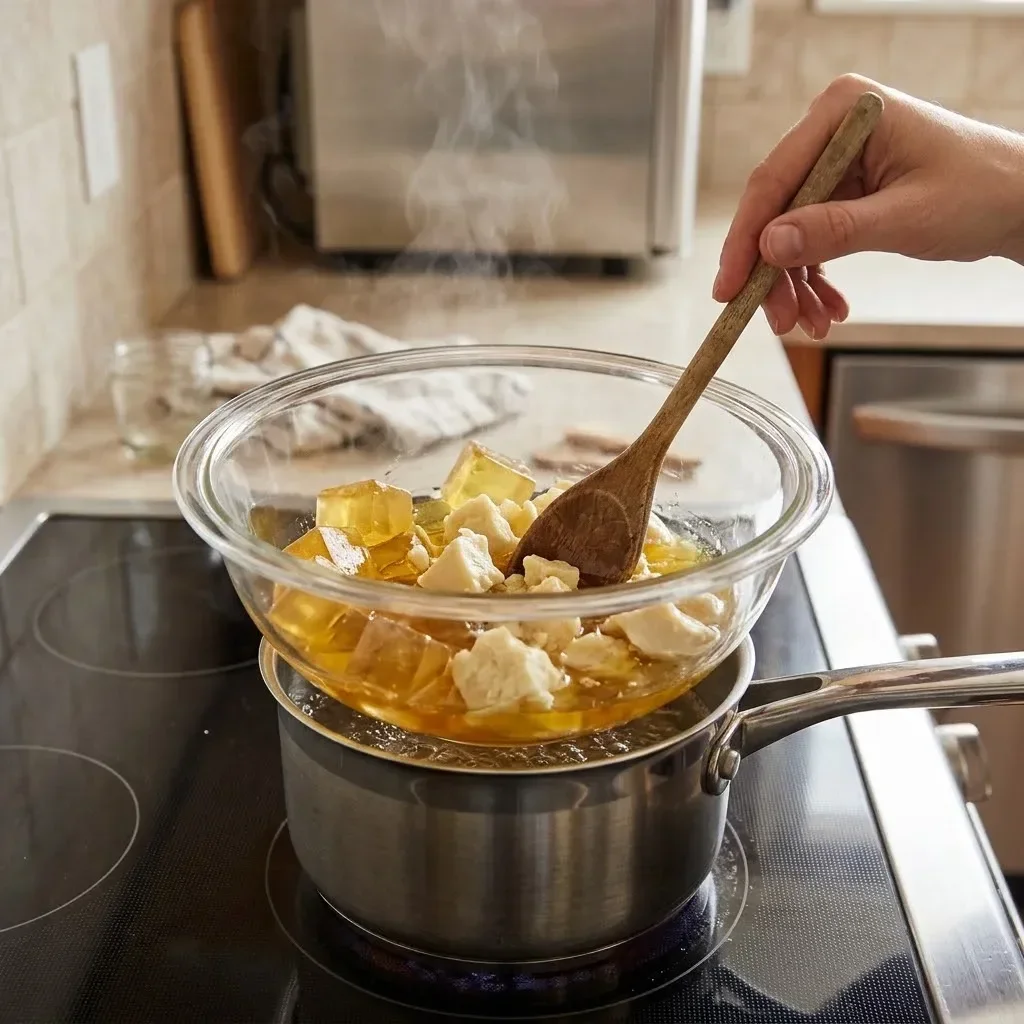
Step 2: Melt the Ingredients
Place the cut soap base into the double boiler over medium heat. Add the cocoa butter at this stage. Stir occasionally with a wooden spoon until everything is melted and combined.
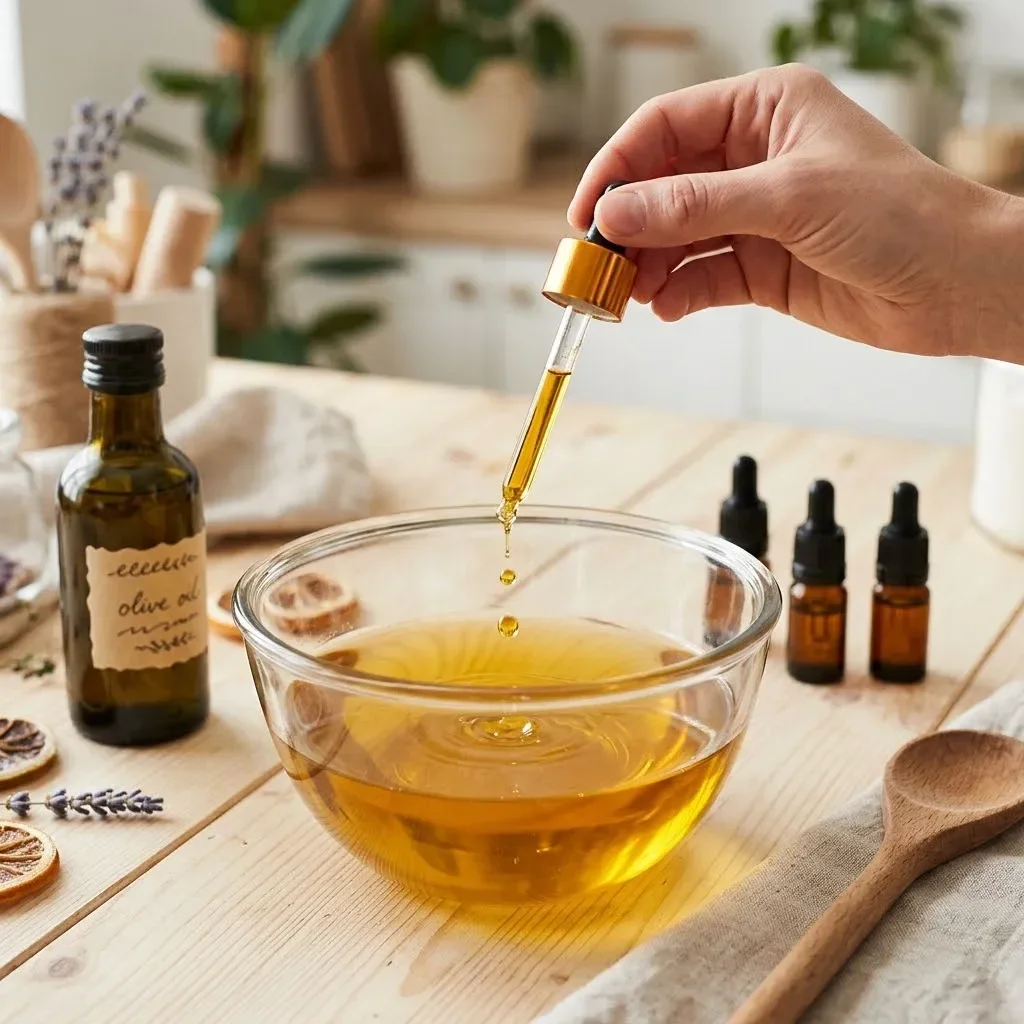
Step 3: Add Oils
Once melted, remove the mixture from heat. Add olive oil, vitamin E oil, and your chosen essential oils. Stir well to ensure that all ingredients are thoroughly combined.
Step 4: Pour into Mold
Carefully pour the mixture into the soap mold. Make sure the mold is placed on a flat surface to prevent spills.
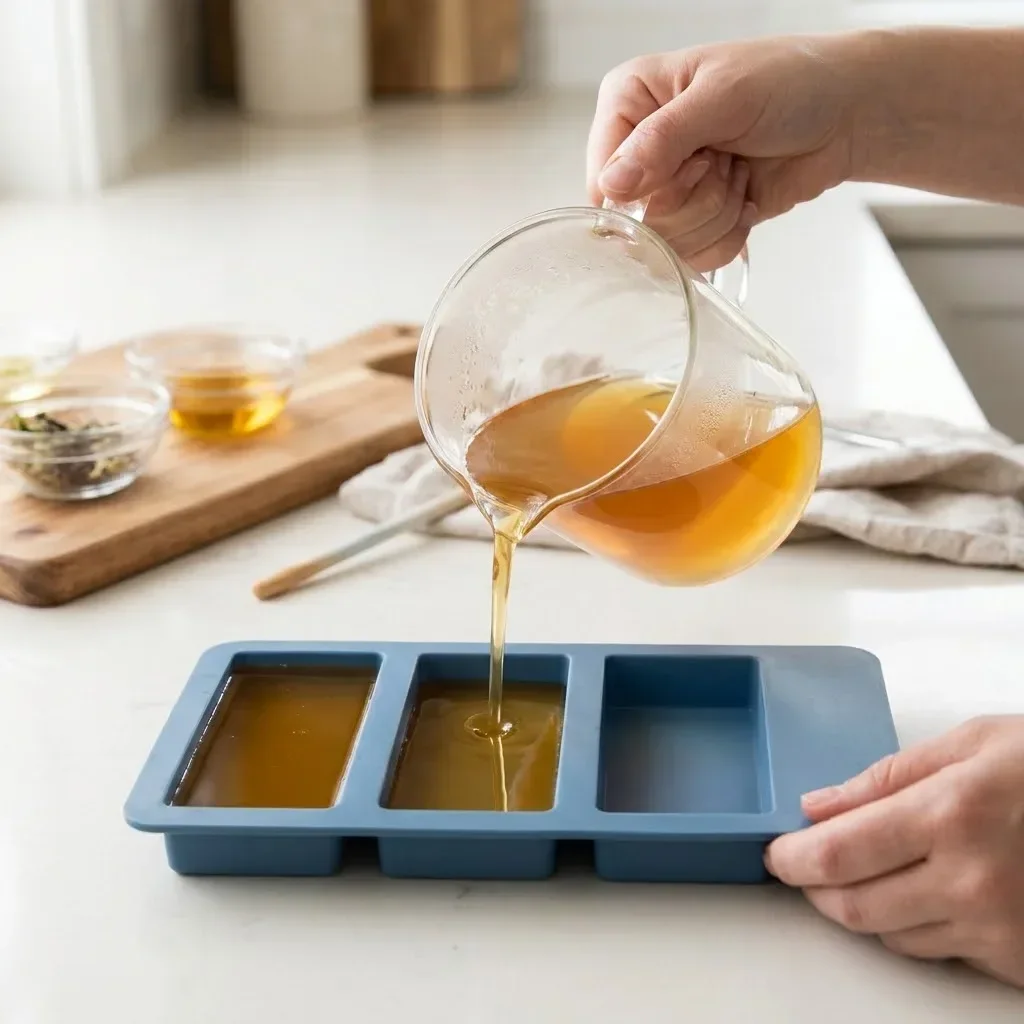
Step 5: Let It Harden
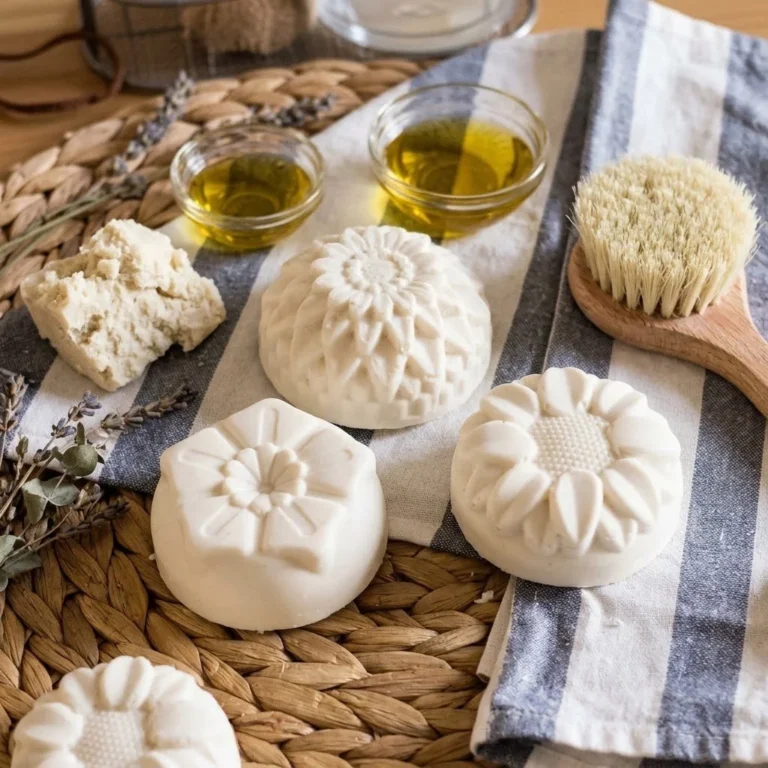
Allow the shampoo bar to cool and harden completely. This can take about a few hours. Once solid, gently pop the bar out of the mold.
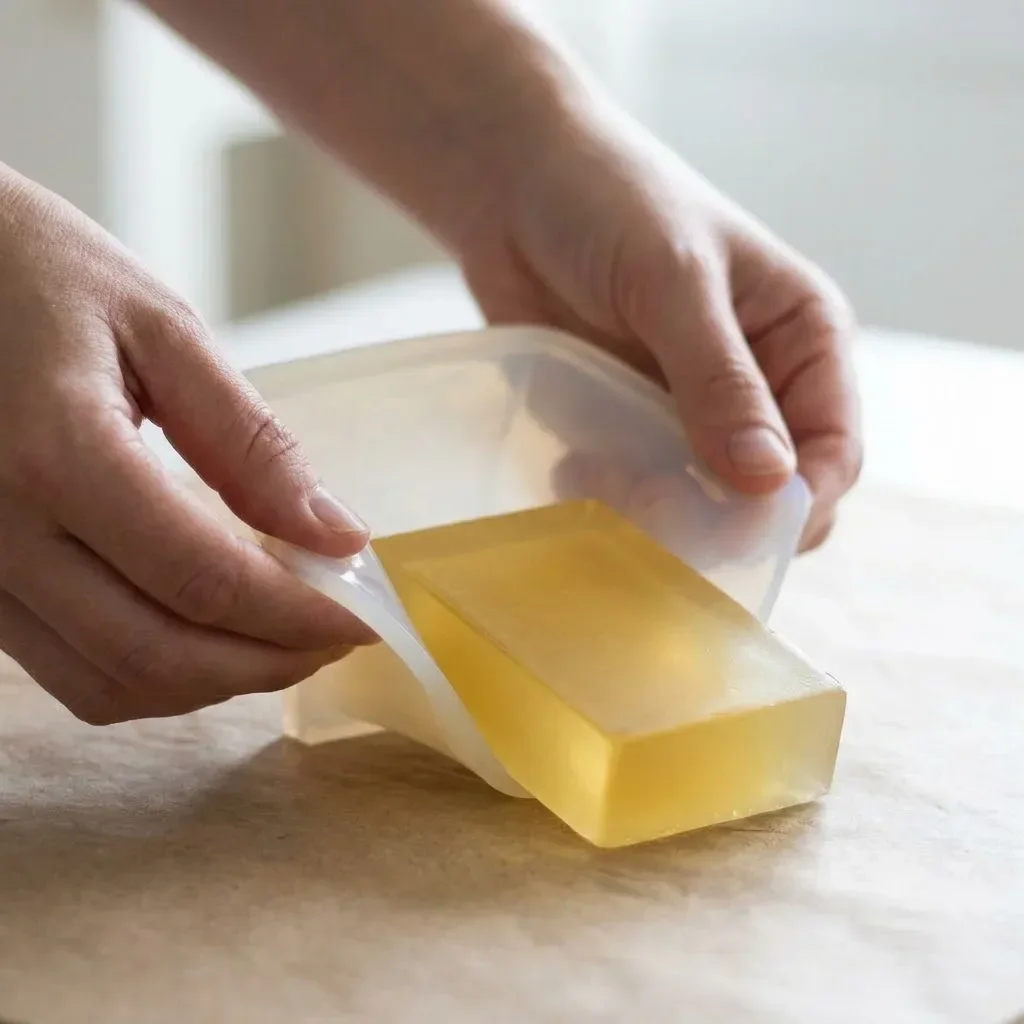
Step 6: Cure the Bars
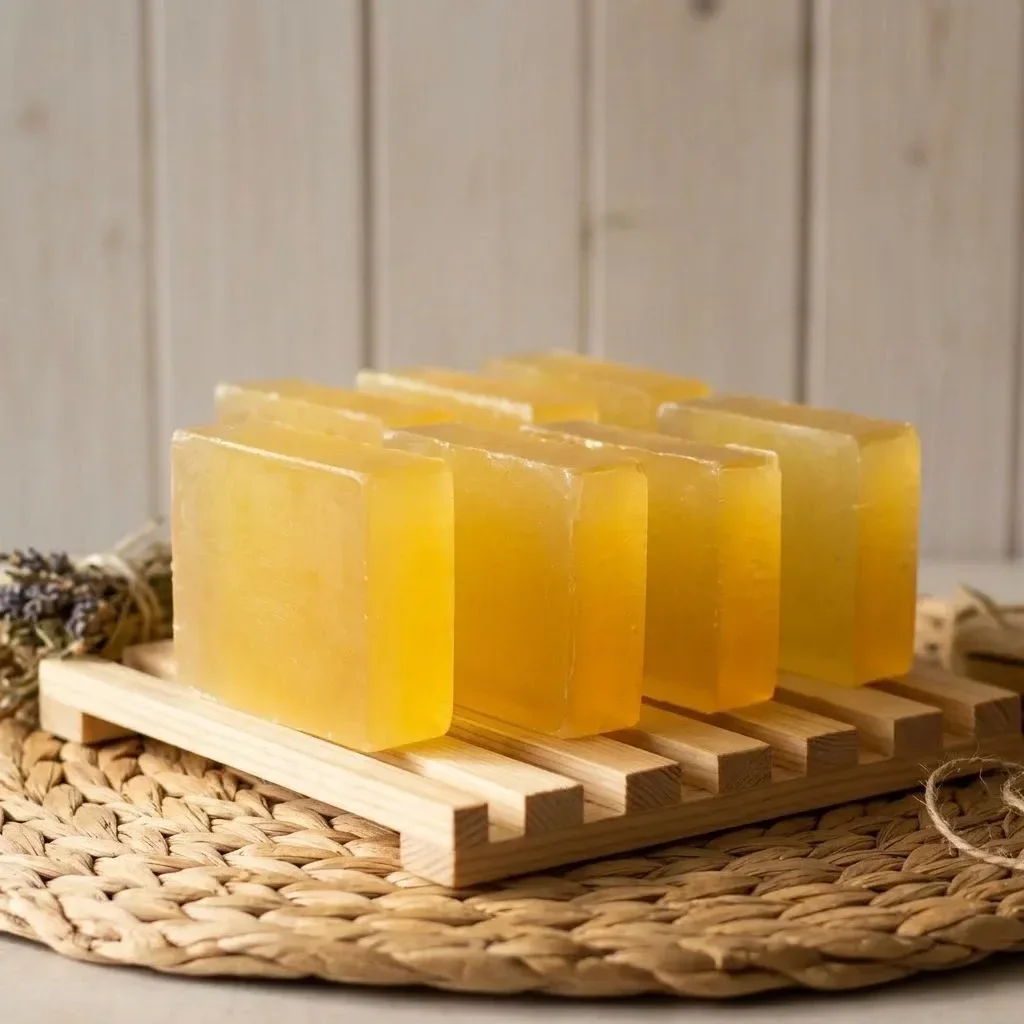
After removing the bars from the molds, let them sit on their ends for 48 hours before use. This curing process will enhance their quality.
TIPS AND TRICKS
Making your own shampoo bars not only allows for healthier alternatives but also opens up possibilities for a great deal of customization. For those focused on eco-friendliness, consider using a reusable soap mold and choosing natural colorants for added visual appeal. If you have specific hair concerns, varying the essential oils can enhance the bar’s benefits. For excellent meal prep, you can make a batch of bars to last you several weeks. Proper storage in a cool, dry place will prolong their life. For additional inspiration, you might want to explore recipes like the baked feta with fig and pecan topping, which offers a deliciously healthy twist suitable for various occasions.
SHAMPOO BAR FAQ
FAQ 1: How should I store my shampoo bars?
It is best to keep the shampoo bars in a cool, dry place. Avoid keeping them in areas with high moisture to prolong their lifespan.
FAQ 2: Can I customize the essential oils used?
Absolutely! You can choose essential oils based on your preferences or specific hair needs, making this a customizable product.
FAQ 3: Are shampoo bars suitable for all hair types?
Yes, shampoo bars can be tailored to meet the needs of various hair types. Adapt the oils used according to whether your hair is oily, dry, or colored.
FAQ 4: Is this shampoo bar gluten-free?
Yes, as long as the ingredients used are free of gluten, which they typically are. Always check the labels to confirm.
In summary, making your own shampoo bar at home is a simple and enjoyable process that contributes to healthier hair. In this way, you create a product that is tailored to your needs, promoting better hair care without the unnecessary chemicals found in commercial products. Don’t hesitate to share your experience making these bars, and consider trying out variations by mixing different essential oils or adding other natural ingredients. Your hair will thank you!
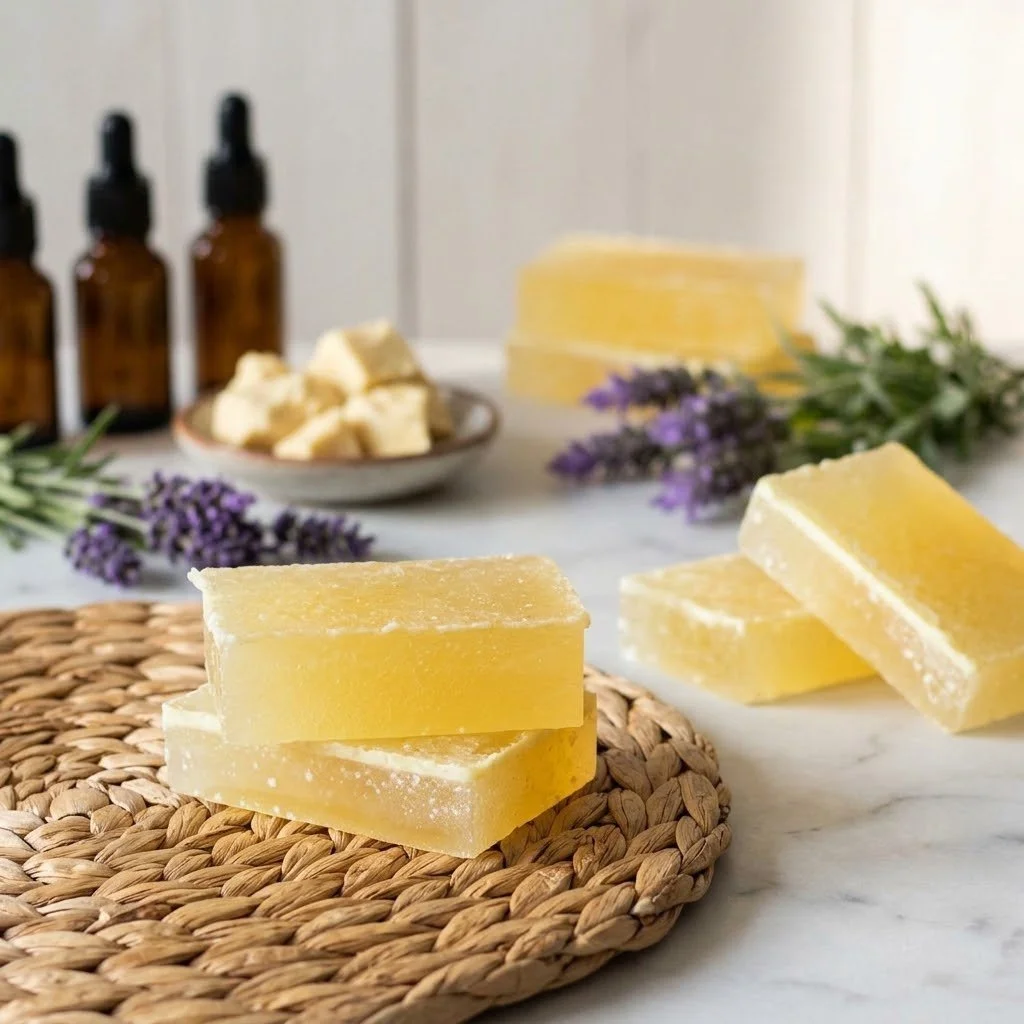
Shampoo Bar
Ingredients
Method
- Cut the melt and pour soap base into small chunks for even melting.
- Place the cut soap base into a double boiler set over medium heat.
- Add cocoa butter and stir occasionally with a wooden spoon until melted and combined.
- Remove the melted mixture from heat.
- Add olive oil, vitamin E oil, and your essential oils; stir well to combine.
- Carefully pour the mixture into the soap mold on a flat surface.
- Allow the shampoo bar to cool and harden completely for a few hours.
- Once solid, pop the bar out of the mold.
- Let the bars cure on their ends for 48 hours before use.