
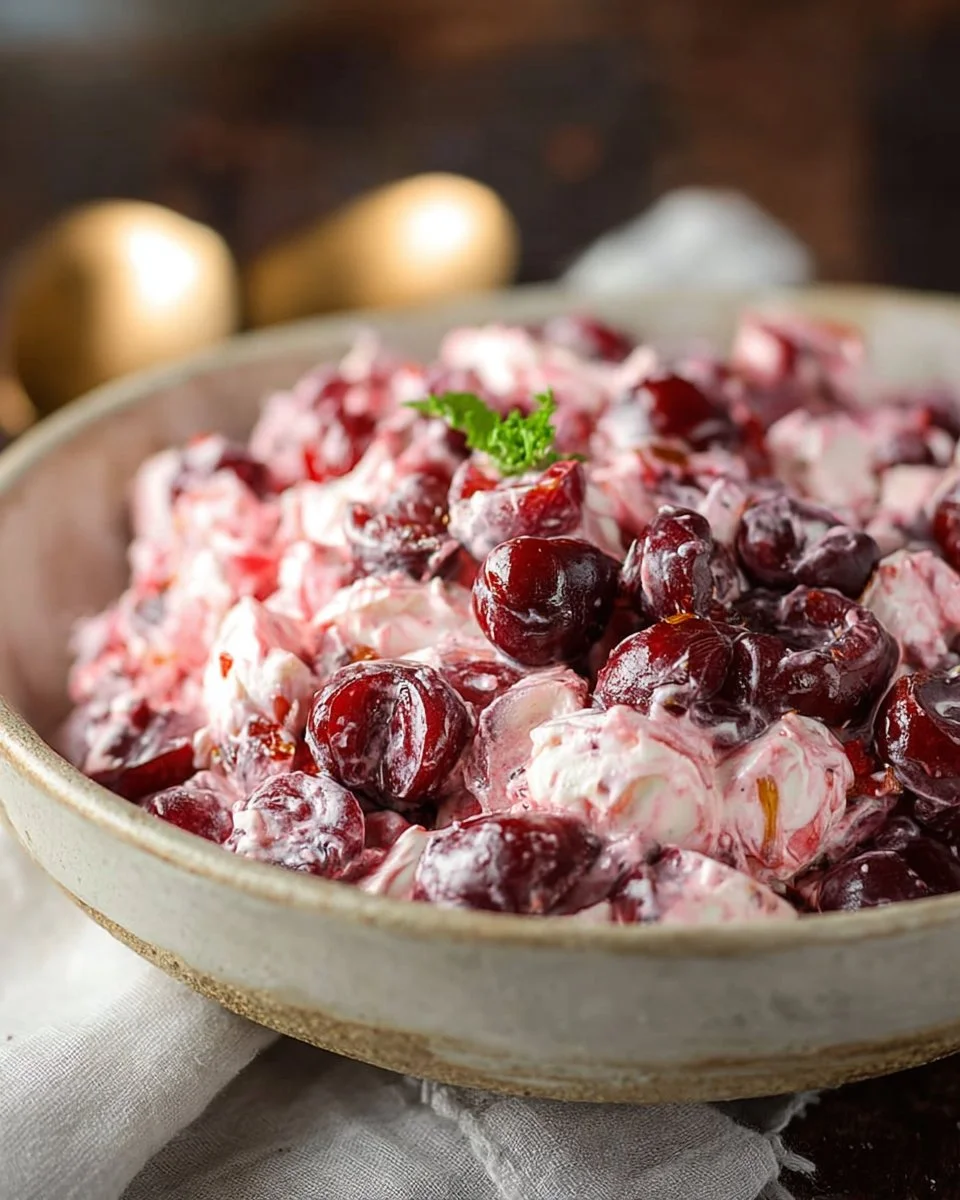
Cherry Salad
Cherry salad is a delightful dish that captivates taste buds with its sweet and fresh flavors. This recipe is a fantastic combination of cherries, sweetened condensed milk, walnuts, pineapple, Cool Whip, and marshmallows. It’s quick to make and perfect for gatherings, picnics, or any meal where you want a refreshing touch. Not only is it delicious, but cherry salad also brings several health benefits, making it a great addition to your diet, especially when looking for lighter, more balanced options.
WHY YOU WILL LOVE THIS RECIPE
You’ll love this cherry salad because it’s not just a delightful treat; it’s also a great choice for meal prep. This dish is easy to whip up and can be made in advance, allowing you to save time during busy days. Plus, it’s perfect for summer gatherings or a refreshing dessert after a healthy meal. The colorful ingredients, including cherries and pineapple, make this dish visually appealing while also offering a lighter option compared to traditional desserts. With fiber-rich fruits and healthy fats from walnuts, this cherry salad aligns with a healthier lifestyle while being enjoyable for everyone.
HOW TO MAKE Cherry Salad
EQUIPMENT NEEDED
- Large mixing bowl
- Spoon for stirring
- Plastic wrap or lid for covering
- Refrigerator for chilling
Ingredients You’ll Need:
- 1 can cherry pie filling (21oz/540ml can)
- 1 can sweetened condensed milk (14oz/300ml can)
- 1 cup walnuts (chopped)
- 1 can pineapple chunks (20oz/540ml can, drained)
- 4 cups Cool Whip (thawed)
- 2 cups mini marshmallows
STEP-BY-STEP INSTRUCTIONS:
- Begin by gathering all your ingredients in a large mixing bowl.
- Pour in the cherry pie filling, sweetened condensed milk, chopped walnuts, and drained pineapple chunks.
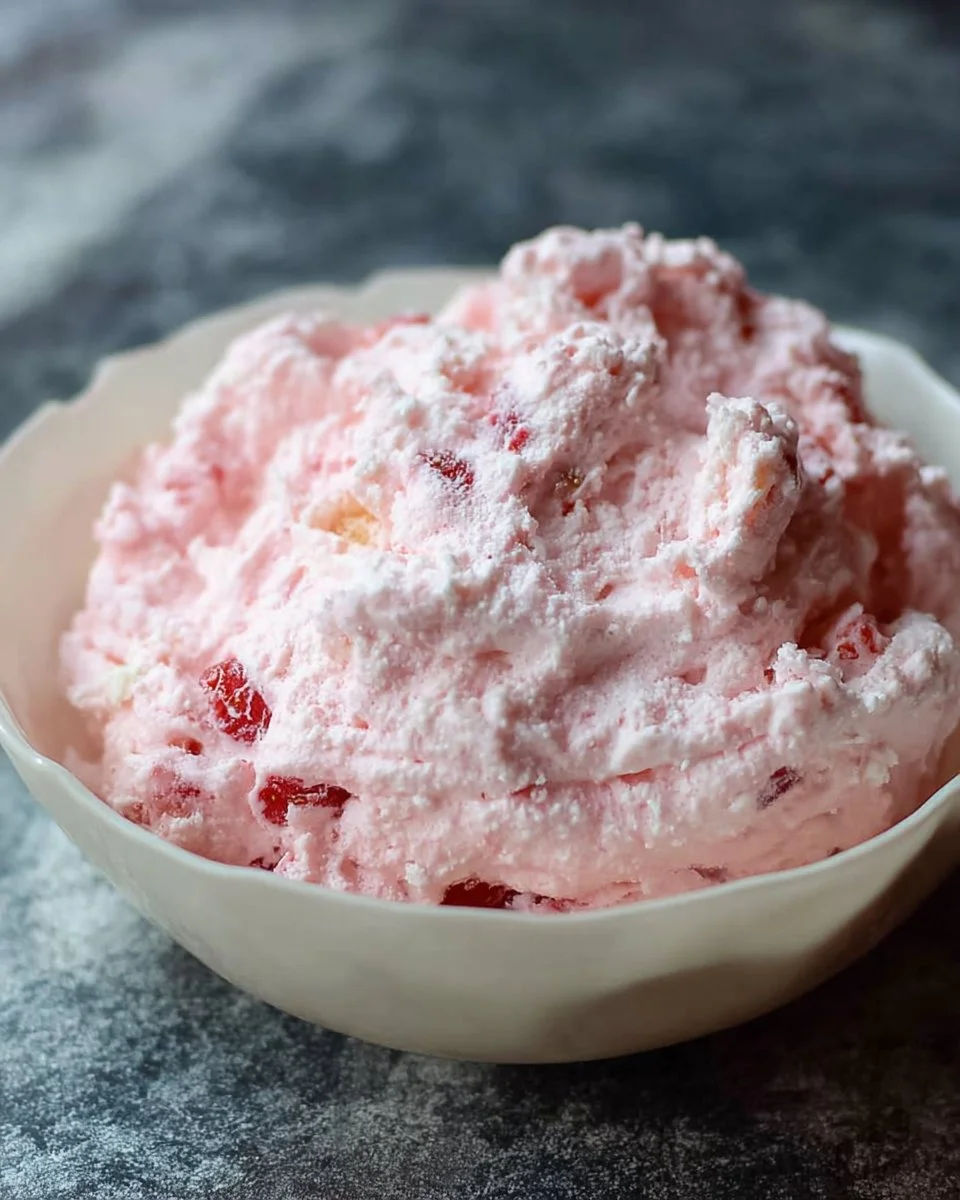
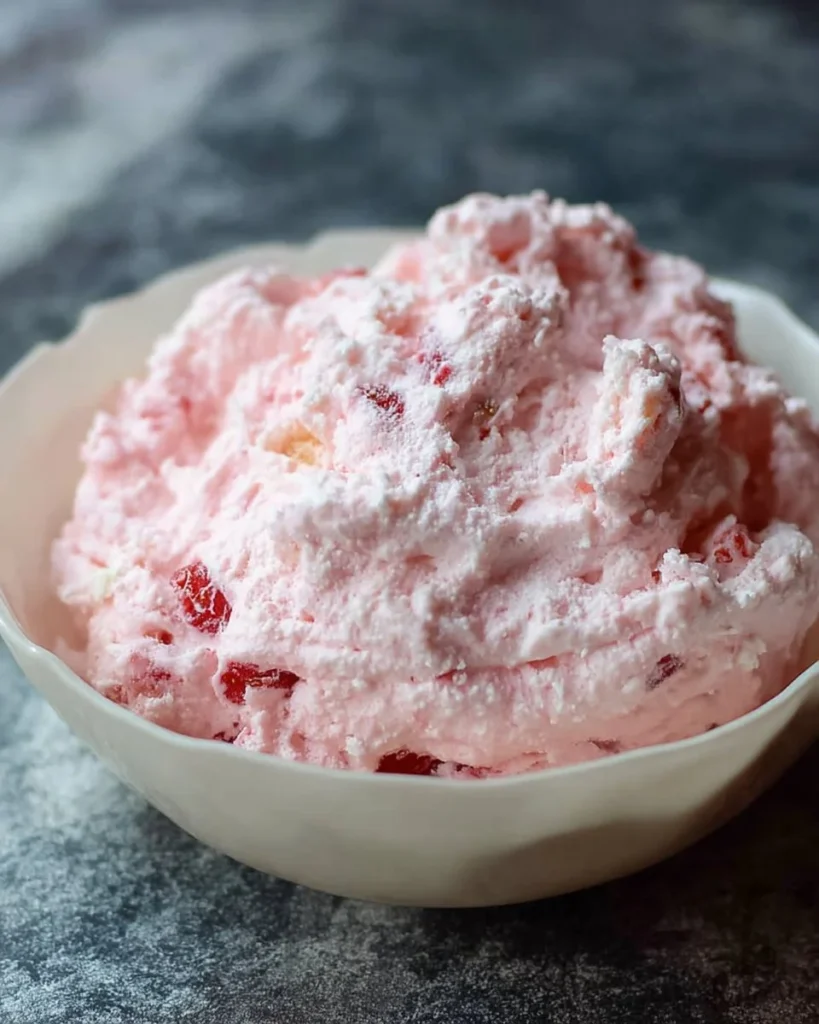
- Gently add the thawed Cool Whip and mini marshmallows into the bowl.
- Use a spoon to stir all ingredients together until they are well combined.
- Once mixed, cover the bowl with plastic wrap or a lid and refrigerate for 2 hours or until you are ready to serve. This allows the flavors to meld together beautifully!
HOW TO SERVE Cherry Salad
For serving cherry salad, portion control is key. Since it contains sweetened condensed milk and whipped topping, it’s best to enjoy it in moderation. Serve in small bowls and pair it with fresh fruit like sliced strawberries or a handful of blueberries to add natural sweetness and fiber. This way, you create a balanced plate with fruits that enhance the overall flavor. It also helps keep the dish light and refreshing.
STORAGE & FREEZING : Cherry Salad
Cherry salad can be stored in the refrigerator for up to 3 days in an airtight container. The flavors will continue to develop as it sits. However, it’s best not to freeze this salad as the texture of the whipped topping and fruit may change when thawed. If you do want to prepare it ahead of time, make sure to keep it covered in the fridge for optimal freshness and flavor.
SERVING SUGGESTIONS
For a healthy balance, serve cherry salad alongside grilled chicken or fish. This pairing not only compliments the sweetness of the salad but also adds a high-protein element to your meal, making it great for weight loss. You could also enjoy it as a light dessert after a hearty meal, ensuring you satisfy your sweet tooth without overindulging.
VARIATIONS
-
Healthier Version: For a healthier option, replace sweetened condensed milk with a light or sugar-free version. You can also use Greek yogurt instead of Cool Whip for added protein and probiotics. This makes it a great high-protein meal that’s lower in sugars.
-
High-Protein or Low-Carb Version: For those looking to boost the protein content or lower the carbs, incorporate cottage cheese instead of Cool Whip. This will create a creamy texture without the added sugars, and cottage cheese is packed with protein, making it a fantastic choice for a high-protein meal.
-
Air Fryer or Oven-Baked Version: While this salad is typically served cold, you could create a warm dessert version by roasting the walnuts in an air fryer or oven. Simply toss the nuts in a little bit of olive oil and your choice of seasonings, then air fry at 350°F for about 5-7 minutes. This enhanced nut flavor adds a crunchy twist to your cherry salad!
FAQs
-
Can I make cherry salad diabetic-friendly?
Yes! To make it diabetic-friendly, use sugar-free cherry pie filling and opt for a light whipped topping or Greek yogurt. This keeps the sugar content low while still providing a tasty treat. -
How long does cherry salad last in the fridge?
Cherry salad can last in the refrigerator for about 3 days if stored in an airtight container. However, it’s best enjoyed fresh for the best texture and taste. -
Can I use fresh cherries instead of canned?
Absolutely! You can use fresh cherries for an even healthier version. Just wash and pit them before adding them to your salad. Fresh cherries add great natural sweetness without additional sugars. -
Is cherry salad low in calories?
While cherry salad does contain sweetened condensed milk and Cool Whip, the caloric content can be adjusted by using lighter versions of these ingredients. This makes it a more moderate choice, especially when watched in portion sizes.
MAKE-AHEAD TIPS FOR Cherry Salad
Cherry salad is a fantastic dish for meal prep, making it easy to whip up a batch ahead of time. To save even more time, pre-chop the walnuts and make the salad a day in advance. When you know you have a busy week ahead, prepping this salad will ensure you have a tasty treat on hand that’s easy to serve as dessert or enjoy as a snack. Store the prepared salad in an airtight container in the refrigerator to keep it fresh.
This cherry salad recipe is sure to become a favorite, combining ease of preparation with a delightful taste that everyone will love! A healthy version of a classic dessert, it’s a treat you can feel good about enjoying.
Cherry Salad
Ingredients
Method
- Gather all your ingredients in a large mixing bowl.
- Pour in the cherry pie filling, sweetened condensed milk, chopped walnuts, and drained pineapple chunks.
- Gently add the thawed Cool Whip and mini marshmallows into the bowl.
- Use a spoon to stir all ingredients together until they are well combined.
- Cover the bowl with plastic wrap or a lid and refrigerate for 2 hours or until you are ready to serve.