INTRODUCTION
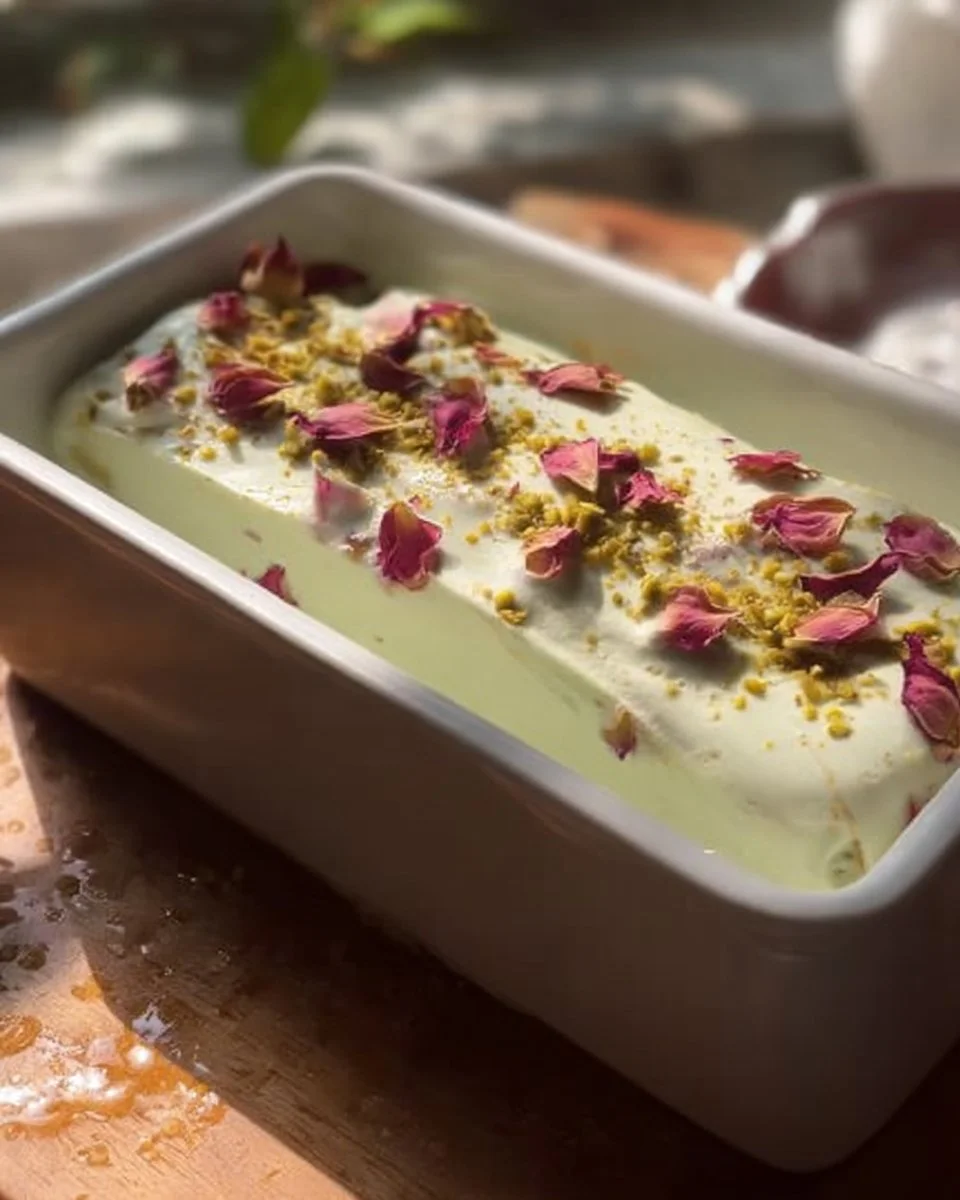
Personalized Homemade Ice Cream Treat is a simple, fun, and fresh dessert you can make at home. This recipe uses basic ingredients and lets you add the toppings you love. It works well as a healthy version of store-bought ice cream when you control the sugar and mix-ins. You can make a lighter option with fruit or a low carb, gluten free choice with small swaps. It is also great for meal prep when you make single-serve portions in advance for busy days. For another quick and tasty idea that helps with weeknight planning, check out this creamy garlic butter shrimp recipe that pairs well with salads or simple sides.
This article shows you how to make the ice cream step by step. It also gives healthy tips, storage notes, and easy variations. The language is simple. The steps are clear. You will learn how to make this treat fit your diet, from a high protein meal-style scoop to a low calorie snack.
WHY YOU WILL LOVE THIS RECIPE
You will love this Personalized Homemade Ice Cream Treat because it lets you choose every part of the dessert. You can lower the sugar, add protein, or keep it gluten free. It is a lighter option compared to many store brands. It lets you enjoy dessert while watching calories or carbs. It is also a great choice for families. Kids can help pick toppings and make their own bowl. This recipe is good for weight loss if you make mindful swaps and watch portion size. It can be used as a healthy treat after a workout when you choose a high protein version. The recipe is quick to start and simple to finish, making it great for meal prep.
HOW TO MAKE Personalized Homemade Ice Cream Treat
This method uses a classic custard-free base that is easy and fast. You can make the base in a bowl and churn it in an ice cream maker. The steps below keep the flavor clean and let you add healthy or high protein options. Follow the main recipe first, then try variations to match your goals.
EQUIPMENT NEEDED
- Mixing bowl
- Whisk or hand mixer
- Measuring cups and spoons
- Ice cream maker (or a shallow freezer-safe pan for no-churn version)
- Airtight container for freezing
- Spatula or spoon for stirring and serving
Ingredients You’ll Need :
2 cups heavy cream, 1 cup whole milk, 3/4 cup granulated sugar, 1 tablespoon vanilla extract, Pinch of salt, Toppings of your choice (fruit, nuts, chocolate chips, etc.)
STEP-BY-STEP INSTRUCTIONS :
- In a mixing bowl, combine heavy cream, whole milk, granulated sugar, vanilla extract, and salt. Whisk until sugar is dissolved.
- Pour the mixture into an ice cream maker and churn according to the manufacturer’s instructions until it reaches soft-serve consistency.
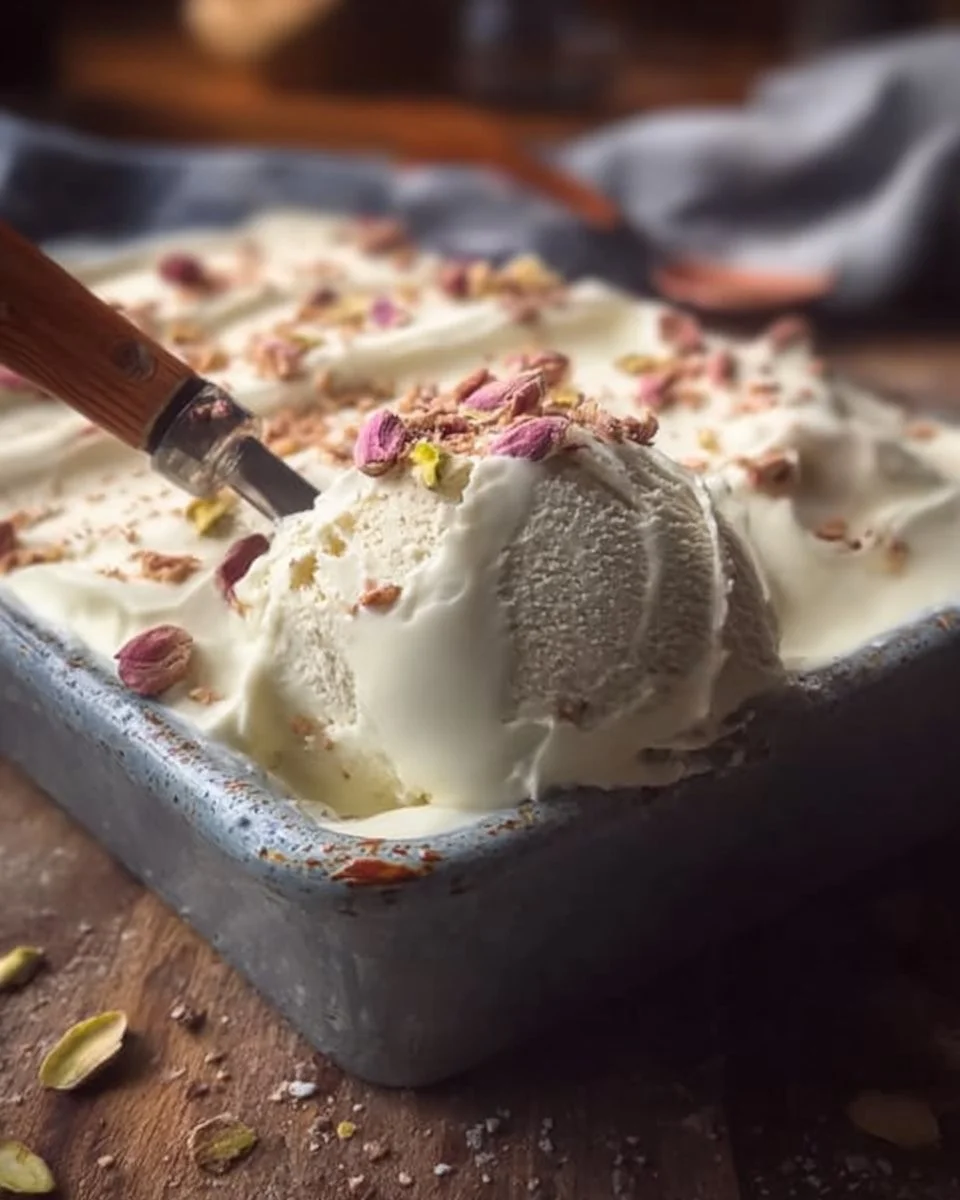
- Transfer the ice cream to an airtight container and freeze for at least 2-4 hours to firm up.
- Serve the ice cream in bowls or cones, and top with your choice of toppings.
HOW TO SERVE Personalized Homemade Ice Cream Treat
Serve single scoops in small bowls to control portions. A 1/2 cup scoop gives a satisfying treat without too many calories. For a lighter option, top with fresh berries, sliced banana, or roasted fruit instead of chocolate. For a high protein meal-style serving, add a scoop of Greek yogurt or a spoon of nut butter on the side. You can also layer small scoops with chopped nuts and seeds to add fiber and healthy fats. If you follow a low carb plan, use sugar-free sweetener in the base and top with toasted almonds and unsweetened coconut.
One easy serving idea is to make mini parfaits. Place one scoop in a glass, then add a spoon of Greek yogurt and a sprinkle of granola or chopped nuts. This makes a balanced treat with protein and fiber.
For more meal and weeknight ideas that pair well with a lighter dessert, see this simple creamy garlic butter shrimp recipe that is easy to cook and pairs with salads or steamed veg.
STORAGE & FREEZING : Personalized Homemade Ice Cream Treat
Store your ice cream in an airtight container in the freezer. Press plastic wrap on the surface before sealing to reduce ice crystals. Homemade ice cream stays best for up to 2 weeks for the best texture. After that, it can become icy but is still safe to eat for up to one month.
To soften frozen ice cream for serving, let it sit at room temperature for 5 to 10 minutes. If the ice cream is too firm, scoop it into a bowl and let warm for a few minutes while you prepare toppings.
If you make a low sugar or diabetic-friendly version, label the container with the date and type to avoid confusion and help track storage time.
SERVING SUGGESTIONS
- Healthy side: Fresh fruit salad or baked apple slices. Fruit boosts fiber and adds vitamins.
- Balanced snack: Pair a small scoop with a cup of herbal tea or black coffee to curb sweet cravings.
- Light dessert option: A small parfait with 1/2 cup ice cream, 1/4 cup Greek yogurt, and 1 tablespoon chopped nuts. This helps make it a higher protein meal.
- Party idea: Serve mini cups with a few toppings so guests can personalize their treats.
VARIATIONS
- Healthier version: Use half heavy cream and half unsweetened almond milk, and reduce granulated sugar to 1/3 cup or use a sugar substitute that measures like sugar. Add mashed banana or pureed dates for natural sweetness. This keeps a creamy feel with fewer calories and makes a lighter option that is good for weight loss when eaten in control.
- High-protein or low-carb version: Replace half the heavy cream with full-fat Greek yogurt or cottage cheese, and use a sugar-free sweetener. Add a scoop of unflavored or vanilla whey or plant protein powder. This creates a high protein meal-like dessert that works as a post-workout treat. For a low carb mix, use heavy cream with stevia or erythritol and add crushed nuts for texture.
- Air fryer or oven-baked version: You cannot cook ice cream in an oven or air fryer, but you can make warm toppings. Try air fryer-baked cinnamon apples or pears: chop fruit, toss with a touch of sweetener and cinnamon, then air fry at 350°F (175°C) for 8–10 minutes until soft. Spoon warm fruit over cold ice cream for contrast. You can also oven-bake cookie crumbs or granola to add crunchy topping. These warm additions make the dessert feel richer and give a mix of hot and cold textures.
For more recipe ideas that help you plan meals and sides, try this quick creamy garlic butter shrimp guide for fast dinners and simple meal prep.
FAQ

Q: Is this ice cream healthy?
A: It can be. The basic recipe is rich, but you can make a healthy version by lowering sugar, using part-skim milk or almond milk, and adding fruit or protein. Choose portions carefully to keep it low calorie.
Q: Can people with diabetes eat this ice cream?
A: You can make a diabetic-friendly version by using sugar substitutes and lowering the portion size. Use unsweetened milk alternatives and add fiber-rich toppings like nuts or berries to help slow sugar spikes.
Q: How long does homemade ice cream last in the freezer?
A: Best texture lasts up to 2 weeks. It is safe longer, but may get icy after one month. Use airtight containers and press plastic on the surface to reduce ice crystals.
Q: Can I make this recipe without an ice cream maker?
A: Yes. Use a shallow freezer-safe pan. Freeze the mixture, then stir every 30 minutes for 2–3 hours until it reaches a smooth consistency. This no-churn method works but takes more hands-on time.
Q: Is this recipe good for weight loss?
A: The original is rich, but a lighter option works well for weight loss. Reduce sugar, use low-fat milk alternatives, and control portion sizes. Pair a small scoop with fruit for satiety.
Q: Can I make a high protein version for post-workout?
A: Yes. Add protein powder or use Greek yogurt in place of part of the cream. This makes a high protein meal-style treat that helps muscle recovery.
MAKE-AHEAD TIPS FOR Personalized Homemade Ice Cream Treat
- Make the base ahead and keep it chilled in the fridge for up to 24 hours. Chilling the mix makes the churn faster and smoother.
- Freeze single-serve portions in small containers or muffin tins lined with parchment. Pop them out and store in an airtight bag for quick snacks. This makes the recipe great for meal prep.
- Pre-portion toppings in small containers so serving takes less time. Keep nuts, chopped fruit, and chocolate chips separate until ready to serve.
- If you plan to serve at a party, churn the ice cream the day before and store in the coldest part of the freezer. Take it out 10 minutes before serving for easier scooping.
- For a high-protein freezer stock, mix in protein powder and freeze in single-serve jars. These thaw well in 5–10 minutes and make a fast post-workout snack.
This Personalized Homemade Ice Cream Treat is flexible and fits many diets. Use these tips to make it a healthy, high protein, low carb, or gluten free choice. Keep portions small and add fresh fruit or nuts for fiber and healthy fats. Enjoy a homemade bowl you control — the flavors, the sweetness, and the health benefits.

Personalized Homemade Ice Cream Treat
Ingredients
Method
- In a mixing bowl, combine heavy cream, whole milk, granulated sugar, vanilla extract, and salt. Whisk until sugar is dissolved.
- Pour the mixture into an ice cream maker and churn according to the manufacturer's instructions until it reaches soft-serve consistency.
- Transfer the ice cream to an airtight container and freeze for at least 2-4 hours to firm up.
- Serve the ice cream in bowls or cones, and top with your choice of toppings.