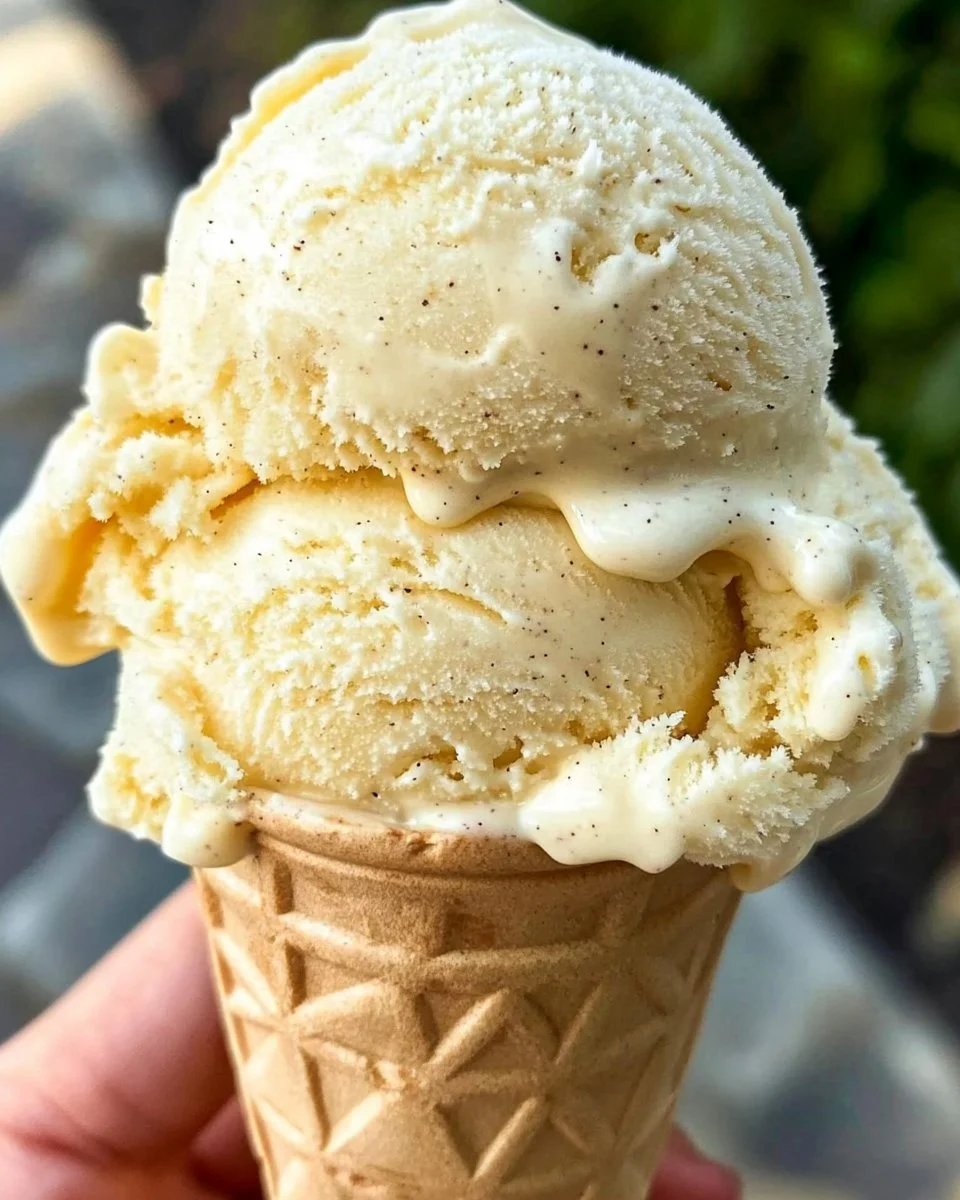
Vanilla Bean Ice Cream
Indulging in homemade Vanilla Bean Ice Cream is a delightful experience that brings sweet joy and creamy satisfaction. This lighter option allows you to enjoy a rich, flavorful dessert without compromising your health goals. With its simple ingredients and easy steps, this ice cream delivers a high-protein treat that can fit into various diets, including low carb, gluten-free, and diabetic-friendly. Get ready to create this deliciously creamy dessert that’s great for meal prep and perfect for weight loss!
WHY YOU WILL LOVE THIS Vanilla Bean Ice Cream
Vanilla Bean Ice Cream is not just any ordinary ice cream; it’s a creamy, dreamy concoction that brings joy to every scoop. One of the best aspects of this recipe is how you can indulge in something that feels luxurious yet remains a healthier version of store-bought options. This ice cream is high in protein thanks to the incorporation of egg yolks, making it a satisfying treat that also supports your dietary goals. Whether you’re looking for a sweet end to your meal or a refreshing afternoon snack, this Vanilla Bean Ice Cream is a great choice for anyone pursuing a lighter option. Plus, its low sugar content makes it a perfect candidate for those watching their calorie intake or following a weight-loss plan.
EQUIPMENT NEEDED
Ice Cream Maker
An ice cream maker is essential for this recipe to churn the mixture into a smooth and creamy texture. Make sure your ice cream maker bowl has been frozen for at least 24 hours for best results.
Saucepan
A heavy-based saucepan will help to evenly heat the cream and milk mixture, ensuring that your custard cooks gently and doesn’t curdle.
Large Bowl
A large bowl is needed to combine the egg yolks and sugar. It’s also essential for catching the custard mixture when you strain it.
Measuring Cups and Spoons
Accurate measurements are crucial when making ice cream. Use measuring cups and spoons to ensure you have the right amounts of each ingredient, especially the sugar and liquid components.
Wooden Spoon
A wooden spoon is perfect for stirring the custard mixture while it cooks on the stove. It’s sturdy and can withstand the heat without scratching your cookware.
INGREDIENTS
Ingredient 1: 500 ml Cream (2 Cups)
Pouring or thickened cream provides the rich base for your ice cream. It’s high in fat, which helps give the ice cream its luxurious texture while adding flavor.
Ingredient 2: 250 ml Full Cream Milk (1 Cup)
Adding full cream milk balances out the richness of the cream. This combination ensures your ice cream is creamy but not overwhelmingly rich.
Ingredient 3: 1 Vanilla Bean Pod
Using a real vanilla bean pod elevates the flavor of your ice cream. Splitting it open and scraping out the seeds releases a natural, exquisite vanilla flavor that is hard to beat.
Ingredient 4: 1 tsp Vanilla Bean Paste (or Extract)
Vanilla bean paste enhances the vanilla flavor and adds flecks of vanilla that visually appeal. If you don’t have bean paste, pure vanilla extract works well too.
Ingredient 5: 5 Egg Yolks (Large)
Egg yolks not only help thicken the custard but also contribute to the high protein content of this ice cream, making it a protein-packed dessert option.
Ingredient 6: 110 g Caster Sugar (1/2 Cup)
Caster sugar dissolves easily, helping to sweeten your ice cream without affecting the texture. For a healthier version, consider using a sugar alternative if desired.
HOW TO MAKE Vanilla Bean Ice Cream
Step 1: Prepare Your Equipment
Before starting this recipe, ensure your ice cream maker bowl is properly frozen, ideally for 24 hours ahead of time. This step is crucial as it will help your ice cream freeze properly.
Step 2: Mix Egg Yolks and Sugar
In a large bowl, combine the egg yolks and caster sugar. Use a hand-held mixer or a stand mixer to mix until the mixture becomes thick and pale in color. This takes just a few minutes, so don’t rush!
Step 3: Heat the Cream and Milk
In a heavy-based saucepan, pour the cream and full cream milk. Split the vanilla pod in half, scrape out the seeds, and add them along with the pod and vanilla bean paste to the cream mixture. Stir to combine. Heat this mixture over low to medium heat until it just begins to simmer; avoid boiling.
Step 4: Combine Mixtures
Once your cream mixture is warm, remove the vanilla pod. Slowly add the warm cream to the egg yolk mixture, whisking continuously to ensure a smooth blend. This step prevents the eggs from cooking too quickly and curdling.
Step 5: Cook the Custard
Pour the combined mixture back into the saucepan and return it to low heat. Stir constantly with a wooden spoon until the custard thickens, which should take about 15–25 minutes. You’ll know it’s ready when it coats the back of the spoon or reaches a temperature of 77-80 degrees Celsius.
Step 6: Strain the Mixture
Once thickened, strain the custard through a fine sieve into a bowl or jug to remove any cooked bits. Discard the vanilla pod after straining. Set aside and let cool to room temperature while stirring occasionally.
Step 7: Chill
To chill the custard more quickly, you can place the bowl in an ice bath. Once it’s at room temperature, cover the surface directly with cling film to prevent a skin from forming. If possible, let it chill in the fridge for at least 4 hours or overnight for the best results.
Step 8: Churn the Ice Cream
Once your custard has chilled adequately, set up your ice cream maker following the manufacturer’s instructions. Start the machine and slowly pour the custard into it. Let it churn for 15 to 30 minutes, or according to your machine’s recommendations, until it reaches a soft but spoonable consistency.
Step 9: Freeze
At this point, your ice cream is ready but still too soft to serve. Spoon the mixture into an airtight, freezer-proof container and seal it. Freeze for 2-4 hours or preferably overnight. Before serving, let the ice cream sit out for 5 minutes to soften slightly.
TIPS AND TRICKS
- Using Alternatives: For a healthier version, you can substitute caster sugar with a natural sweetener like stevia or erythritol to make a low-calorie, diabetic-friendly treat.
- Meal Prep Idea: This ice cream is fantastic for meal prep. You can make a larger batch and keep it stored in the freezer for a quick, high-protein snack or treat anytime.
- Storing: To maintain the best texture and flavor, try to eat your Vanilla Bean Ice Cream within two weeks. Ensure it’s stored in an airtight container to avoid freezer burn.
- Flavor Variations: Don’t hesitate to experiment! You can add mix-ins like chopped nuts, berries, or dark chocolate to create different flavors and textures while keeping it a heart-healthy treat.
Vanilla Bean Ice Cream FAQ
Is Vanilla Bean Ice Cream healthy?
Yes! This homemade Vanilla Bean Ice Cream can be part of a balanced diet, especially if made with healthier substitutions like low-calorie sweeteners.
What makes this ice cream diabetic-friendly?
This recipe can be adjusted to be lower in sugar by using natural sweeteners, and it contains protein from egg yolks, making it a good option for maintaining energy levels while keeping sugar intake in check.
Can I make this ice cream ahead of time?
Absolutely! This Vanilla Bean Ice Cream is great for meal prep. Make it ahead of time and store it in the freezer for a delicious dessert ready when you want it.
How should I store Vanilla Bean Ice Cream?
Store your ice cream in an airtight container in the freezer. For best results, consume it within two weeks to maintain optimal flavor and texture.
CONCLUSION
Indulging in homemade Vanilla Bean Ice Cream is not only a delicious way to satisfy your sweet tooth but also a health-conscious choice. With its high-protein content and possibility for lower-calorie preparation, this ice cream is perfect for anyone looking to enjoy a treat without the guilt. Plus, it’s excellent for meal prep, ensuring you always have a delightful dessert on hand. Try making it yourself, and feel free to share your variations and experiences! Enjoy this heart-healthy, low-carb dessert that tastes divine!
Vanilla Bean Ice Cream
Ingredients
Method
- Ensure your ice cream maker bowl is frozen for at least 24 hours before starting.
- In a large bowl, combine the egg yolks and caster sugar using a mixer until thick and pale.
- In a heavy-based saucepan, heat the cream and full cream milk.
- Split the vanilla pod, scrape out the seeds, and add them along with the pod and vanilla bean paste to the cream mixture. Stir to combine.
- Heat the mixture over low to medium heat until it just begins to simmer.
- Remove the vanilla pod and slowly whisk warm cream into the egg mixture to prevent curdling.
- Pour the combined mixture back into the saucepan and cook over low heat, stirring until thickened (15-25 minutes).
- Strain the custard through a fine sieve into a bowl to remove cooked bits.
- Let it cool to room temperature while stirring occasionally.
- Chill the custard in the fridge for at least 4 hours or overnight for the best results.
- Once chilled, churn in the ice cream maker according to the manufacturer's instructions for 15-30 minutes.
- Transfer the churned ice cream into an airtight container and freeze for 2-4 hours or overnight before serving.