
A tasty, guilt-free twist on a classic fast-food favorite.
INTRODUCTION
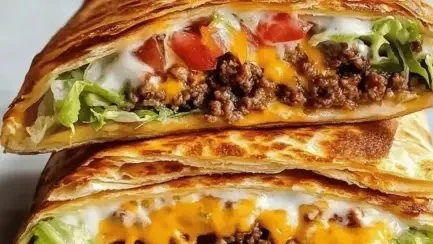
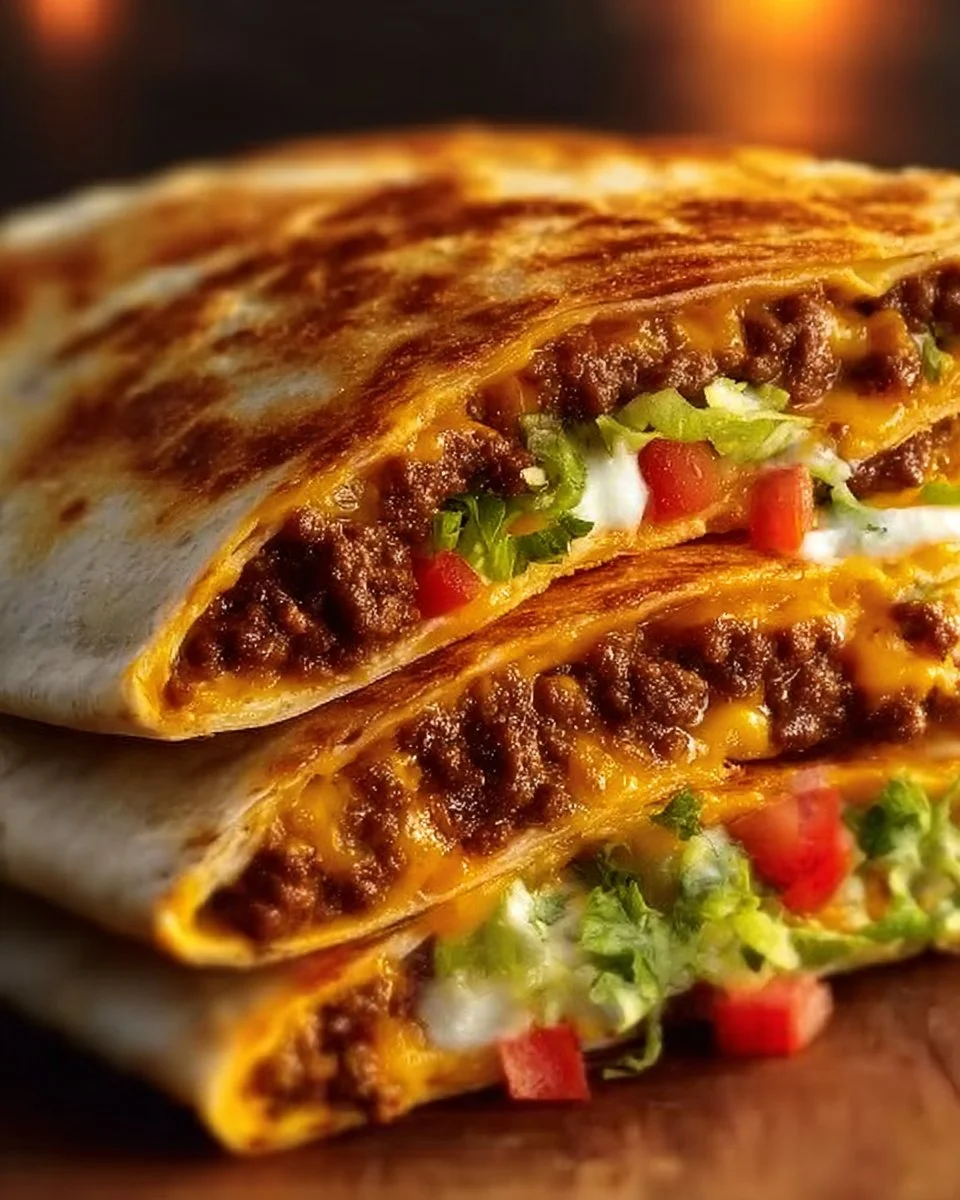
These Delicious Keto Crunchwraps are a healthy version of a fast-food treat. They use low-carb tortillas, full-fat cheese sauce, and seasoned beef to make a lighter option you can enjoy without worry. This recipe is perfect for people who want a high protein meal that is also low carb and good for weight loss when part of a balanced plan. If you like quick meals, you will also enjoy that this is great for meal prep and keeps well in the fridge. For more quick ideas to pair with your weeknight meals, see this helpful collection of quick recipes and tips in my quick recipes category.
WHY YOU WILL LOVE THIS RECIPE
You will love these crunchwraps because they feel like a treat but fit a healthy plan. They are a lighter option compared to fried fast food. Each wrap has a mix of protein from ground beef, fiber from lettuce and cilantro, and healthy fats from cheese and olive oil. This balance makes them diabetic-friendly when you watch portion size and choose lower-carb veggies. The low-carb tortilla keeps the meal low in net carbs and helps you stay on a weight loss plan. These wraps are a great meal prep choice because they reheat well and stay tasty for several days. If you want a comfort-style dish with smart nutrition, this is a good pick, and it pairs well with other easy weeknight recipes like the cozy skillet in this cheesy cajun garlic chicken rotini skillet post.
HOW TO MAKE Delicious Keto Crunchwraps Recipe for Guilt-Free Indulgence
This recipe is clear and simple. You will make a smooth cheese sauce, cook the beef, crisp the tortillas, and then fold and cook the crunchwraps until golden. Work in steps and use a hot pan for the best texture. For more step-by-step dinner ideas that are hands-off for busy nights, you may like this slow cooker comfort meal idea found in my crockpot ravioli lasagna guide.
EQUIPMENT NEEDED
- Large skillet or frying pan
- Small saucepan
- Spatula
- Measuring cups and spoons
- Mixing bowl
- Cheese grater (if shredding your own cheese)
- Paper towels or clean kitchen towel
- Plate or cutting board for assembling
Ingredients You’ll Need :
- 2 tablespoons Butter (Unsalted for better control of seasoning)
- 4 ounces Cream Cheese (Can substitute with dairy-free cream cheese)
- 1/4 cup Heavy Whipping Cream (Use coconut cream as a low-carb alternative)
- 1 cup Shredded Cheddar Cheese (Sharp cheddar for a more robust flavor)
- 1 pound Ground Beef (Can substitute with ground chicken or turkey)
- 2 tablespoons Taco Seasoning (Use homemade or low-sodium versions)
- 4 pieces Low-Carb Tortillas (Brands like Mission Carb Balance or almond flour tortillas)
- 1 cup Sour Cream (Substitute with Greek yogurt for a lighter version)
- 1 cup Lettuce (Shredded iceberg or romaine)
- 1 medium Tomato (Can replace with bell peppers or omit for fewer carbs)
- 1 cup Extra Cheddar Cheese (Consider adding pepper jack for extra spice)
- 1/4 cup Cilantro (Substitute with parsley if you’re not a fan)
- 1/2 cup Jalapeño Slices (Optional spicy addition)
- 1 tablespoon Olive Oil (Any cooking oil can work)
STEP-BY-STEP INSTRUCTIONS :
-
Cheese Sauce Preparation
- In a small saucepan, melt 2 tablespoons butter over low heat.
- Add 4 ounces cream cheese and stir until smooth.
- Pour in 1/4 cup heavy whipping cream, heat gently.
- Stir in 1 cup shredded cheddar cheese until the sauce is smooth. Keep warm on very low heat and stir occasionally.
-
Beef Cooking
- Heat 1 tablespoon olive oil in a large skillet over medium-high heat.
- Add 1 pound ground beef and cook, breaking into small pieces.
- When the meat is nearly cooked, add 2 tablespoons taco seasoning and a splash of water. Stir well and cook until no pink remains. Drain any excess fat if needed.
-
Tortillas Crisping
- Heat a clean skillet over medium heat.
- Place one low-carb tortilla in the pan for about 20–30 seconds per side until it gets warm and slightly flexible.
- For extra crunch, sear each tortilla for 30–45 seconds per side until light brown and slightly crispy. Use a paper towel to press gently so it crisps evenly.
-
Crunchwrap Assembly
- Lay a warmed tortilla flat on a clean surface.
- Spoon 1/4 of the cooked beef into the center.
- Add a generous dollop of the cheese sauce over the beef.
- Top with a spoon of sour cream or a lighter option like Greek yogurt for fewer calories.
- Add lettuce, diced tomato, cilantro, jalapeño slices, and a sprinkle of extra cheddar cheese.
- Fold the edges of the tortilla toward the center in overlapping pleats to make a sealed wrap. Press gently to compact.
-
Crunchwrap Cooking
- Heat the skillet again over medium heat with a small dab of butter or oil.
- Place the folded crunchwrap seam-side down and cook for 2–3 minutes until the seam seals and the tortilla is golden.
- Flip and cook the other side for another 2–3 minutes until both sides are crispy and the filling is warm.
-
Serving
- Let the crunchwrap cool for a minute, then slice in half or serve whole.
- Enjoy with extra sour cream or a fresh green salsa.
HOW TO SERVE Delicious Keto Crunchwraps Recipe for Guilt-Free Indulgence
Serve these crunchwraps with a light side to keep the meal balanced. A leafy green salad with a lemon vinaigrette is a good complement and keeps carbs low. For portion control, one wrap per person is a satisfying serving when paired with a cup of salad or a cup of steamed vegetables. If you want extra protein, add a simple side of roasted chickpeas or a boiled egg. For more ideas on quick shrimp or rice sides that work with busy nights, check this easy shrimp and rice recipes post in my creamy garlic butter shrimp guide.
STORAGE & FREEZING : Delicious Keto Crunchwraps Recipe for Guilt-Free Indulgence
Store cooked crunchwraps in an airtight container in the fridge for up to 4 days. Reheat in a skillet over medium heat or in an air fryer at 350°F for 5–7 minutes to keep the shell crispy. To freeze, wrap individual crunchwraps tightly in foil and place in a freezer bag for up to 2 months. Thaw overnight in the fridge before reheating. When reheating from frozen, use a lower heat and cover the pan briefly to warm the center without burning the exterior.
SERVING SUGGESTIONS
- Healthy side: Mixed green salad with cucumber and a light vinaigrette.
- Low-calorie option: Steamed broccoli or roasted cauliflower.
- Diabetic-friendly pairing: A side of fresh sliced avocado and lime; avocado adds heart healthy fats and keeps blood sugar steady.
- For kids: Serve with mild salsa and a small cup of fruit.
These options keep the meal balanced and support weight loss or maintenance goals.
VARIATIONS
-
Healthier version:
- Use lean ground turkey or chicken and swap sour cream for plain Greek yogurt for fewer calories and more protein. This lighter option reduces saturated fat and keeps the wrap filling and tasty.
-
High-protein or low-carb version:
- Make this a high protein meal by using extra lean ground beef or adding cooked, shredded chicken. Use a very low-carb tortilla or make a cheese-based flatbread to drop carbs even more. This variation supports those who want a high protein, low carb dinner.
-
Air fryer or oven-baked version:
- To use an air fryer, assemble the crunchwraps and spray lightly with oil. Air fry at 350°F for 6–8 minutes until golden and crisp. For an oven method, bake on a sheet at 400°F for 10–12 minutes, flipping once. Both methods give a crisp shell with less oil for a heart healthy approach. If you try the oven route, you might enjoy a similar hands-off dinner idea like the cheesy skillet in this warm recipe post, which has notes on oven and skillet techniques: cheesy cajun garlic chicken rotini skillet.
FAQs
Q: Are these crunchwraps good for weight loss?
A: Yes. When you use low-carb tortillas, lean meat, and control portion sizes, these crunchwraps can fit into a weight loss plan. Pair them with a salad to make a balanced plate.
Q: Can I make these diabetic-friendly?
A: Yes. Use low-carb tortillas, skip high-sugar salsas, and pick plenty of non-starchy vegetables. Monitor portions and choose Greek yogurt instead of sour cream to lower added sugars and fats.
Q: How long do they keep in the fridge?
A: Stored in an airtight container, they keep up to 4 days. Reheat in a skillet or air fryer to keep the shell crisp.
Q: Can I freeze assembled crunchwraps?
A: Yes. Wrap each tightly and freeze up to 2 months. Thaw in the fridge overnight, then reheat in a skillet or air fryer.
Q: Is there a gluten free option?
A: Yes. Use certified gluten free low-carb tortillas or make a lettuce wrap version for a gluten free and lower calorie choice.
Q: How can I make them lower calorie?
A: Use lean ground turkey, swap cream cheese for a lighter dairy-free option, and use Greek yogurt instead of sour cream. Also limit cheese to one serving per wrap and add more vegetables.
MAKE-AHEAD TIPS FOR Delicious Keto Crunchwraps Recipe for Guilt-Free Indulgence
- Cook beef and make cheese sauce up to three days ahead. Store in separate airtight containers in the fridge.
- Shred lettuce, chop tomatoes, and slice jalapeños and cilantro in advance. Keep them in sealed containers so they stay fresh.
- Keep tortillas warm wrapped in a clean towel until assembly time, or warm them gently before folding.
- Assemble just before cooking for the best texture, or assemble and refrigerate for up to 24 hours then pan-fry or air fry to finish.
- This plan makes these crunchwraps great for meal prep on busy weeks, and they reheat well for quick lunches or dinners.

Keto Crunchwraps
Ingredients
Method
- In a small saucepan, melt 2 tablespoons butter over low heat.
- Add 4 ounces cream cheese and stir until smooth.
- Pour in 1/4 cup heavy whipping cream, heat gently.
- Stir in 1 cup shredded cheddar cheese until the sauce is smooth. Keep warm on very low heat and stir occasionally.
- Heat 1 tablespoon olive oil in a large skillet over medium-high heat.
- Add 1 pound ground beef and cook, breaking into small pieces.
- When the meat is nearly cooked, add 2 tablespoons taco seasoning and a splash of water. Stir well and cook until no pink remains. Drain any excess fat if needed.
- Heat a clean skillet over medium heat.
- Place one low-carb tortilla in the pan for about 20–30 seconds per side until it gets warm and slightly flexible.
- For extra crunch, sear each tortilla for 30–45 seconds per side until light brown and slightly crispy. Use a paper towel to press gently so it crisps evenly.
- Lay a warmed tortilla flat on a clean surface.
- Spoon 1/4 of the cooked beef into the center.
- Add a generous dollop of the cheese sauce over the beef.
- Top with a spoon of sour cream or a lighter option like Greek yogurt for fewer calories.
- Add lettuce, diced tomato, cilantro, jalapeño slices, and a sprinkle of extra cheddar cheese.
- Fold the edges of the tortilla toward the center in overlapping pleats to make a sealed wrap. Press gently to compact.
- Heat the skillet again over medium heat with a small dab of butter or oil.
- Place the folded crunchwrap seam-side down and cook for 2–3 minutes until the seam seals and the tortilla is golden.
- Flip and cook the other side for another 2–3 minutes until both sides are crispy and the filling is warm.
- Let the crunchwrap cool for a minute, then slice in half or serve whole.
- Enjoy with extra sour cream or a fresh green salsa.