Chocolate Cherry Lush (Easy No-Bake Layered Dessert)
INTRODUCTION
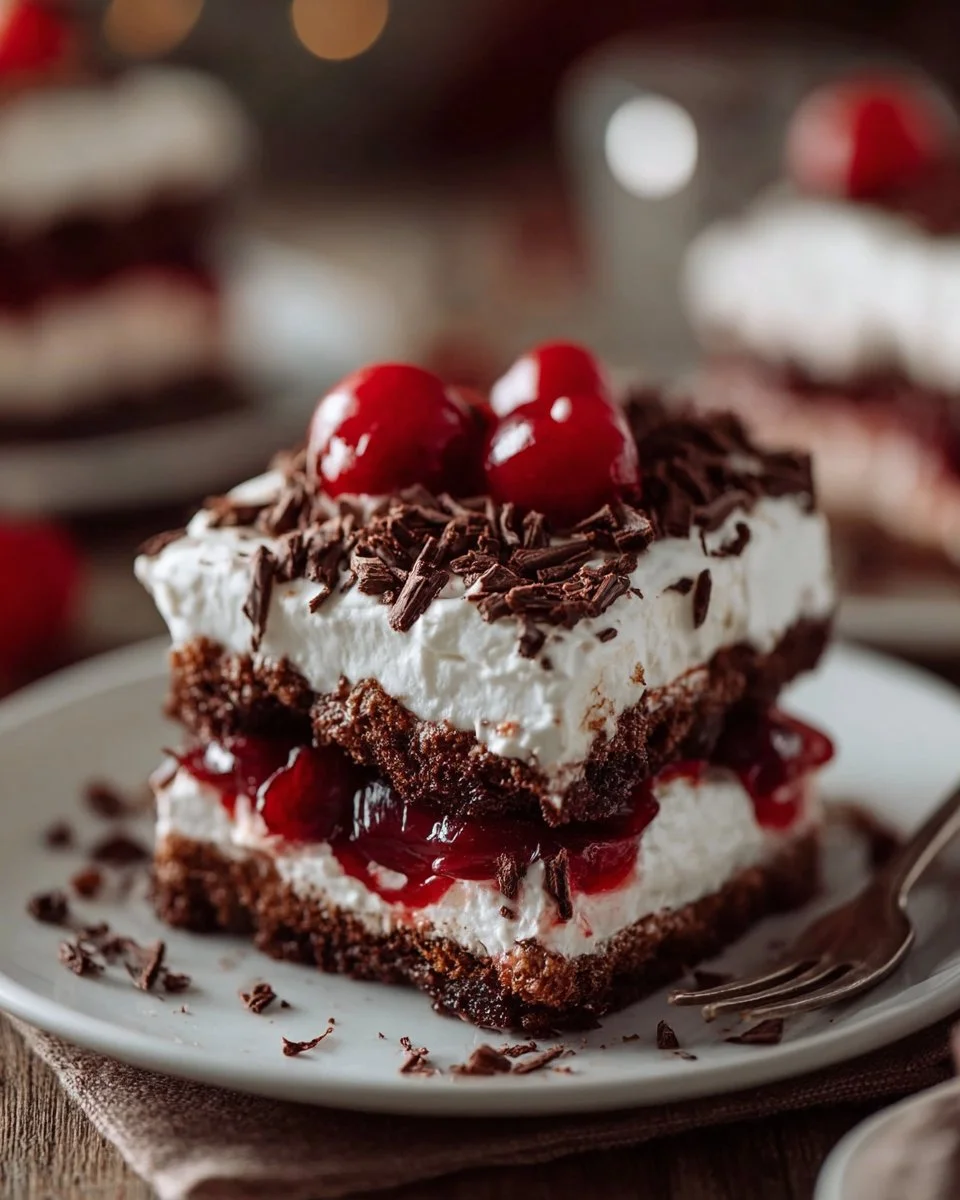
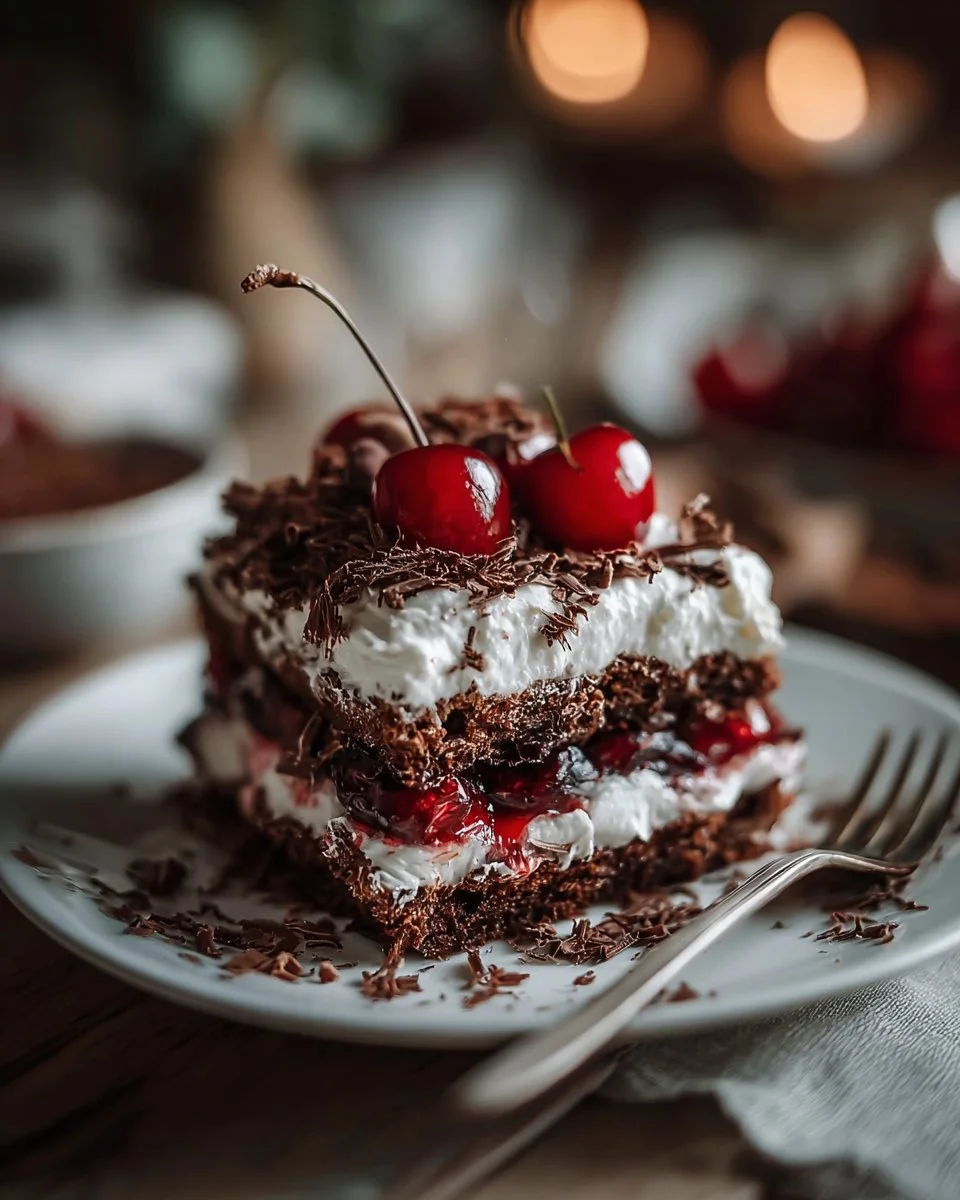
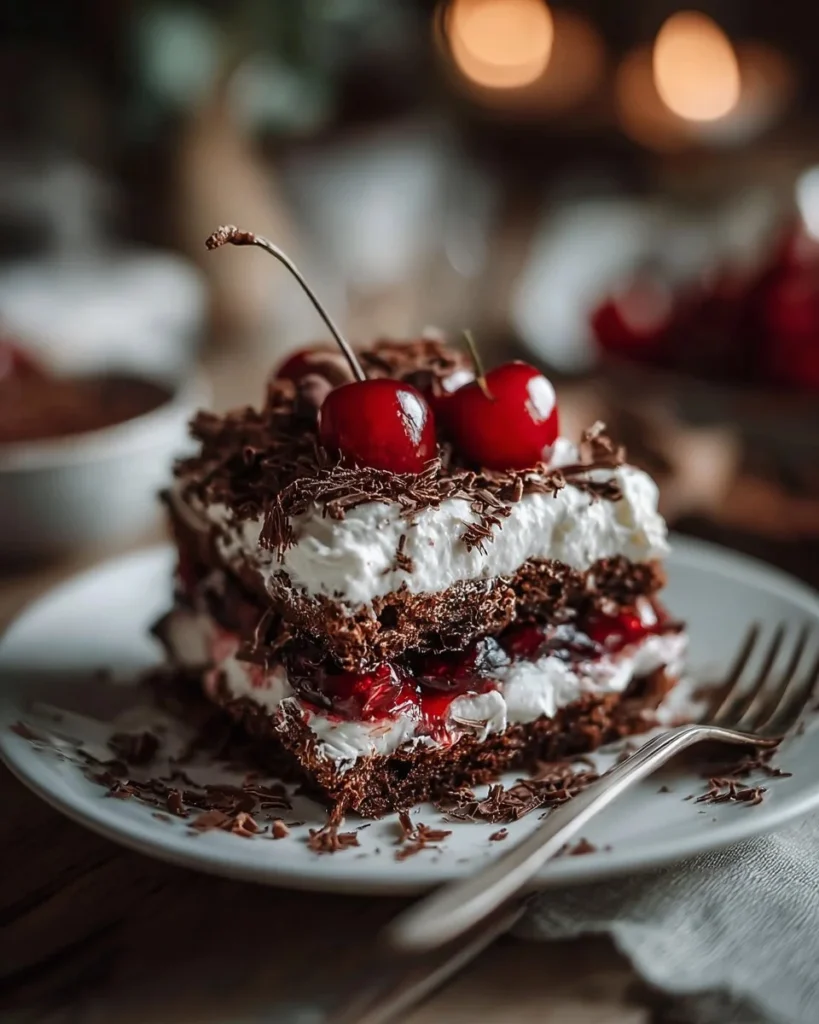
Chocolate Cherry Lush is a simple and sweet layered dessert. It brings a crunchy nut crust, a bright cherry layer, soft cream cheese, chocolate pudding, and fluffy topping. You do not need to turn on the oven for most of it. This dessert cools in the fridge and sets into neat layers that look great on a plate.
This recipe pairs well with many other simple treats. If you want a warm cookie to go with it, try a recipe for chewy maple cinnamon cookies with white chocolate after serving this lush. The mix of warm and cold, soft and crunchy makes a full, happy table.
WHY YOU WILL LOVE THIS RECIPE
You will love this Chocolate Cherry Lush because it is fast, easy, and rich in flavor. The crust mixes in one bowl and bakes for only ten minutes. The layers come together without much skill. The cream cheese and whipped topping make a silky middle layer, while the pudding adds chocolate depth. The cherry filling gives a tart pop that balances the sweet parts.
This dessert is also flexible. You can make it for a weeknight or for guests. It looks fancy but is easy to make. If you like a fruity finish on a creamy dessert, it will please the crowd. For a different holiday twist, you might also like orange chocolate Christmas truffles as a seasonal companion to this dish.
HOW TO MAKE Chocolate Cherry Lush (Easy No-Bake Layered Dessert)
This recipe has clear layers. You make a crumbly nut crust first, then a cherry layer, then a cream cheese layer, a chocolate pudding layer, and a whipped topping layer. Chill the dessert so the layers set and slice clean pieces.
When you make the crust, press it firmly. When the cream cheese is smooth, take care to fold in the whipped topping gently. That keeps the texture light. Whisk the pudding well with cold milk to stop lumps. If you follow the steps in order, the dessert will hold together and look neat on a plate.
EQUIPMENT NEEDED
- 9×13-inch baking dish
- Mixing bowls (small and medium)
- Electric mixer or a whisk and sturdy spoon
- Measuring cups and spoons
- Rubber spatula or spoon for spreading
- Fork for mixing crust
- Wire rack to cool the crust
- Refrigerator space for chilling
Ingredients You’ll Need :
1 cup all-purpose flour, ½ cup crushed nuts (pecans, almonds, or walnuts), ¼ cup granulated sugar, 8 tablespoons salted butter, melted, 1 (21-oz) can cherry pie filling, 8 oz cream cheese, softened, 1 cup powdered sugar, 1 (8-oz) container whipped topping (Cool Whip), divided, 2 (3.4-oz) packages instant chocolate pudding, 3 cups cold milk, Chocolate shavings, curls, or sprinkles (optional)
STEP-BY-STEP INSTRUCTIONS :
- Preheat oven to 375°F. Combine flour, crushed nuts, sugar, and melted butter until crumbly. Press into a 9×13-inch baking dish and bake for 10 minutes. Cool completely.
- Spread cherry pie filling evenly over cooled crust.
- Beat softened cream cheese until smooth. Add powdered sugar, then gently fold in half of the whipped topping. Spread over cherry layer.
- Whisk pudding mixes with cold milk until thickened. Spread over cream cheese layer.
- Top with remaining whipped topping. Add chocolate shavings or sprinkles. Refrigerate for at least 2 hours, preferably overnight.
HOW TO SERVE Chocolate Cherry Lush (Easy No-Bake Layered Dessert)
Serve this dessert chilled for the best texture. Use a sharp knife to cut slices and wipe the knife between cuts for neat pieces. Serve on small plates with a fork. You can add extra cherry on top or a spoon of whipped cream if guests want more. A single square goes well with a hot cup of coffee or a small glass of milk.
If you want to pair another sweet, consider a simple cookie for texture contrast, such as maple cinnamon cookies with white chocolate. The spicy-sweet cookie and the cold cherry lush make a pleasing combo.
STORAGE & FREEZING : Chocolate Cherry Lush (Easy No-Bake Layered Dessert)
Store the dessert covered in the fridge for up to 4 days. Keep it in an airtight container or cover the baking dish tightly with plastic wrap. The crust will soften a bit over time but the layers will stay distinct.
You can freeze slices for longer storage. Wrap each piece in plastic wrap and place in a freezer bag. Freeze for up to 1 month. Thaw in the fridge overnight before serving. Note that whipped topping and cream cheese texture may change slightly after freezing, but the dessert will still taste good.
SERVING SUGGESTIONS
- Serve chilled with a small spoon or fork. The cold helps the pudding and cream layers hold shape.
- Garnish with fresh cherries or a sprinkle of grated chocolate for a neat look.
- Add a drizzle of melted dark chocolate for a richer finish.
- Pair each slice with a warm drink or a bright fruit salad on the side. For a festive table, you can include small treats like orange chocolate Christmas truffles to add variety.
- Offer small bowls of extra cherry pie filling for guests who want more fruit.
VARIATIONS
- Nut-free crust: Use graham cracker crumbs instead of nuts and flour. Mix crumbs with melted butter and press into the pan.
- Different fruit: Swap the cherry pie filling for blueberry or raspberry pie filling for a new flavor.
- Extra chocolate: Use chocolate cookie crumbs in the crust or mix cocoa powder into the pudding for a darker layer.
- Lighter option: Use low-fat cream cheese and low-fat pudding to reduce calories. Use less powdered sugar in the cream layer.
- Individual cups: Build the layers in small clear cups for a party. Start with crust crumbs, add cherry filling, then cream cheese mix, pudding, and top with whipped topping.
FAQs
Q: Can I use frozen cherries instead of canned pie filling?
A: Yes. Thaw the cherries and mix with a little cornstarch and sugar to make a filling. Cook briefly on the stove if needed to thicken, then cool before spreading.
Q: Do I have to bake the crust?
A: Baking the crust helps it set and hold together. You can chill a pressed cold crust with melted butter, but it may be softer and not as firm when sliced.
Q: Can I make this dessert ahead of time?
A: Yes. You can make the whole dessert the day before. It tastes better after several hours in the fridge. See the make-ahead tips below for details.
Q: How long will the dessert keep in the fridge?
A: It will keep for up to 4 days when covered. After 4 days the texture may change more, but it is generally safe to eat within that time.
Q: Can I make this without nuts?
A: Yes. Use plain flour and more butter, or use graham cracker crumbs for a nut-free crust. This keeps the dessert safe for guests with nut allergies.
MAKE-AHEAD TIPS FOR Chocolate Cherry Lush (Easy No-Bake Layered Dessert)
- Make the crust and cool it completely. Keep it covered at room temperature until you are ready to add layers.
- Mix the cream cheese layer and keep it chilled. Fold in half the whipped topping when you are ready to spread for a fresher texture.
- Make the pudding layer right before you spread it so it is full and smooth. Instant pudding sets quickly, so you can spread it without lumps.
- Assemble the dessert fully up to a day ahead and store it in the fridge. The flavors will meld and the layers will tighten. For best shape, chill overnight.
- If you need to save time on the day of serving, prepare each layer in separate bowls and assemble 30 minutes before guests arrive.
Final note: This Chocolate Cherry Lush is a good mix of sweet, tart, creamy, and crunchy. It uses simple ingredients and clear steps to make a dessert that looks like it took a long time to make. Try small changes to suit your taste, and enjoy the bright cherry flavor with chocolate and cream.
Chocolate Cherry Lush
Ingredients
Method
- Preheat oven to 375°F.
- Combine flour, crushed nuts, sugar, and melted butter until crumbly.
- Press mixture into a 9×13-inch baking dish and bake for 10 minutes.
- Cool completely.
- Spread cherry pie filling evenly over the cooled crust.
- Beat softened cream cheese until smooth.
- Add powdered sugar, then gently fold in half of the whipped topping.
- Spread over the cherry layer.
- Whisk pudding mixes with cold milk until thickened.
- Spread the pudding over the cream cheese layer.
- Top with remaining whipped topping and add chocolate shavings or sprinkles.
- Refrigerate for at least 2 hours, preferably overnight.